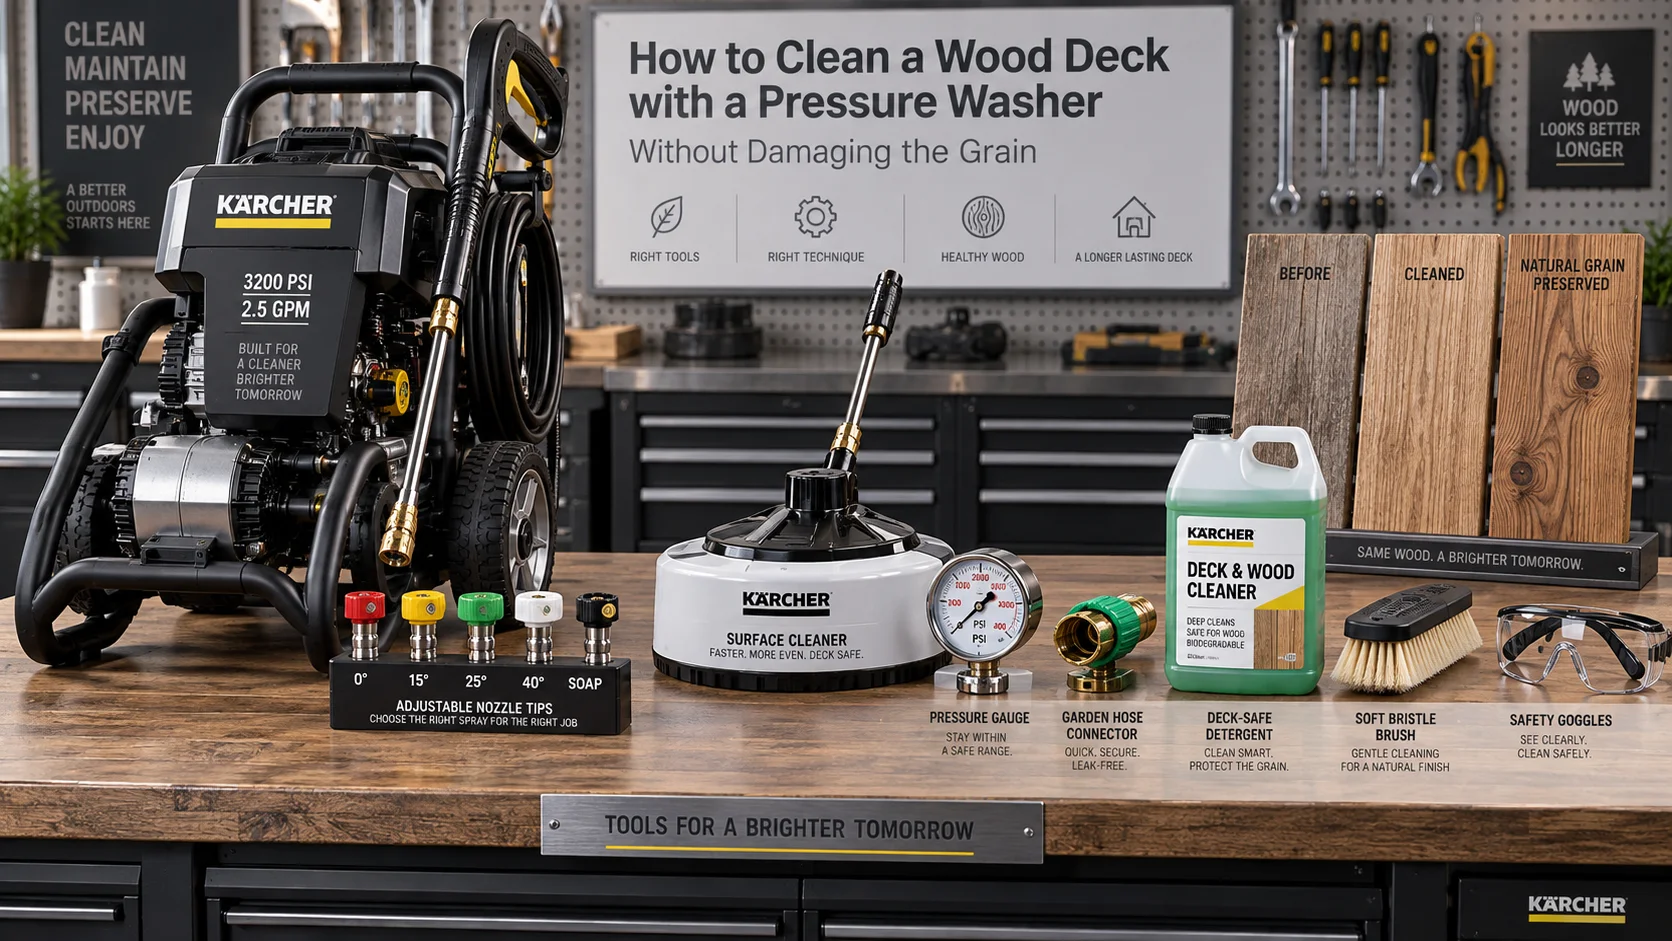
Quick Answer: To clean a wood deck with a pressure washer without damaging the grain, use a 40-degree white nozzle, keep the pressure between 500 and 1,200 PSI, and hold the wand at a 45-degree angle at least 12 inches from the surface. Always pre-treat the deck with a chemical cleaner, spray in the direction of the grain, and never stop moving the wand mid-pass. Standard operational and maintenance protocols can be consulted via OSHA national chainsaw safety and operational standards.
Why Most Pressure Washed Decks Look Destroyed

Before you even pull the trigger, you need to understand the pressure output of your machine. Most consumer pressure washers are rated between 1,500 and 3,200 PSI, but the safe PSI for pressure washing wood is far lower. The pressure that actually reaches the wood surface depends on three variables: the machine’s rated PSI, the nozzle degree, and the distance from the wand to the board.
| Wood Type | Safe PSI Range | Recommended Nozzle | Wand Distance |
|---|---|---|---|
| Softwoods (Pine, Cedar, Fir) | 500 – 1,000 PSI | 40-degree white | 12 – 18 inches |
| Hardwoods (Ipe, Teak, Mahogany) | 800 – 1,200 PSI | 40-degree white | 10 – 14 inches |
| Composite / Capped Decking | 1,200 – 1,500 PSI | 25-degree green | 12 – 16 inches |
| Old, Weathered, or Soft Rotting Wood | 400 – 700 PSI | 40-degree white | 18+ inches |
If your machine only has a single pressure setting and it exceeds 1,500 PSI, you must compensate with distance and nozzle selection. A 40-degree white nozzle spreads the water over a wider fan, which dramatically reduces the force per square inch. Never use a 0-degree red nozzle on wood—it will gouge a groove into the board in under a second.
How to Reduce PSI on a Fixed-Setting Machine
- Use the widest fan nozzle available (40-degree white is the standard).
- Increase the distance between the wand tip and the deck surface to 18–24 inches.
- Hold the wand at a 45-degree angle so the water deflects off the surface rather than driving straight in.
- If your machine has an unloader valve, turn it down to lower the output pressure.
- Never use a turbo or rotary nozzle—these concentrate force and will shred softwood.
The 40-Degree White Nozzle: Why It Is Non-Negotiable
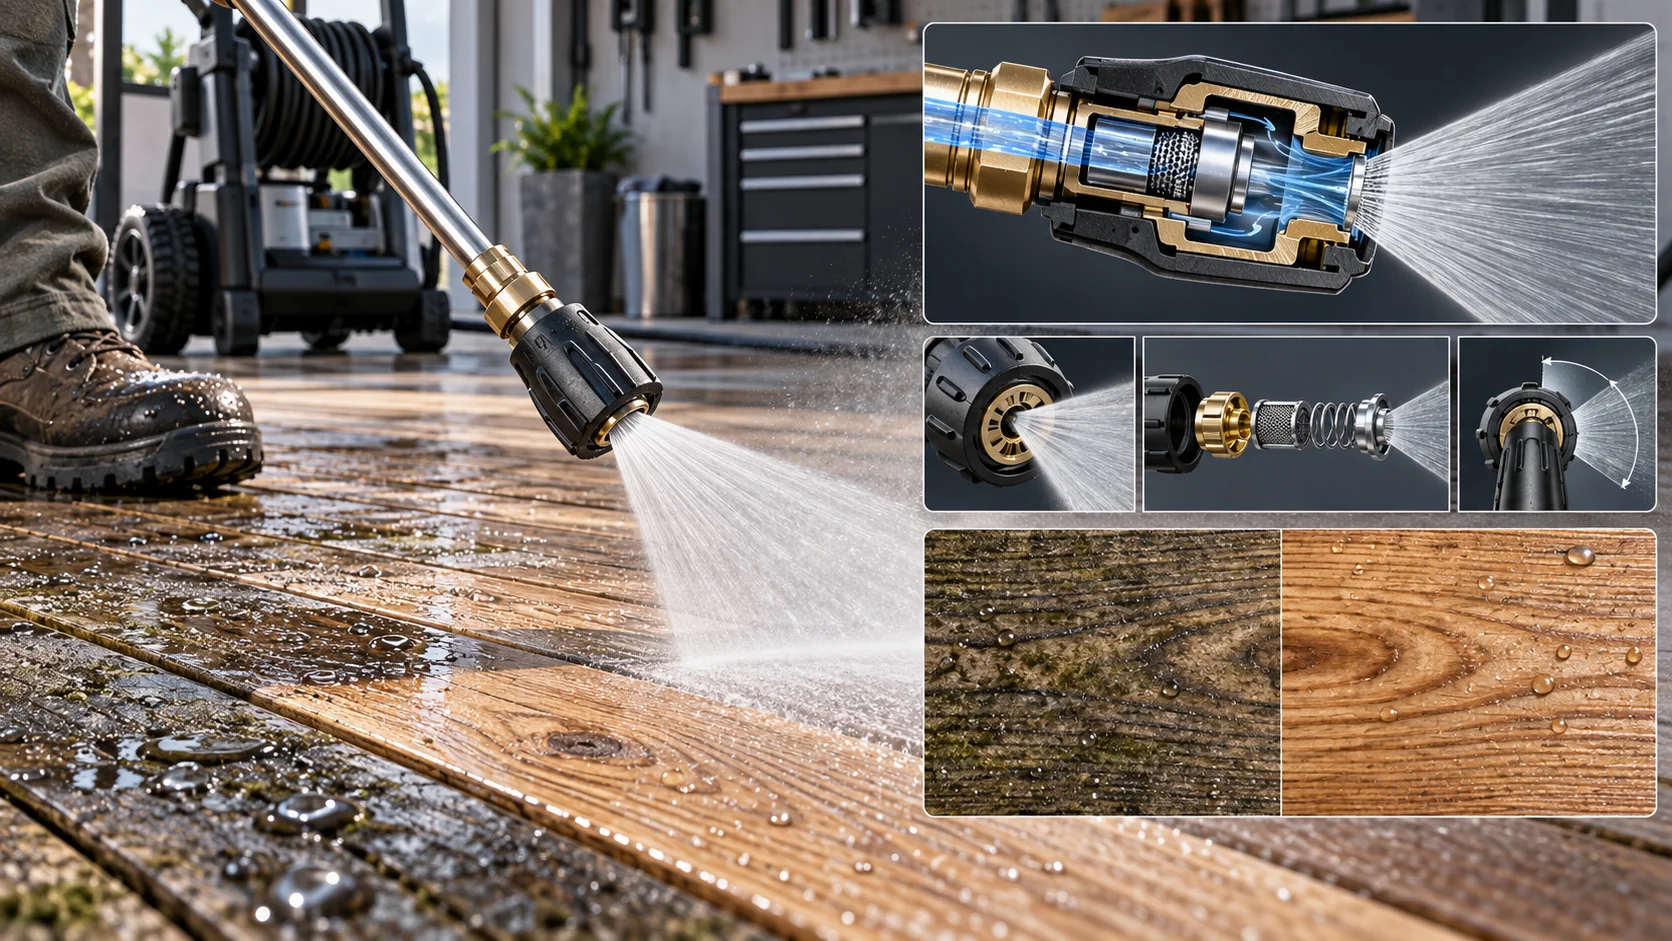

The 40-degree white nozzle is the only nozzle you should use on bare wood. It produces a wide, fan-shaped spray that spreads the water’s kinetic energy across a large surface area. This is the difference between a gentle rinse and a cutting jet. The white nozzle is typically included with most consumer pressure washers, but if yours is missing, purchase a replacement before you start—do not substitute a narrower nozzle.
When you use the white nozzle, the water exits at a wide angle, which means the effective PSI at the wood surface drops to a fraction of the machine’s rated output. This is exactly what you want. The goal is to lift dirt and mildew from the surface, not to etch into the wood fibers.
Avoiding Wood Splintering and Gouging: Technique Over Force

Avoiding wood splintering and gouging is entirely about technique. The most common mistake is holding the wand perpendicular to the board and sweeping back and forth like you are mowing a lawn. This drives water straight into the soft grain, which tears out the springwood and leaves the hard summerwood standing proud—the classic “ribbed” or “corduroy” damage pattern.
The Correct Wand Angle and Motion
- Hold the wand at a 45-degree angle to the deck surface, pointing the spray in the direction you are walking.
- Keep the nozzle 12 to 18 inches away from the wood at all times.
- Move the wand in long, overlapping passes along the grain—never across it.
- Keep the wand in constant motion. Stopping even for half a second will create a visible divot.
- Work in small sections of 3 to 4 boards at a time so you can control the spray precisely.
If you notice the wood starting to fuzz or splinter, you are applying too much pressure. Stop immediately, increase your distance, and re-angle the wand. The fuzz is the soft grain being torn out—once it happens, the only fix is sanding, which thins the board and shortens its lifespan.
Deck Cleaner Chemical Pre-Wash: The Step Everyone Skips

Pressure washing alone will not remove embedded mildew, algae, or tannin stains. In fact, blasting a dirty deck with water first often drives the grime deeper into the grain. The correct order is to apply a deck cleaner chemical pre-wash before you ever pick up the pressure washer. This chemical step breaks down organic matter at the surface level, so the pressure washer only needs to rinse it away—not blast it out.
Choosing the Right Deck Cleaner
| Cleaner Type | Best For | Dwell Time | Notes |
|---|---|---|---|
| Oxygen bleach (Sodium percarbonate) | Graying, mildew, algae on all woods | 10 – 15 minutes | Safe for plants; does not strip natural wood color |
| Oxalic acid | Iron, rust, and tannin stains | 5 – 10 minutes | Brightens wood; rinse thoroughly |
| Sodium hypochlorite (bleach) | Heavy mildew on hardwoods | 5 minutes max | Can lighten wood; avoid on cedar and redwood |
| Caustic strippers | Old paint or stain removal | 15 – 30 minutes | Harsh; use only if refinishing completely |
For most decks, an oxygen bleach cleaner is the safest and most effective choice. It kills mildew and algae without bleaching the wood’s natural color or harming surrounding plants. Apply it with a pump sprayer, let it dwell for the recommended time, and keep it wet so it does not dry into a powder. Then rinse with the pressure washer using the 40-degree nozzle.
Step-by-Step Pre-Wash Application
- Sweep the deck to remove loose debris, leaves, and dirt.
- Wet the deck lightly with a garden hose—this helps the cleaner spread evenly.
- Apply the deck cleaner using a pump sprayer, working in 10-foot sections.
- Scrub heavily soiled areas with a soft-bristle deck brush to work the cleaner into the grain.
- Let the cleaner dwell for the manufacturer’s recommended time (usually 10–15 minutes).
- Do not let the cleaner dry on the surface—mist it with water if needed.
- Rinse with the pressure washer using the 40-degree white nozzle at 12–18 inches.
Step-by-Step: How to Pressure Wash a Wood Deck Safely

Now that the prep work is done, here is the full sequence from start to finish. Follow these steps in order and you will strip the grime without stripping the grain.
Step 1: Inspect and Prep the Deck
- Check for loose boards, popped nails, or protruding screws—fix these first.
- Replace any boards that are rotting or severely splintered.
- Cover nearby plants and shrubs with plastic sheeting to protect them from overspray.
- Remove all furniture, planters, and rugs from the deck surface.
Step 2: Apply the Chemical Cleaner
Follow the pre-wash instructions above. This step is mandatory—skipping it is the single biggest reason decks look dirty again within weeks.
Step 3: Rinse with the Pressure Washer
- Attach the 40-degree white nozzle to your wand.
- Set the machine to the lowest pressure setting that still moves water effectively.
- Start on a small, inconspicuous area to test the pressure before committing to the full deck.
- Hold the wand at 45 degrees, 12–18 inches from the surface.
- Spray in the direction of the grain, moving in long, overlapping passes.
- Work from the far end of the deck toward your exit point so you do not walk over wet, cleaned boards.
Step 4: Rinse Off the Cleaner Residue
After the initial pass, do a second rinse pass with the same nozzle to ensure no chemical residue remains. Leftover cleaner can interfere with stain and sealer adhesion, leaving blotchy patches on your finished deck.
Drying Time Before Sealing: Do Not Rush This

The drying time before sealing is the most commonly rushed step in the entire process. If you apply a sealer or stain to wood that still contains moisture, the finish will not penetrate properly and will peel within months. The wood must be dry both on the surface and in the upper layers of the grain.
| Condition | Minimum Drying Time | Ideal Conditions |
|---|---|---|
| Warm, sunny, low humidity | 24 – 48 hours | 70°F+, direct sun, breeze |
| Overcast, mild | 48 – 72 hours | 60–70°F, light wind |
| Cool, humid, or rainy | 72+ hours | Wait for a dry stretch |
| Newly pressure-treated wood | 2 – 4 weeks | Must dry out before any coating |
To test if the deck is ready, sprinkle a few drops of water on the surface. If the water beads up and sits on top, the wood is still too wet. If the water soaks in quickly, the wood is ready for sealing. This is called the “water drop test” and it is the most reliable field method for determining moisture readiness.
Recommended Hardware & Essential Equipment
Using the right equipment eliminates most of the risk of damaging your deck. The pressure washer and nozzle set below are verified to deliver the controlled output and wide fan pattern required for safe wood cleaning. The pressure washer provides adjustable PSI so you can dial down to the safe range for softwoods, while the nozzle kit ensures you always have the correct 40-degree white tip on hand. These two units solve the two biggest hardware problems: excessive pressure and the wrong spray pattern.

Pros
- Fully waterproof and dustproof design means it can handle splashes, spills, and sandy environments.
- Long battery life provides extended playback for camping trips, backyard gatherings, or a full workday.
- Compact and lightweight at 1.21 pounds makes it easy to carry in a bag or clip to a backpack.
- PartyBoost compatibility offers a simple way to expand your sound system with other JBL speakers.
Cons
- As a renewed product, it may show minor cosmetic wear and does not come with the original manufacturer's full warranty.
- The 0 listed customer reviews for this specific renewed listing means there is no user feedback to gauge seller reliability or product condition.
The JBL Flip 6 (Renewed) is best for outdoor enthusiasts and casual listeners who want a proven, waterproof portable speaker at a reduced cost. Its IP67 rating and 12-hour battery are genuine advantages for poolside, hiking, or travel use. However, as a refurbished item, it is not ideal for buyers seeking a brand-new product with full manufacturer support, and the lack of reviews for this specific listing adds uncertainty about the seller's quality control.
Waterproof Rating: IP67 (dustproof and waterproof)
Battery Life: Up to 12 hours per charge
Dimensions: 2.8 x 7 x 2.6 inches
Weight: 1.21 pounds
Connectivity: Bluetooth wireless
Special Feature: PartyBoost for speaker pairing
Product prices and availability are accurate as of the date/time indicated and are subject to change. Any price and availability information displayed on Amazon.com at the time of purchase will apply. As an Amazon Associate we earn from qualifying purchases. Images, product titles, and product highlights from Amazon.
Frequently Asked Questions
What PSI should I use to pressure wash a wood deck?
Use 500 to 1,200 PSI for wood decks, depending on the wood type. Softwoods like pine and cedar should stay at the lower end (500–1,000 PSI), while hardwoods can handle up to 1,200 PSI. Always pair the pressure with a 40-degree white nozzle and keep the wand at least 12 inches from the surface.
Can a pressure washer damage a wood deck?
Yes, absolutely. Using a narrow nozzle, holding the wand too close, or stopping mid-pass will gouge the wood and tear out the soft grain. The damage is permanent and requires sanding to repair, which thins the boards. The safe approach is a 40-degree nozzle, low PSI, and constant motion along the grain.
Do I need to use a chemical cleaner before pressure washing?
Yes. A deck cleaner chemical pre-wash breaks down mildew, algae, and tannin stains so the pressure washer only needs to rinse them away. Skipping this step means you will need more pressure to remove the grime, which increases the risk of damaging the wood.
How long should I wait before sealing after pressure washing?
Wait at least 24 to 48 hours in warm, dry conditions, and up to 72 hours or more in cool or humid weather. Use the water drop test: if water beads on the surface, the wood is still too wet. If it soaks in, the deck is ready to seal.
What is the best nozzle for pressure washing a deck?
The 40-degree white nozzle is the only safe choice for bare wood. It produces a wide fan that spreads the water’s force across a large area, preventing gouging and splintering. Never use a 0-degree red nozzle or a turbo nozzle on wood.
Final Checklist Before You Start

- Confirm your machine can operate at or below 1,200 PSI.
- Locate and attach the 40-degree white nozzle.
- Apply a deck cleaner chemical pre-wash and let it dwell.
- Test the pressure on a hidden corner of the deck first.
- Hold the wand at 45 degrees, 12–18 inches away, moving along the grain.
- Wait 24–72 hours and perform the water drop test before sealing.
Pressure washing a wood deck is not about brute force—it is about controlled, even application. With the right PSI, the correct nozzle, and a chemical pre-wash, you can strip years of grime and mildew while leaving the grain intact and ready for a fresh coat of sealer.
For more hands-on benchmarks and buying recommendations, consult our guides on cordless stick vacuum buyer guide, as well as robotic pool cleaner comparison guide, as well as automated robotic vacuum cleaning systems.