

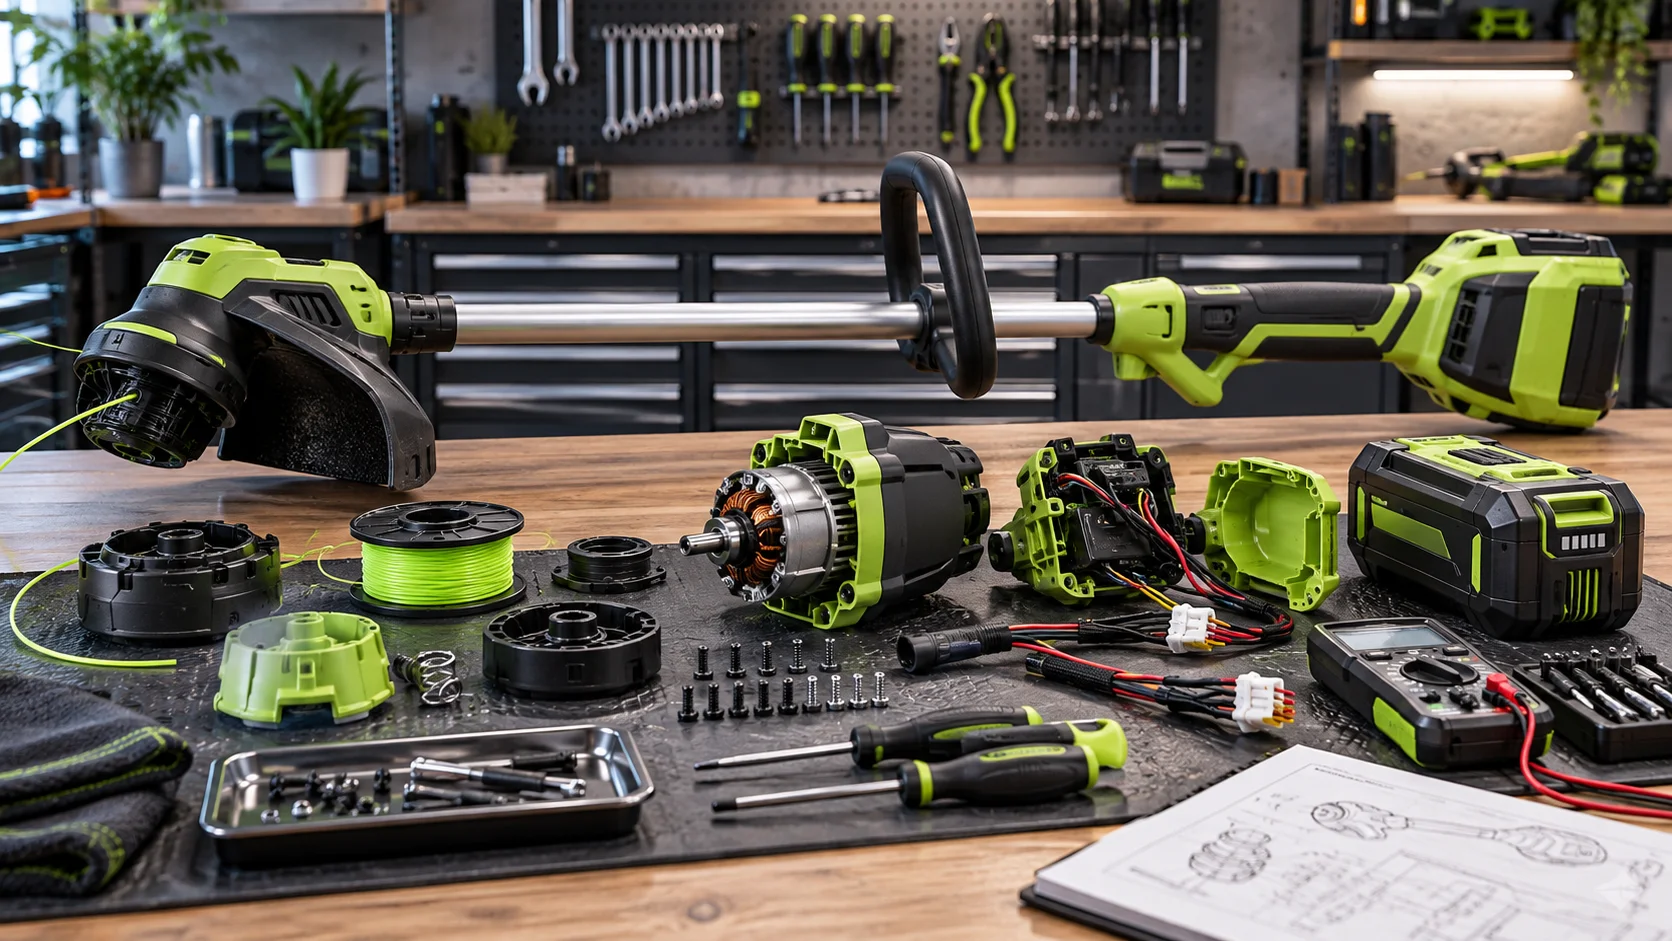
Quick Answer: Ryobi 40V string trimmers fail to feed line, stall under load, or shut off due to five root causes: bump feed mechanism jamming, misaligned Expand-It coupler reducing power transfer, carbon buildup in the trigger switch, wound line exceeding spool capacity, or a weak/depleted 40V battery. Diagnosis takes 10 minutes using visual inspection and a continuity test; fixes range from clearing debris to replacing the line spool or battery terminal contacts. Standard operational and maintenance protocols can be consulted via OSHA national chainsaw safety and operational standards.
Ryobi 40V String Trimmer Failure Modes: Diagnostic Matrix

The Ryobi 40V string trimmer (RY40210 and similar models) uses a brushless motor paired with a single-stage reduction gearbox, a bump-feed spool (Reel-Easy), and an optional Expand-It compatible quick-coupler. Most failures stem from three subsystems: the electrical delivery (battery and trigger switch), the mechanical feed system (bump mechanism and spool geometry), and the power transmission interface (coupler and gearbox output shaft).
Bump Feed Mechanism Failures & Line Not Feeding
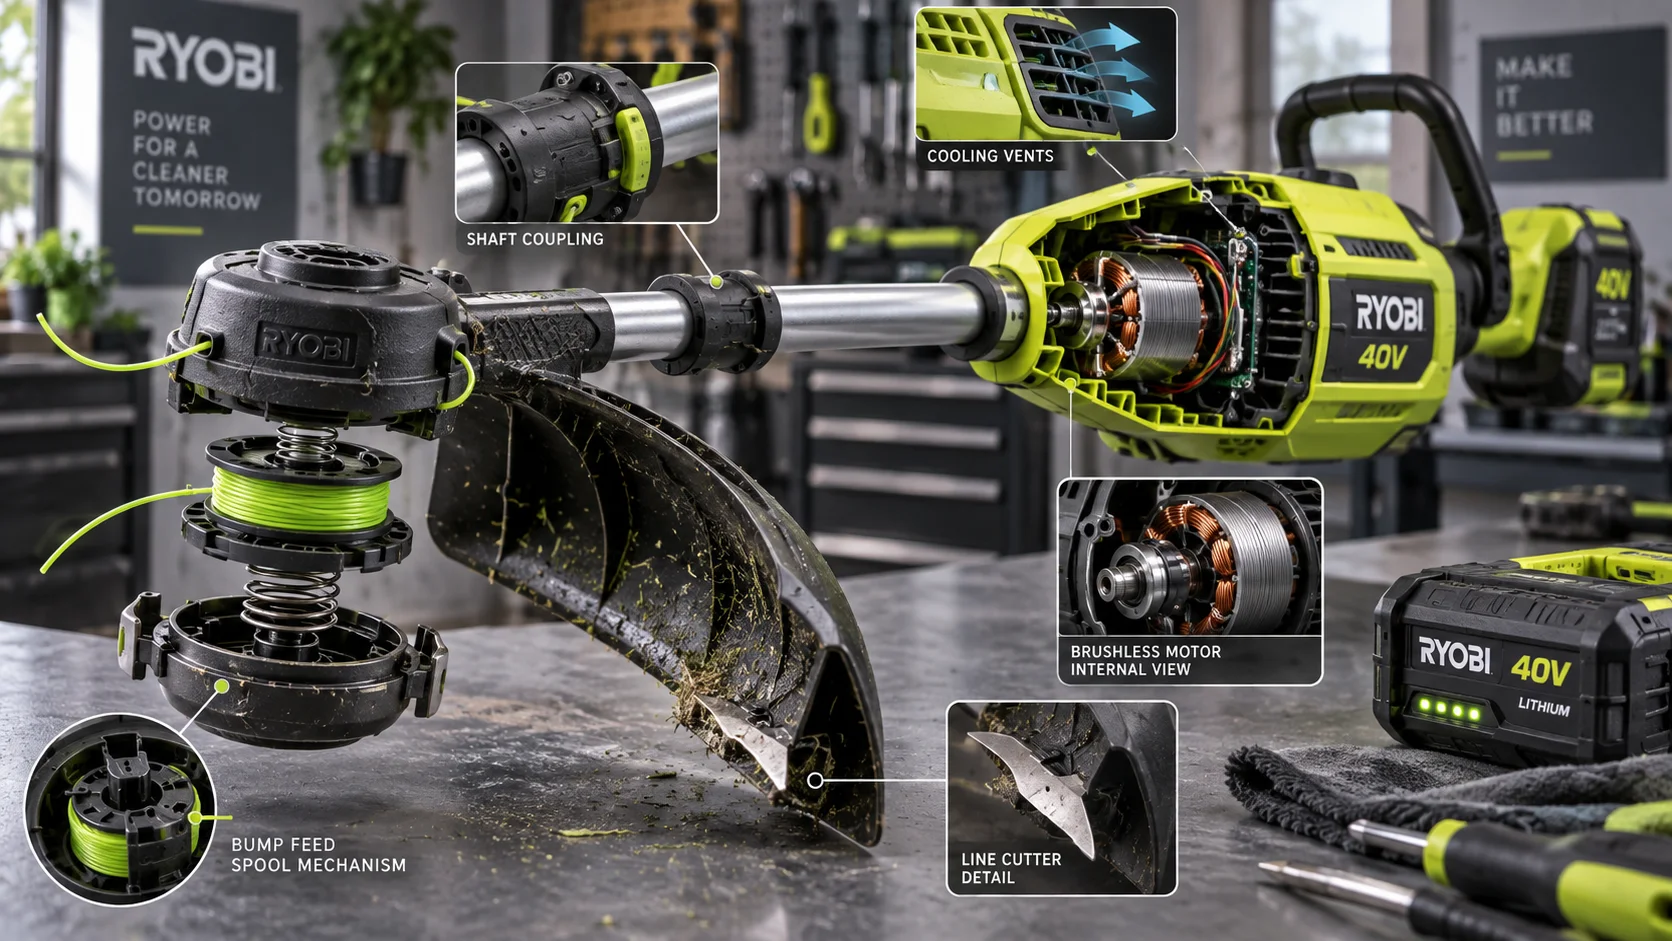

The bump feed system activates when you tap the trimmer head on the ground. A small spring-loaded pawl engages the spool teeth, rotating it incrementally and releasing a pre-set length of line (typically 6–8 inches per bump). When this system fails, line either won’t advance, advances too much, or advances continuously.
Diagnosing Bump Feed Jams
Start by removing the spool cover (usually secured by two Phillips or Torx screws on the trimmer head). Inspect the spool cavity for grass clippings, dirt, or hardened line residue. The bump feed pawl is a small, spring-loaded lever located 90 degrees from the line exit port. Press it gently; it should pivot smoothly and return under spring tension.
If the pawl is sticky: Use a small brush or compressed air to clear debris. Spray the pivot point lightly with silicone lubricant (WD-40 or similar), then work the pawl back and forth 10 times to distribute lubricant.
If the pawl is bent or cracked: The spool assembly must be replaced. On most Ryobi 40V models, the entire spool cartridge (including pawl and spring) is a single unit; individual part replacement is not supported by Ryobi.
Line Wound Incorrectly on Reel-Easy Spool
Ryobi’s Reel-Easy system is designed to simplify line loading, but improper winding causes jams. The spool has two guide slots that must be used sequentially.
Correct winding procedure:
- Remove the empty spool from the trimmer head.
- Insert one end of 0.080″ or 0.095″ diameter nylon line into the first slot (usually marked with an arrow or colored groove).
- Wind the line tightly around the spool in the direction of the arrow, keeping tension even. Do not overlap or stack wraps.
- Once the first slot is full (typically 15–20 wraps), thread the line into the second slot.
- Continue winding until approximately 12–18 inches of bare spool remains visible.
- Leave one end of line hanging free (6–8 inches) in the exit port.
- Reinstall the spool into the trimmer head and secure the cover.
Common winding errors: Overlapping wraps jam the spool; loose winding causes slippage and no line feed. Winding in the wrong direction reverses the pawl engagement, causing continuous or no feed.
Trimmer Shuts Off Under Load or Stalls

If the motor runs at idle but stalls when cutting grass or when the trimmer head contacts dense vegetation, suspect one of three issues: battery voltage collapse, trigger switch carbon buildup, or thermal throttling.
Summary: Quick Troubleshooting Checklist
Use this checklist to systematically rule out the most common causes before purchasing parts:
- ☐ Charge the battery fully and measure voltage (should be 36–40V at rest).
- ☐ Clear the spool cavity and rewind the trimmer line correctly (no overlaps).
- ☐ Test the bump feed pawl by hand; it should move freely and spring back.
- ☐ Verify the Expand-It coupler is fully seated and splines are not visibly bent or worn.
- ☐ Clean the motor air vents and battery terminals with a dry cloth.
- ☐ Wipe the trigger switch contacts gently with an isopropyl-dampened swab if the motor stutters under load.
- ☐ Allow the trimmer to cool for 15 minutes if it shuts off; check for thermal protection reset.
- ☐ If all above checks pass and the trimmer still fails, proceed to component replacement (battery, spool, or trigger module).
Most Ryobi 40V string trimmer issues resolve within 30 minutes of systematic diagnosis. Keep your battery charged, your line wound correctly, and your vents clear, and your trimmer will provide years of reliable service.
Gas vs Battery Leaf Blowers: CFM, MPH, Noise Levels, and Real-World Power
Gas vs Battery Leaf Blowers: CFM, MPH, Noise Levels, and Real-World Power...

How to Replace and Restring a String Trimmer Head (Universal Fit Guide)
How to Replace and Restring a String Trimmer Head (Universal Fit Guide)...

Pressure Washer Nozzle Color Guide: Degrees, PSI, and Proper Surface Uses
Pressure Washer Nozzle Color Guide: Degrees, PSI, and Proper Surface Uses —...

How to Clean a Wood Deck with a Pressure Washer Without Damaging the Grain
How to Clean a Wood Deck with a Pressure Washer Without Damaging...

Battery-Powered Cordless Pressure Washers: PSI Limits, Run Time & Uses
Battery-Powered Cordless Pressure Washers: PSI Limits, Run Time & Uses — Comprehensive...

Pressure Washer Wand and Hose Maintenance: Fixing Leaks, Surges & Clogs
Pressure Washer Wand and Hose Maintenance: Fixing Leaks, Surges & Clogs —...

Greenworks 60V 8″ vs 40V 8″ Edger: Which Battery Edger Should You Buy in 2026?
Greenworks 60V 8" vs 40V 8" Edger: Which Battery Edger Should You...

Milwaukee M18 FUEL Edger vs Greenworks 40V Edger: Which Should You Buy in 2026?
Milwaukee M18 FUEL Edger vs Greenworks 40V Edger: Which Should You Buy...
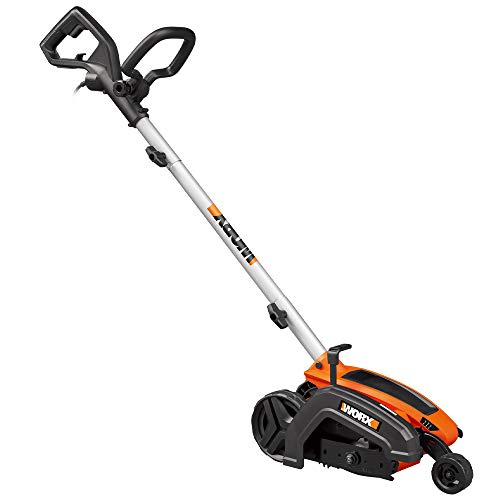
Edger With Blades compared: Picks Ranked by Battery and Oil Capacity for Edger Blades
Compare the best edger with blades of 2026. Read our in-depth analysis of 15 top-rated models from BLACK+DECKER, WORX, HandyTek and more to find your perfect match.

Best Gas Edge Trimmer for 2026
Compare the best gas edge trimmer of 2026. Read our in-depth analysis of 8 top-rated models from WORX, AMERISUN, PowerSmart and more to find your perfect match.