Direct Answer: How to Sharpen a Lawn Mower Blade
Disconnect the spark plug, tip the mower safely, and remove the blade bolt with a wrench. Secure the blade in a vise and grind or file the cutting edge to a 30–45° bevel using an angle grinder, metal hand file, or drill-mounted sharpener — following the factory angle already on the blade. Check balance on a blade balancer before reinstalling and torque the bolt to the manufacturer’s specification.
Safety Checklist Before You Touch the Blade
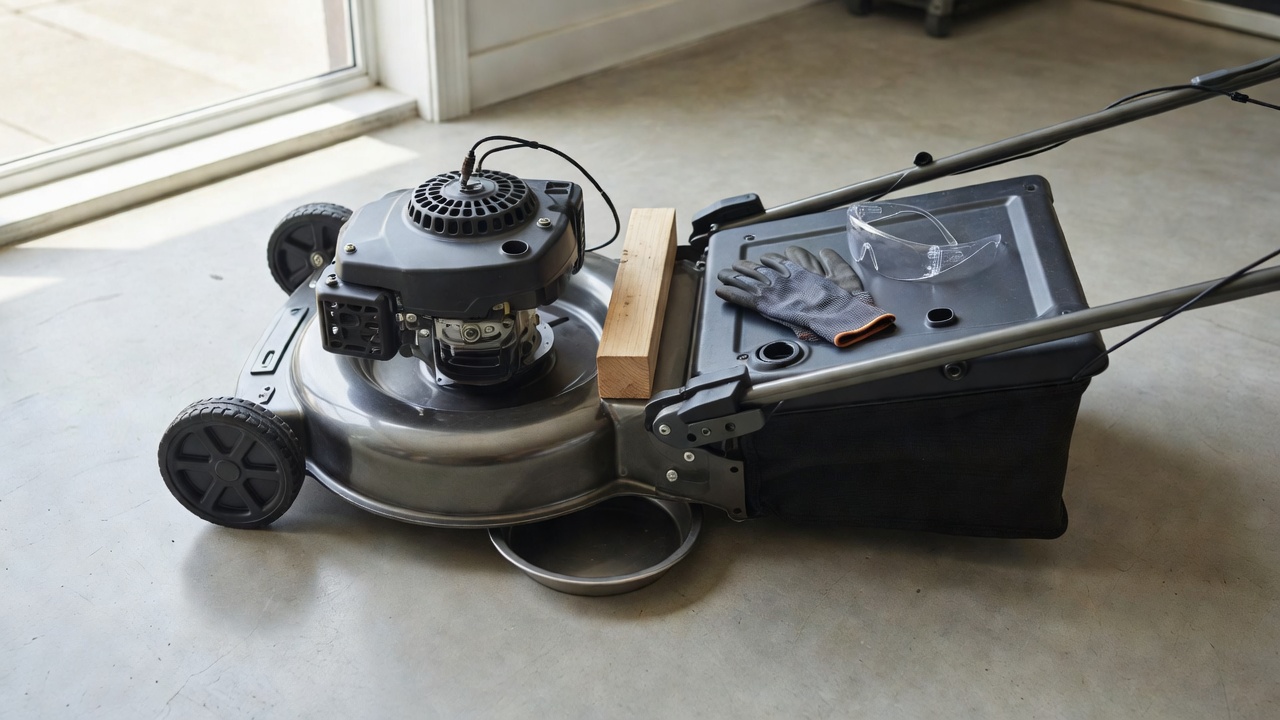
Complete every item on this checklist before removing or sharpening a mower blade. Skipping any step creates a serious injury or fire risk.
- Disconnect the spark plug wire. Pull the wire off the spark plug and tuck it away from the plug terminal. This prevents accidental engine start if the blade rotates while you work. This is non-negotiable — a blade spinning unexpectedly can sever fingers.
- Drain the fuel or tip the mower correctly. If tipping the mower on its side, position it so the air filter and carburetor face upward — typically tipping it toward the exhaust side — to prevent fuel and oil from flooding the carburetor or air filter. Alternatively, run the engine until the tank is empty, or use a fluid transfer pump to empty the tank before tipping.
- Wear cut-resistant gloves. Even a dull mower blade has enough edge to cut deeply. Use Level A4 or higher cut-resistant gloves throughout blade removal, sharpening, and reinstallation.
- Wear safety glasses or a face shield. Grinding and filing throw metal fragments. Eye protection is mandatory during the sharpening step regardless of which tool you use.
- Work on a stable, flat surface. A mower that shifts while the blade is loose is a crush hazard. Chock the wheels if working on a slope.
How to Tell If Your Blade Needs Sharpening — or Replacing
Inspect the blade before committing to sharpening. Not every damaged blade is worth sharpening.
Sharpen the blade if you see:
- A dull, rolled, or flat cutting edge with no visible metal damage
- Minor nicks smaller than ¼ inch deep — filing removes the material behind the nick and restores the edge
- Grass that looks torn, frayed, or brown at the tips 1–2 days after mowing, which indicates a dull edge rather than a sharp cut
Replace the blade if you see:
- Cracks anywhere in the blade body — a cracked blade can fragment at high RPM and become a projectile
- Bends or warps — hold the blade at eye level on a flat surface; any visible curve means replace it
- Deep gouges wider than ¼ inch — removing enough metal to clear a large gouge throws off blade balance and thins the steel beyond safe operating limits
- Significant thickness loss from repeated sharpening — if the cutting edge feels thin or flexible, the blade is at end of life
A replacement blade typically costs $10–$30 for standard rotary mowers. If the blade fails inspection, replacement is both safer and more cost-effective than further sharpening.
Tools You Can Use to Sharpen a Lawn Mower Blade
Three tools work reliably for home blade sharpening. Choose based on what you own and your comfort with power tools.
Angle Grinder
An angle grinder fitted with a metal grinding disc removes material quickly and gives you precise control over the bevel angle. It is the fastest of the three methods and handles nicks and heavy dullness efficiently. The trade-off is that it requires a steady hand — moving too fast removes uneven material, and moving too slowly can overheat the steel and draw the temper (soften the hardness) of the blade. Keep the grinder moving at all times and dip the blade in water periodically if the metal turns blue or discolors.
Metal Hand File
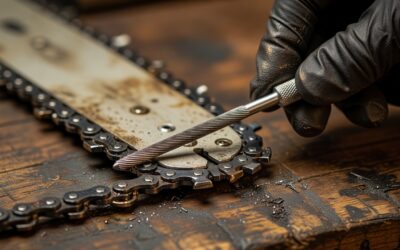
A 10-inch or 12-inch mill bastard file requires no power source and produces no sparks. It is the slowest method — expect 10–15 minutes per blade — but gives beginners the most control over angle and material removal. It works well for lightly dull blades with no significant nicks. Push the file in one direction along the bevel; do not drag it backward across the edge.
Drill-Mounted Blade Sharpener Attachment
A dedicated drill-attachment blade sharpener is a cone- or disc-shaped abrasive bit that fits a standard power drill. It is designed to follow the existing bevel angle automatically, making it beginner-friendly. Speed and finish quality sit between the file and angle grinder. It does not handle deep nicks as effectively as an angle grinder but is adequate for routine seasonal sharpening on a blade in reasonable condition.
Step-by-Step: How to Remove, Sharpen, and Reinstall a Rotary Mower Blade
- Disconnect the spark plug wire. Pull the rubber boot off the spark plug tip and secure it away from the plug so it cannot accidentally reconnect.
- Drain or manage the fuel. Run the engine dry, use a transfer pump to empty the tank, or tip the mower with the air filter side facing up to prevent fluid ingestion.
- Tip the mower and block the blade. With the spark plug wire disconnected, tip the mower onto its side (air filter up). Wedge a short piece of 2×4 lumber between the blade and the mower deck to prevent the blade from rotating while you loosen the bolt.
- Remove the blade bolt. Use a wrench or socket sized to your blade bolt — commonly ⅝-inch on residential rotary mowers, though this varies by model. Turn counterclockwise to loosen. Blade bolts are often very tight; a breaker bar gives additional leverage. If the bolt does not move, apply penetrating oil and wait 10 minutes. Note the orientation of the blade (which side faces down) before removing it.
- Clean the blade. Use a wire brush or coarse steel wool to remove caked grass, dirt, and rust from the cutting edges. Sharpening a dirty blade clogs the file or grinding disc and produces uneven results.
- Secure the blade in a vise. Clamp the blade body (not the cutting edge) firmly in a bench vise. The blade must not shift during sharpening.
- Sharpen to the existing bevel angle. Most rotary mower blades leave the factory with a bevel angle between 30° and 45° — follow the angle already ground into the blade rather than guessing. Work one side of the blade from the outer tip toward the center, then repeat on the other cutting edge. Remove equal amounts of metal from both sides to maintain balance. The finished edge should feel sharp to the touch (with gloves on) but does not need to be razor-sharp — a butter-knife sharpness is the target. Razor edges dull faster on impact with soil, debris, and grass stems.
- Check blade balance. Before reinstalling, test balance using a blade balancer or the nail method (detailed in the next section). An unbalanced blade must be corrected before reinstallation.
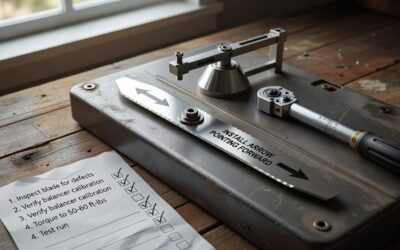
- Reinstall the blade. Position the blade with the correct side facing down (the stamped or curved side of the blade typically faces the ground), thread the bolt by hand, then torque it to the manufacturer’s specification. Consult your mower’s service manual for the exact torque value — specifications vary widely by model and range from approximately 35 ft-lb to over 60 ft-lb on residential rotary mowers. Do not use a torque wrench setting from a generic source; an under-torqued bolt allows the blade to shift and an over-torqued bolt can strip the crankshaft.
- Reconnect the spark plug wire. Push the boot firmly back onto the spark plug tip until it seats. Refuel if needed, then test-run the mower on a small patch of grass to confirm smooth operation and no unusual vibration.
How to Check Blade Balance After Sharpening
An unbalanced blade generates vibration that accelerates wear on the mower’s spindle bearings and crankshaft. Manufacturers warn that operating with an unbalanced blade can cause permanent damage to the engine and deck components over time. Always check balance after removing any metal during sharpening.
Blade Balancer Method (Recommended)
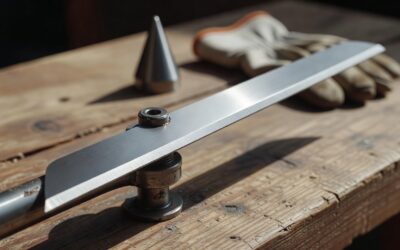
A blade balancer is an inexpensive cone- or peg-shaped tool that sits on a workbench. Place the blade’s center hole over the cone or peg and release it. If the blade tips to one side, that side is heavier. Remove small amounts of metal from the heavy side’s cutting edge with a file or grinder — not the flat of the blade — until the blade rests level horizontally.
Nail Method (No-Tool Fallback)
Drive a nail into a wall stud at a slight upward angle. Hang the blade by its center hole on the nail. If one end dips, that side is heavier. File metal from the heavy end’s cutting edge until the blade rests level. This method is less precise than a dedicated balancer but is functionally adequate for residential mowers.
Remove only small amounts of metal at a time and re-check after each pass. Over-removing metal on one side simply reverses the imbalance rather than correcting it.
Sharpening a Reel Mower Blade: How It Differs
Reel mowers use a cylinder of helical blades that shear grass against a fixed bedknife — the same cutting action as scissors. This geometry cannot be sharpened with a file, angle grinder, or drill attachment applied directly to individual blades without disassembling and individually grinding each helix, which is impractical for home users.
The standard home method for reel mowers is backlapping: applying a lapping compound (an abrasive paste) to the reel blades, then driving the reel in reverse — either by hand-cranking or with a backlapping kit that attaches a drill to the reel axle. The abrasive compound hones both the reel blades and the bedknife simultaneously as they contact each other in reverse rotation, restoring the shearing edge on both surfaces.
Backlapping kits are available for most push reel mowers and include the lapping compound, a drive attachment, and instructions specific to the reel diameter. After backlapping, clean all compound residue from the blades before mowing — lapping compound will damage grass tissue if left on the cutting surfaces.
Severely worn or damaged reel mower blades require professional regrinding on a dedicated reel grinder. This is not a DIY repair for home users.
DIY vs. Professional Blade Sharpening: Is It Worth Doing Yourself?
Professional lawn mower blade sharpening at a small-engine repair shop or lawn care center typically costs $5–$20 per blade, depending on blade condition and local labor rates. Many shops offer this as a walk-in or mail-in service and return the blade same-day or within 24 hours.
DIY tool investment varies by method:
- Metal hand file: $8–$15 one-time cost. Pays back after one sharpening session versus the professional rate.
- Drill-mounted blade sharpener attachment: $10–$20 (assuming you own a drill). Pays back after one to two uses.
- Angle grinder: $30–$80 if purchased for this purpose alone; grinding discs are $3–$8 each. The grinder pays back over multiple seasons but has broader utility beyond blade sharpening.
Professional sharpening makes sense when: the blade has significant nicks requiring substantial metal removal that benefits from commercial equipment; you do not own a vise or have a safe workspace; or the mower is under warranty and manufacturer service is required.
DIY sharpening makes sense when: you sharpen one or more blades per season consistently; you already own the tools; or you want same-day turnaround without transporting equipment.
For most homeowners with a single residential rotary mower, a $10 hand file or drill attachment recovers its cost in the first or second use and is worth owning.
How Often Should You Sharpen Lawn Mower Blades?
The widely cited benchmark from small-engine and turf management references is every 20–25 hours of mowing use, or at minimum once per mowing season for typical residential lawns. University cooperative extension turf management programs, including guidance published by land-grant agricultural universities, consistently recommend this interval as the baseline for maintaining cut quality and grass health.
Sharpen more frequently if:
- You mow sandy or gravelly terrain — abrasive soils dull blades significantly faster than loam or clay
- You regularly mow through twigs, acorns, or thick debris
- Grass tips appear brown, torn, or ragged within 24–48 hours of mowing — this is the clearest mid-season signal that the blade edge has degraded
- You notice increased mowing time needed to cut the same area at the same throttle setting
A sharp blade makes a clean, horizontal cut through the grass stem. A dull blade tears the tissue, leaving a ragged end that desiccates and turns brown. Beyond appearance, torn grass tissue is more vulnerable to disease and moisture loss — meaning a dull blade has a measurable negative impact on lawn health, not just aesthetics.
At the start of each season, inspect and sharpen the blade before the first mow regardless of hours logged the prior season. Blades can develop surface rust and micro-corrosion during winter storage that degrades the edge even without use.
Frequently Asked Questions
Do I need to remove the blade to sharpen it, or can I sharpen it on the mower?
Remove the blade. Sharpening on the mower is unsafe — it places your hands and grinding tool near the deck opening, prevents proper vise-secured control of the angle, and makes balance testing impossible. Removal also lets you clean the blade thoroughly and inspect it for cracks or bends that are invisible when the blade is installed.
What happens if I reinstall the blade upside down?
An upside-down blade cannot create the airflow needed to lift grass for a clean cut and will not mulch effectively. On some blade designs, installing it inverted also prevents proper bolt engagement with the blade adapter. Always confirm blade orientation before reinstalling — the cutting edges must face the direction of rotation, and the curved or stamped surface (if present) faces downward toward the ground.
How do I know when the blade is sharp enough after sharpening?
The edge should have a consistent, smooth bevel with no flat spots, rolled metal, or remaining nicks. With a cut-resistant glove on, drag your thumb lightly across — not along — the edge; a properly sharpened blade catches slightly on the glove material. The target is a utility-knife or butter-knife sharpness, not a straight-razor edge. An overly thin edge will nick and dull faster on first contact with debris.
Can I sharpen the blade myself if I have no mechanical experience?
A metal hand file or drill-mounted sharpener attachment is manageable for a first-time user. The critical skills are following the existing bevel angle, removing equal amounts of metal from both cutting edges, and completing the balance check before reinstallation. Read the mower’s service manual for the blade bolt torque specification before reinstalling. If the blade bolt is seized or the blade shows cracks or bends on inspection, take it to a professional rather than forcing the repair.