Why Regular Oil Changes Matter for Your Lawn Mower
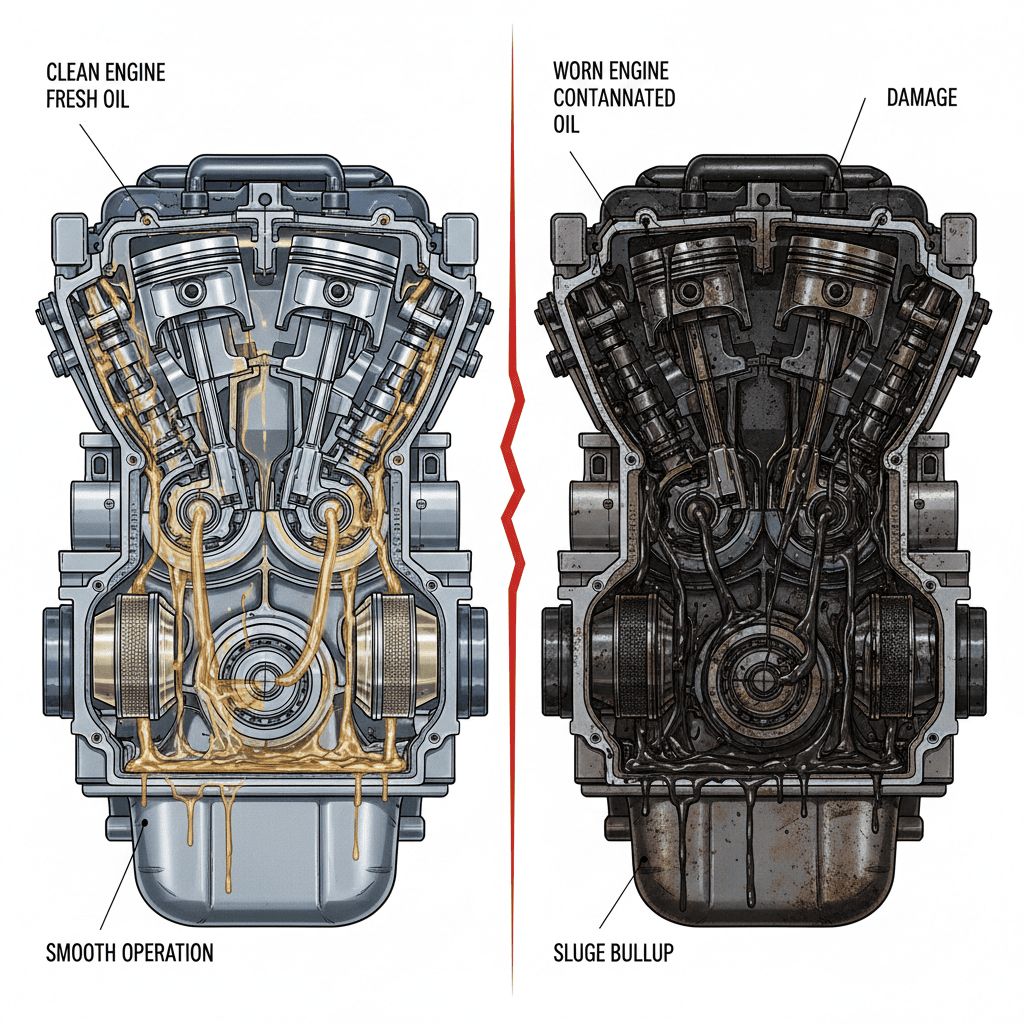
Oil is the lifeblood of your lawn mower’s engine. It lubricates moving parts, reduces friction, dissipates heat, and suspends contaminants that would otherwise damage the engine. Over time, oil breaks down, loses its protective properties, and accumulates dirt and debris. Neglecting oil changes leads to engine wear, reduced power, hard starting, and potentially catastrophic engine failure.
Most lawn mower manufacturers recommend changing oil every 50–100 operating hours or at least once per year, whichever comes first. For casual homeowners who mow weekly during summer, that typically means one or two oil changes per season. The small investment of time now prevents expensive engine repairs or replacement later.
Understanding Your Lawn Mower Type
Oil change procedures vary slightly depending on your mower:
- Push Mowers (Walk-Behind): Most common for residential lawns. Typically have 0.5–1.5 quart oil capacity. Single drain plug, usually located on the underside of the engine.
- Riding Mowers: Larger capacity (1–2 quarts). Often have an oil filter in addition to a drain plug. May require accessing the engine from underneath or the side.
- Zero-Turn Radius Mowers: Premium riding mowers with similar oil systems to traditional riding mowers but more compact engine compartments.
This guide focuses on push mowers as the primary example, with callouts for riding mower variations.
What You’ll Need Before Starting
Tools and Materials:
- Socket wrench or combination wrench (size varies by mower; typically 8–14mm)
- Metal drain pan (minimum 2-quart capacity)
- Funnel (prevents spilling during refill)
- Clean rags or paper towels
- New engine oil (correct type and amount for your mower)
- Oil filter wrench (if your mower has a replaceable filter)
- Replacement oil filter (if applicable)
Choosing the Right Oil:
Consult your owner’s manual for the exact oil type and viscosity your mower requires. Most small-engine mowers use one of these:
| Oil Viscosity | Best For |
|---|---|
| SAE 30 | Warm climates; not ideal for cold starts |
| 10W-30 | Moderate climates; good year-round performance |
| 5W-30 | Cold climates; easier cold-weather starting |
| 15W-40 | Heavy-duty or older mowers; check manual |
The first number (with W) indicates viscosity at cold temperatures; the second number indicates viscosity at operating temperature. If you’re unsure, 10W-30 works for most residential mowers in variable climates.
Finding Your Mower’s Oil Capacity:
Check your owner’s manual or look for a sticker on the engine itself. Common capacities are:
- Push mowers: 0.5–1.5 quarts
- Riding mowers: 1–2 quarts
Buy one quart more than your mower’s stated capacity in case you need to top up later in the season.
Preparing Your Lawn Mower for an Oil Change
Safety First:
- Work on a level surface with good lighting.
- Ensure the engine is completely off and cool (if you just finished mowing, wait 10–15 minutes).
- Disconnect the spark plug wire to prevent accidental starting.
- If your mower has a fuel shutoff valve, turn it off.
Warm-Up:
Warm oil drains more completely than cold oil, flushing out more contaminants. Start the engine and let it run for 30 seconds to 1 minute, then turn it off. Wait 2–3 minutes for the oil to cool slightly (hot oil can cause burns). The oil should be warm but not scalding.
Step-by-Step: Draining and Refilling Oil
Step 1: Locate the Drain Plug
On push mowers, the drain plug is typically on the underside of the engine block. You may need to tip the mower to access it. Important: If your mower has a carburetor, tip it so the carburetor faces upward to prevent oil from entering the carb. Consult your manual for the correct tipping direction.
Step 2: Position Your Drain Pan
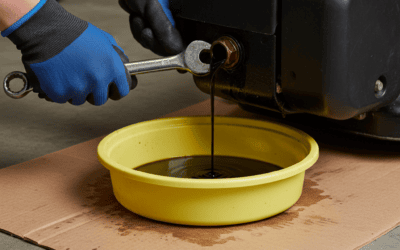
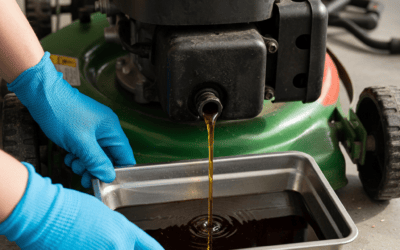
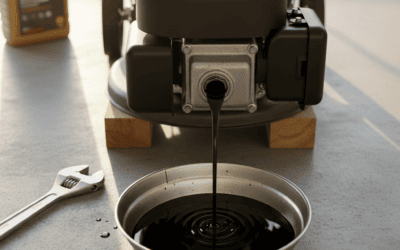
Place the drain pan directly under the drain plug. Oil will flow quickly, so position it carefully to catch all the old oil.
Step 3: Remove the Drain Plug
Using your wrench, loosen the drain plug by turning counterclockwise. Once it’s loose enough, carefully unscrew it by hand (oil may still be warm). Set the plug aside in a clean area where you won’t lose it.
Step 4: Let Oil Drain Completely
Oil will drain for 5–10 minutes. Once the dripping slows to occasional drops, you’re done. Do not rush this step; letting old oil drain completely ensures you’re not mixing old and new oil.
Step 5: Clean and Replace the Drain Plug
Wipe the drain plug clean with a rag. If it has a crush washer (a small metal ring), replace it with a new one to ensure a proper seal. Screw the drain plug back in by hand, then tighten it with your wrench until snug. Do not over-tighten; you can strip the threads.
Step 6: Return the Mower to Upright Position
If you tipped the mower for access, carefully return it to its normal operating position.
Step 7: Add New Oil
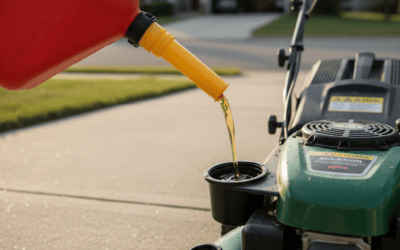
Place your funnel in the oil fill cap opening. Slowly pour new oil into the engine. Check your manual for the exact capacity. Most push mowers hold 0.5–1.5 quarts; start with slightly less than the recommended amount.
Step 8: Check the Oil Level
Once you’ve added oil, wait 2–3 minutes for it to settle. Remove the dipstick (usually located near the oil fill cap), wipe it clean, reinsert it fully, then remove it again to check the level. The oil should be between the minimum and maximum marks. If it’s low, add a small amount more and recheck. If it’s overfilled, drain the excess carefully.
Step 9: Replace the Oil Cap and Test
Screw the oil cap back on securely. Reconnect the spark plug wire. Start the engine and let it idle for 30 seconds to circulate the new oil. Check for any leaks around the drain plug. If everything looks good, you’re done with the oil change.
Oil Filter Replacement (If Your Mower Has One)
Not all push mowers have replaceable oil filters; check your manual or engine to see if yours does. Riding mowers and some larger push mowers often have spin-on filters.
If Your Mower Has a Filter:
- Locate the filter on the engine block.
- Position your drain pan underneath to catch any oil spillage.
- Use an oil filter wrench to loosen the old filter by turning counterclockwise. Once loose, unscrew it by hand.
- Wipe the filter mounting surface clean with a rag.
- Apply a thin layer of new oil to the rubber gasket of the replacement filter.
- Screw the new filter on by hand until the gasket contacts the mounting surface, then tighten an additional 3/4 turn. Do not over-tighten.
Replacing the filter during an oil change removes trapped contaminants and extends engine life.
Disposing of Old Oil Responsibly
Never pour used oil down the drain, into the ground, or into the trash. One quart of oil can contaminate up to 250,000 gallons of drinking water.
Proper Disposal Options:
- Auto Parts Stores: Most major retailers (AutoZone, O’Reilly, NAPA) accept used oil for free. Simply pour it into a container and bring it in.
- Recycling Centers: Many municipal recycling facilities have dedicated oil collection bins.
- Service Stations: Gas stations and quick-lube shops often accept used oil, sometimes for a small fee.
- Earth911.com: Use this resource to find recycling centers near you.
Store used oil in a clean, sealed container away from children and pets until you can dispose of it.
Special Considerations for Riding Mowers and Zero-Turn Models
Riding Mower Differences:
- Oil capacity is typically 1–2 quarts (check your manual).
- Many have spin-on oil filters; include filter replacement in your routine.
- The drain plug may be more accessible from the side or rear of the engine.
- Some models have an oil drain valve (like a faucet) instead of a plug; turn it counterclockwise to drain.
- Engine compartments may be more confined; give yourself extra time and space.
Zero-Turn Radius Mowers:
These premium mowers follow the same oil change principles as riding mowers but may have tighter engine bays. Consult your specific model’s manual for exact procedures and capacities.
Maintenance Schedule and Storage Tips
To keep your mower running smoothly:
- Change oil annually at the start of each mowing season, even if you haven’t reached the 50–100 hour mark.
- Check the oil level every 5–10 mowings to catch problems early.
- Store your mower properly: At season’s end, change the oil one final time before storing. Fresh oil protects the engine during off-season storage.
- Use fuel stabilizer in the gas tank during storage to prevent carb varnish buildup.
Frequently Asked Questions
What happens if I use the wrong oil viscosity?
Using oil that’s too thin (low viscosity) causes inadequate lubrication and engine wear, especially in warm weather. Oil that’s too thick (high viscosity) makes cold starting difficult and doesn’t flow well to engine parts. Always follow your manual’s recommendation. If you’ve used the wrong oil, drain it and refill with the correct type as soon as possible.
Can I mix old and new oil?
No. Mixing old, contaminated oil with new oil defeats the purpose of an oil change. Always drain the old oil completely before adding new oil. This ensures contaminants are removed and the new oil can perform as designed.
How do I know if my mower’s drain plug is leaking?
After starting the engine, watch for oil dripping from the drain plug area. Small seeps may indicate the plug needs tightening slightly. If it’s leaking noticeably, stop the engine, allow it to cool, and re-tighten the drain plug. If the leak persists, the crush washer may need replacement, or the threads may be stripped (requiring professional repair).
Is synthetic oil better for lawn mowers?
Synthetic oil offers better thermal stability and longer intervals between changes (up to 300 hours or two seasons). However, most residential mowers run fine on conventional mineral oil. Synthetic is optional for homeowners but worth considering if you mow frequently or store your mower in extreme temperatures. Always check your manual; some older engines specify conventional oil only.