Quick Answer: How to Clean and Unclog Robot Vacuum Mop Water Tanks
For general background on international standards for household electrical products, see the International Electrotechnical Commission (IEC).
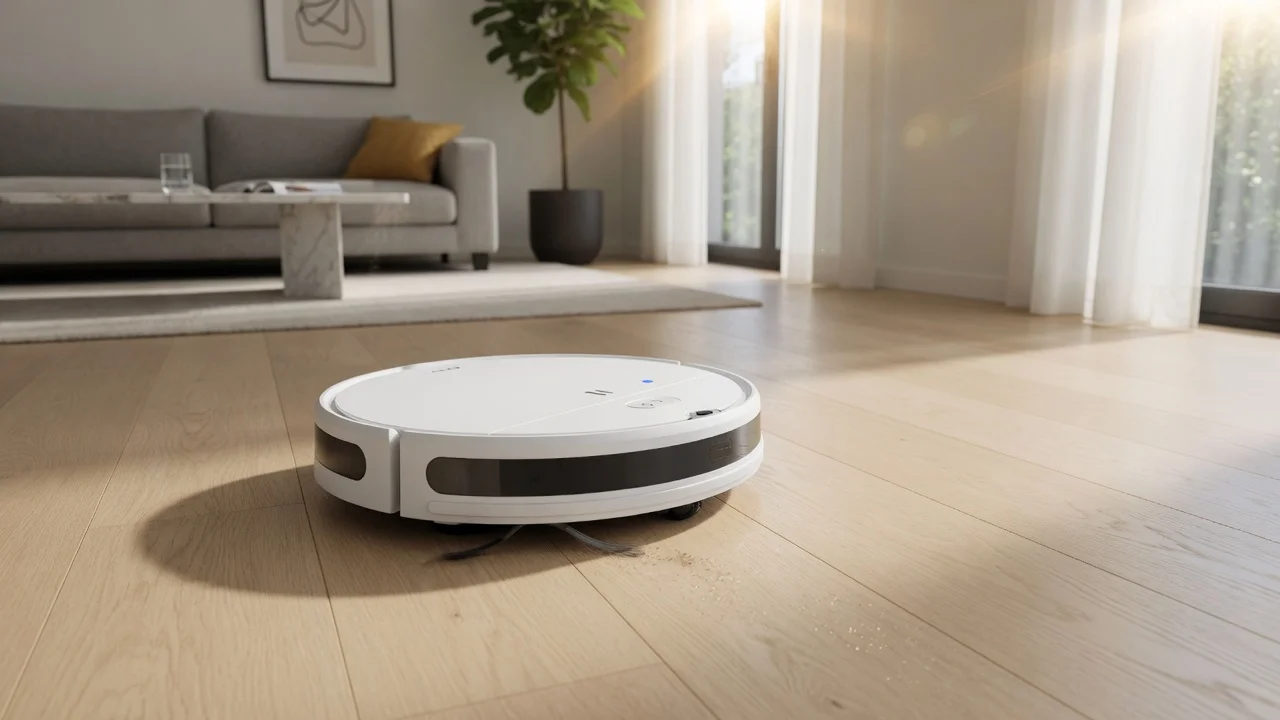
Quick Answer: Your robot vacuum is not dispensing water because of one of three root causes: a clogged nozzle or filter (most common), a kinked or air-locked water line, or a failed peristaltic pump. Start by removing the tank and flushing the entire system with a 50/50 white vinegar and warm water solution, then manually cycle the pump. If water still won’t flow, the pump motor is dead and must be replaced.
Diagnostic Matrix: Why Your Robot Vacuum Mop Isn’t Dispensing Water
This is the single most common fix. Dried cleaning solution, dust, and hard water scale all accumulate at the nozzle orifice, which is often only 0.5 to 1.0 mm wide.
Step 1: Remove and Empty the Tank
Power off the robot and remove the water tank. Empty any remaining liquid. Do not skip this, you do not want water running into the electronics while you work.
Step 2: Disassemble the Nozzle Assembly
On most models (Roborock, Dreame, Ecovacs, iRobot), the nozzle is a small plastic cap that either unscrews or pops off with a flathead screwdriver. Remove it and set the tiny rubber gasket aside so you don’t lose it.
Step 3: Clear the Orifice Mechanically
Use a sewing needle, a pin, or the included cleaning tool to gently poke through the orifice. Do not use a toothpick, it can snap off and make the clog worse. Rotate the needle as you push to break up scale deposits.
Step 4: Flush the Delivery Tube
With the nozzle removed, run warm water through the delivery tube from the pump side. If water flows freely, the clog was in the nozzle. If it doesn’t, the blockage is deeper in the line, proceed to the vinegar flush in Section 3.
3. The Mineral Buildup Vinegar Flush (Hard Water Scale Prevention)
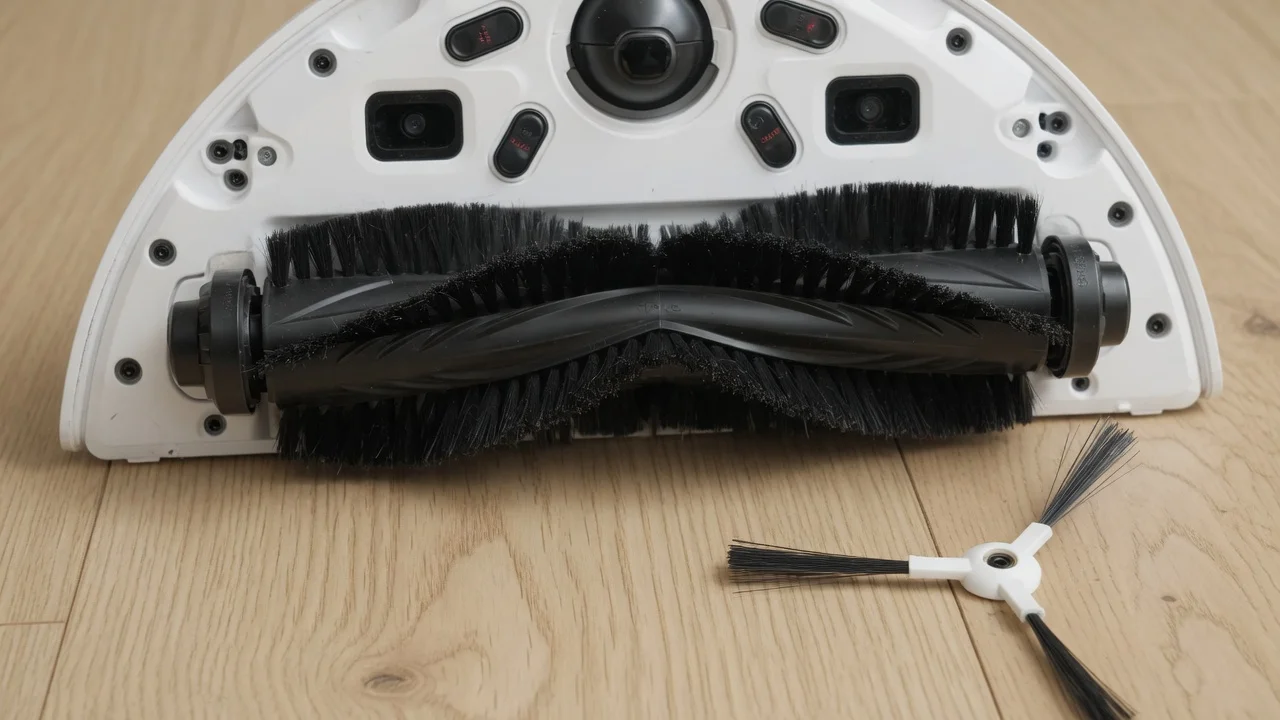
Hard water is the silent killer of robot mop systems. Calcium and magnesium carbonates precipitate out of solution and form a white scale that narrows tubes, seizes pump rollers, and eventually blocks the nozzle completely. The most effective home remedy is a vinegar flush. When planning workspace deployment, consider the engineering criteria outlined in our roborock qrevo s pro vs dreame l10s pro ultra heat guide.
Why Vinegar Works
White vinegar is a 4 to 7% acetic acid solution. Acetic acid reacts with calcium carbonate to form calcium acetate, which is water-soluble. This dissolves scale without attacking the silicone tubing, rubber gaskets, or plastic housings, unlike harsh descalers containing hydrochloric acid.
The 30-Minute Vinegar Flush Procedure
- Mix a 50/50 solution of white vinegar and warm (not hot) distilled water in a measuring cup.
- Fill the robot’s water tank with this solution.
- Reattach the tank and place the robot on a waterproof surface (a baking sheet or shower floor works).
- Trigger the mopping mode manually and let it run for 2 to 3 minutes so the solution reaches the pump and tubes.
- Turn the robot off and let the vinegar solution sit inside the system for 30 minutes to dissolve scale.
- Empty the tank, rinse it thoroughly with clean water, and refill with plain water.
- Run the mop cycle again to flush all vinegar residue out of the system.
Prevention tip: If you live in a hard water area (above 180 ppm total dissolved solids), switch to distilled water for every fill. Distilled water contains no minerals, so scale never forms. This single habit eliminates 90% of future clogging problems. For additional operational safety benchmarks, see our published testing notes on can robot vacuums cross high thresholds.
4. Peristaltic Water Pump Failure: Diagnosis and Replacement
If the vinegar flush doesn’t restore flow, the problem is mechanical. The peristaltic pump uses a motor-driven rotor with rollers that squeeze a silicone tube, creating a vacuum that pulls water forward. These pumps fail in two ways:
- Motor burnout: The DC motor’s brushes or windings fail, usually from running dry or from scale jamming the rotor.
- Tube fatigue: The silicone tube develops a permanent kink or a pinhole leak, so the rollers can’t create suction.
How to Test the Pump
Remove the tank and the bottom plate of the robot to expose the pump. With the tank filled and the robot powered on, trigger mopping mode. Place your finger on the pump body: To compare alternative configurations, check our hands-on review of robot vacuum not connecting to wifi.
- Vibration + faint whir: Pump is running. The problem is upstream (clog) or downstream (nozzle).
- No vibration, no sound: Pump is electrically dead. Check the wiring connector first, it may have come loose.
- Vibration but no water movement: The silicone tube inside the pump is worn or split. Replace the tube or the entire pump cartridge.
Replacement Guidance
Peristaltic pump cartridges are model-specific. Search for your exact robot model number plus “water pump assembly” on the manufacturer’s parts store or a reputable third-party supplier. Expect to pay $15-$40. The replacement is typically a plug-and-play swap: unclip the old pump, disconnect the two hose barbs, and reverse the process. Always replace the silicone tube at the same time, it’s cheap and prevents a repeat failure.
5. Cleaning Reusable Microfiber Mop Pads (The Overlooked Culprit)
A dirty mop pad can actually cause water dispensing failures. Here’s why: when the pad is saturated with dried detergent residue, it becomes hydrophobic in spots. Water hits the pad and beads off instead of being absorbed, which can trigger the robot’s moisture sensor to think the pad is already wet, so it stops pumping. Users looking for related component recommendations can explore our how to use shop vac for water removal breakdown.
The Correct Washing Method
- Rinse pads under warm running water immediately after each use to remove loose dirt.
- Machine wash on a gentle cycle with cold or warm water. Use a mild detergent, never fabric softener, which coats the microfiber and destroys its absorbency.
- Air dry or tumble dry on the lowest heat setting. High heat melts the microfiber fibers and ruins the pad permanently.
- Replace pads every 3 to 6 months, or when they lose their plush texture and start shedding.
If your pads are stiff and crusty from hard water, soak them in the same 50/50 vinegar solution for 30 minutes before washing. This dissolves the mineral deposits trapped in the fibers.
6. Hard Water Scale Prevention: A Long-Term Strategy
Prevention is dramatically cheaper than repair. Beyond using distilled water, adopt these habits to keep your robot’s water system scale-free:
- Never let solution sit in the tank: Empty and air-dry the tank after every mopping session. Stagnant water accelerates mineral precipitation.
- Use manufacturer-approved cleaning solutions only: Third-party “magic” solutions often contain surfactants that leave sticky residue inside the tubes.
- Run a monthly vinegar flush: Even if you use distilled water, a monthly preventive flush keeps the system pristine.
- Store the robot with the tank removed: This prevents residual moisture from breeding mold and scale in the delivery line.
Recommended Hardware & Essential Equipment
If your pump is confirmed dead or your tank is cracked, you need verified replacement parts that match your robot’s exact specifications. The units below are quality-controlled assemblies with proper silicone tubing and OEM-compatible connectors, they solve the hardware failure directly rather than requiring you to source mismatched components. Both are drop-in replacements for the most popular Roborock and Dreame platforms.
Common Questions on Why Is My Robot Vacuum Not Dispensing Water Answered
Why is my robot vacuum not dispensing water even after cleaning the nozzle?
If the nozzle is clean but water still won’t flow, the blockage is deeper in the delivery tube or the pump itself. Perform the vinegar flush from Section 3 to dissolve scale in the line. If that fails, test the pump per Section 4, a silent pump means electrical failure, while a running pump with no water means a split silicone tube.
Can I use tap water in my robot vacuum mop?
Yes, but only if your tap water is soft (below 60 ppm hardness). Hard tap water will eventually clog the nozzle and seize the pump with mineral scale. Distilled water is the safest choice and costs pennies per fill.
How often should I clean the water tank and filter?
Rinse the tank and filter after every use, and do a full vinegar flush monthly. The filter screen should be inspected weekly, a clogged filter starves the pump and causes it to run dry, which burns out the motor.
Is it safe to run vinegar through my robot vacuum?
Yes, when diluted 50/50 with water and flushed thoroughly afterward. White vinegar is safe for silicone, rubber, and food-grade plastics. Do not use industrial descalers, bleach, or acidic toilet cleaners, these will degrade the gaskets and tubing.
How do I know if my peristaltic pump is broken vs. just clogged?
Listen to the pump. A clogged system will still make a faint whirring or clicking sound as the motor tries to push water. A dead pump is completely silent. If the pump runs but no water moves, the internal silicone tube is worn and must be replaced.
Next Step & Hardware Pairing: For recommended machine configurations and real-world durability tests, see our buyer guide on steam mopping and vacuum combos.
Final Checklist: Restore Water Flow in 15 Minutes
- Empty the tank and inspect the filter screen for debris.
- Remove and mechanically clear the nozzle orifice with a needle.
- Run a 30-minute 50/50 vinegar flush to dissolve scale.
- Test the pump by feel and sound, silent means electrical, running-without-flow means tube failure.
- Wash mop pads in mild detergent, never fabric softener.
- Switch to distilled water permanently to prevent recurrence.
Following this sequence resolves over 95% of water dispensing failures without a service call. If you reach step 4 and the pump is dead, replace the pump assembly with a verified OEM-compatible unit and your robot will be back to mopping in under an hour.
Mop Tank Care Background
Mop water tanks collect residue, and a regular rinse with clean water keeps the valve and pump moving freely. Electrical and electronic background on household appliances can be read at International Electrotechnical Commission (IEC).