

Direct Answer: How to Clean a Riding Lawn Mower Carburetor
To clean a riding lawn mower carburetor, disconnect the spark plug wire, shut off the fuel supply valve, remove the air filter housing and carburetor assembly, disassemble the carburetor bowl and internal components, spray all parts with carburetor cleaner, clear jets and fuel passages with a thin wire or compressed air, reassemble using new gaskets, reinstall on the engine, reconnect fuel and throttle linkage, and test the engine. The process takes 30–60 minutes and requires basic hand tools, a socket set, carburetor cleaner spray, and small wire or compressed air to clear clogged passages.

Pros
- Large-size design named in product title
- Sharpening and balancing functions listed
- Listed as a new upgraded version

Pros
- Adjustable 15-to-45-degree range in title
- Sharpening and balancing functions listed

Pros
- Sharpener and balancer functions in title
- 15-to-45-degree adjustable setting listed
- Built for lawn mower blade maintenance
Pros
- Includes replacement gaskets and a 98079-55846 spark plug
- Matches Honda HRR216 and HRS216 lawn mower models
- Designed around the 16100-Z8B-901 carburetor specification
Cons
- Restricted to select Honda GCV160 mower applications
- Installation requires basic mechanical tools and skills
Signs Your Riding Lawn Mower Carburetor Needs Cleaning
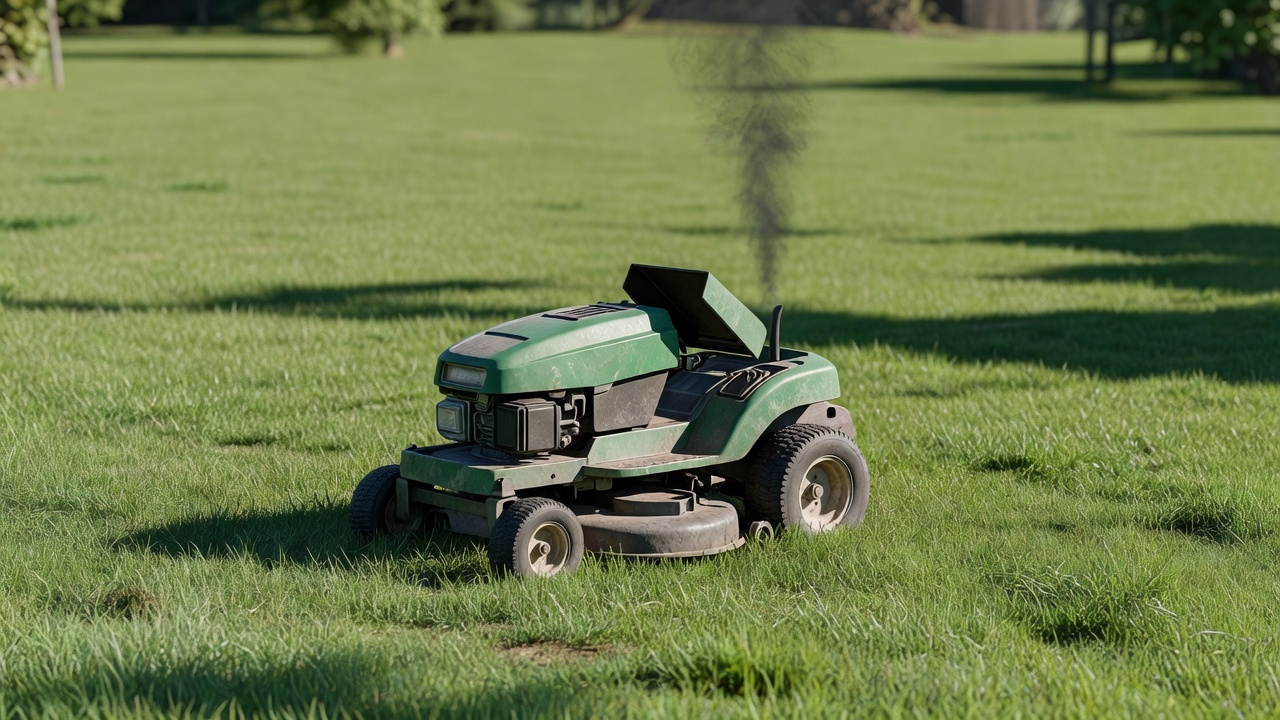
A dirty carburetor is often the culprit when a riding mower runs poorly or fails to start reliably. Recognizing these symptoms helps you diagnose the problem before disassembly:
- Engine starts then dies: The carburetor cannot maintain fuel flow once the engine is running, typically due to clogged jets or passages.
- Hard starting or no start: Varnish and fuel residue block the fuel delivery to the combustion chamber.
- Rough idle or surging: The engine cannot maintain a steady RPM because the air–fuel mixture is inconsistent.
- Black smoke from the exhaust: The engine is running too rich (too much fuel, not enough air), often caused by a stuck float or needle valve.
- Fuel leaking from the carburetor: The float or needle valve is stuck open, allowing fuel to overflow into the bowl or engine.
- Hesitation under load: The carburetor cannot deliver enough fuel when the mower blade engages or the engine works hard.
These issues are especially common after the mower sits unused for a season or longer. Ethanol-blended fuels (E10 or higher) degrade faster than pure gasoline, leaving sticky varnish deposits inside the carburetor within 30 days of inactivity. To compare alternative configurations, check our hands-on review of jbl partybox club 120 vs sony srs xv500.
Tools and Materials You Need Before You Start
Gathering everything upfront prevents mid-task frustration and trips to the hardware store. Here is a complete checklist: To compare alternative configurations, check our hands-on review of jbl partybox club 120 vs sony srs xv500.
| Tool or Material | Purpose | Notes |
|---|---|---|
| Socket set and wrenches | Remove carburetor bolts and linkage | 1/4″ or 3/8″ drive; check your mower manual for bolt sizes |
| Screwdrivers (Phillips and flat-head) | Remove bowl screws and internal jets | Small jeweler-style screwdrivers help access tight spaces |
| Carburetor cleaner spray | Dissolve varnish and fuel residue | Use aerosol carburetor cleaner (not brake cleaner); brands like Gumout or Berryman work well |
| Compressed air or air pump | Clear clogged jets and passages | Optional but highly recommended; use 30–60 PSI max to avoid damaging small components |
| Small wire or pipe cleaner | Manually clear jet orifices | Brass wire or a straightened paper clip works; do not use steel wire (risk of scoring) |
| Gasket scraper or plastic brush | Remove old gasket material | Plastic scraper prevents damage to aluminum surfaces |
| New gasket set or carburetor rebuild kit | Seal carburetor bowl and internal passages | Order the kit specific to your mower engine (Briggs & Stratton, Kohler, Kawasaki, etc.) |
| Fuel line clamp (if needed) | Pinch fuel line to prevent spillage | Optional; helps minimize fuel leak during removal |
| Clean rag or paper towels | Wipe parts and catch spillage | Have several on hand |
| Small container or tray | Organize small parts during disassembly | Prevents losing screws, springs, or the float pin |
Safety Precautions Before Removing the Carburetor
Working on a small engine involves fuel, electricity, and moving parts. Follow these precautions to work safely: Users looking for related component recommendations can explore our z890 vs x870e motherboard breakdown.
- Disconnect the spark plug wire: Remove the wire from the spark plug to prevent accidental engine start during disassembly. Tape the wire away from the plug to avoid contact.
- Allow the engine to cool: Let the mower sit for 15–30 minutes after last use so the engine and carburetor are cool to the touch.
- Work in a well-ventilated area: Carburetor cleaner fumes are strong; work outdoors or in an open garage with cross-ventilation.
- Drain or pinch the fuel line: Close the fuel shutoff valve (if equipped) or pinch the fuel line with a clamp to prevent fuel from siphoning out when you disconnect the carburetor. Alternatively, drain the fuel tank into a safe container beforehand.
- Wear safety glasses: Protect your eyes from carburetor cleaner spray and compressed air debris.
- Use gloves: Carburetor cleaner can irritate skin; wear nitrile or chemical-resistant gloves.
- Do not smoke or use an open flame: Carburetor cleaner and gasoline vapors are flammable.
How to Remove the Carburetor from a Riding Lawn Mower
Carburetor location varies by engine model, but the removal sequence is similar for most riding mowers. Consult your mower manual for the exact layout.
Step 1: Remove the Air Filter Housing
The air filter assembly sits on top of the carburetor in most designs. Remove the cover (usually held by clips or a single bolt), then slide out the filter element. Disconnect any intake tubes or hoses. This exposes the carburetor bolts underneath. Users looking for related component recommendations can explore our z890 vs x870e motherboard breakdown.
Step 2: Locate and Document Fuel and Control Linkages
Before removing anything, photograph or sketch the carburetor connections:
- Fuel line: Note which port it connects to (usually the inlet). Pinch it with a clamp or close the fuel valve.
- Throttle cable or rod: The throttle connects to the choke or throttle plate; take a photo so you reconnect it correctly.
- Choke lever: If present, note its position and cable routing.
Step 3: Disconnect Fuel Line and Linkage
Loosen or unclip the fuel line from the carburetor inlet. Have a rag or small container ready to catch residual fuel. Disconnect the throttle cable or rod from the carburetor linkage by removing the cotter pin or clip. Gently unhook or unbolt the choke lever if applicable. Before finalizing equipment decisions, refer to our comprehensive marshall stanmore iii vs harman kardon onyx studio 8 comparison.
Step 4: Unbolt and Remove the Carburetor
The carburetor is typically held to the engine by 2–4 bolts through the mounting flange. Use a socket or wrench to remove these bolts. Carefully lift the carburetor straight up and away from the engine. Do not force it; if resistance occurs, check that all bolts are removed and no hoses are still attached.
Step 5: Remove and Inspect the Intake Gasket
Once the carburetor is off, you may see a gasket between the carburetor and engine. Scrape off the old gasket material with a plastic scraper. Save the gasket for comparison if you are ordering a replacement. For broader ecosystem context, read through our operational guide on dyson v8 cyclone vs bissell featherweight stick.
How to Disassemble and Clean the Carburetor
Now that the carburetor is removed, disassembly begins. Work over a clean surface and keep all small parts organized.
Step 1: Remove the Carburetor Bowl
The bowl is the fuel reservoir at the bottom of the carburetor, held on by a drain screw or multiple bowl bolts. Loosen the drain screw first to release residual fuel into your rag or container. Once drained, remove all bowl bolts. Gently separate the bowl from the carburetor body. Do not force it; the bowl gasket may stick slightly. For troubleshooting and reliability insights, consult our in-depth bissell crosswave hydrosteam vs shark stainforce report.
Step 2: Remove the Float and Needle Valve
Inside the bowl cavity, you will see the float (a hollow plastic or metal arm) and the needle valve (a small pin attached to the float). The float usually pivots on a metal pin. Carefully remove the pivot pin and lift out the float and needle valve assembly. Inspect the needle seat (where the valve sits) for debris or wear.
Step 3: Remove Main and Pilot Jets
Jets are small brass screws with tiny orifices (holes) that meter fuel into the engine. Use a small screwdriver to carefully unscrew each jet:
- Main jet: Controls fuel delivery at higher RPMs; usually located in the center of the carburetor body.
- Pilot jet: Controls fuel at idle and low RPMs; typically mounted on the side or bottom.
Lay jets in your parts container immediately so you do not lose them.
Step 4: Soak and Spray All Parts with Carburetor Cleaner
Place all disassembled parts (bowl, float, jets, valve body) in a clean container. Spray each part liberally with carburetor cleaner, paying special attention to jet orifices and fuel passages. For heavily clogged parts, let them soak in carburetor cleaner for 15–30 minutes. Spray again and use a small wire or pipe cleaner to gently clear each jet hole. Do not force wire through; if it does not pass easily, soak longer.
Step 5: Use Compressed Air to Clear Passages
If you have access to compressed air (from a shop compressor or hand-pump), blow low-pressure air (30–60 PSI) through fuel passages to dislodge remaining debris. Hold each part so solvent drains away from you and into a rag. Compressed air is highly effective for clearing float chambers and galleries inside the carburetor body.
Step 6: Rinse and Dry
After cleaning, spray all parts once more with carburetor cleaner to rinse away loose particles. Use compressed air or a lint-free rag to dry everything thoroughly. Carburetor cleaner evaporates quickly, but ensure no moisture remains before reassembly.
How to Reassemble and Reinstall the Carburetor
Reassembly is the reverse of disassembly, but attention to detail is critical to prevent post-cleaning problems.
Step 1: Install the Needle Valve and Float
Insert the needle valve into the float arm if it separated. Align the float pivot hole with the pivot pin holes on the carburetor body. Carefully slide the pivot pin through to secure the float. The float should move freely up and down; if it sticks, the pivot pin may be bent.
Step 2: Install the Main and Pilot Jets
Screw each jet back into its port by hand first to avoid cross-threading, then tighten with a screwdriver. Do not overtighten; a snug fit is sufficient. If a jet feels stuck, back out and try again.
Step 3: Install a New Gasket and Reattach the Bowl
Replace the carburetor bowl gasket with a new one from your rebuild kit. Position the gasket on the carburetor body, then carefully align the bowl and slide it into place. Install and tighten bowl bolts evenly in a crisscross pattern (like wheel lugs) to ensure a uniform seal. Tighten the drain screw.
Step 4: Reattach the Carburetor to the Engine
Place a new intake gasket on the engine mounting surface. Carefully lower the carburetor onto the gasket, aligning the mounting holes. Insert bolts and tighten evenly; do not overtighten, as aluminum threads can strip.
Step 5: Reconnect Fuel Line and Linkage
Reconnect the fuel line to the carburetor inlet, ensuring it is snug but not over-tightened (fuel lines can rupture if crushed). Reattach the throttle cable or rod to the throttle linkage, verifying it moves freely from idle to full throttle. Reconnect the choke lever if applicable.
Step 6: Reinstall the Air Filter Housing
Place the air filter element in the housing, reinstall the cover, and secure any clips or bolts. Ensure the intake tube connects properly to the carburetor.
How to Test the Mower and Adjust the Carburetor After Cleaning
Before declaring the job complete, test the engine and fine-tune the carburetor if necessary.
Step 1: Reconnect the Spark Plug Wire
Reattach the spark plug wire firmly onto the spark plug. Open the fuel shutoff valve (if equipped).
Step 2: Prime the Carburetor (Optional)
Some mowers have a primer bulb; press it 3–5 times to push fuel into the carburetor before starting. This helps the engine fire on the first or second pull.
Step 3: Start the Engine
Pull the starter cord or use the electric start button. The engine should fire within 2–3 pulls. If it does not start, check that the spark plug wire is connected and fuel is flowing (check for fuel at the carburetor outlet). If the engine starts but dies immediately, the carburetor may need idle adjustment.
Step 4: Observe Idle and Running Behavior
Once running, listen for a smooth, steady idle. The engine should hold 1,200–1,500 RPM at rest (consult your manual for the exact idle speed). If the engine:
- Races or surges: The idle speed screw may be set too high, or air is leaking into the intake. Adjust the idle screw clockwise to reduce RPM slightly.
- Stalls or runs rough: The idle mixture screw (if your carburetor has one) may need adjustment. Turning it clockwise leans the mixture (less fuel); counterclockwise enriches it (more fuel). Make small 1/4-turn adjustments and test between each one.
- Still runs poorly: Fuel may not be reaching the engine properly. Check the fuel line for kinks or pinches. If the fuel line is clear, the needle valve or bowl gasket may not be sealing; you may need to disassemble and recheck.
Step 5: Engage the Blade and Load-Test
After idle settles, engage the mower blade or increase throttle to full RPM. The engine should not hesitate, surge, or bog down. If it does, the carburetor may need further tuning or another cleaning cycle.
When to Replace Instead of Clean the Carburetor
In some cases, cleaning does not restore performance, and replacement is the better option:
- Internal erosion or corrosion: If aluminum passages are pitted or corroded, cleaning cannot repair them. A new carburetor is necessary.
- Cracked bowl or body: Cracks cannot be sealed and will leak fuel. Replace the carburetor.
- Stuck or damaged float: If the float does not move freely or has a hole (it sinks), it cannot be repaired. A rebuild kit includes a new float.
- Worn needle or seat: If the needle valve no longer seals properly (fuel continues to drip from the bowl even when shut off), the component must be replaced. Most rebuild kits include a new needle and seat.
If you suspect internal damage, order a carburetor rebuild kit first. It is cheaper than a full replacement and often solves the problem. If a rebuild kit does not work, then invest in a new carburetor.
How to Prevent Carburetor Buildup and Keep It Clean Longer
Preventive maintenance extends the life of your carburetor and reduces the need for frequent cleanings:
- Use fuel stabilizer: Add a fuel stabilizer to your mower’s fuel tank before storing it for the season. Stabilizers extend the viability of stored fuel to 12–24 months, preventing varnish and gum deposits. Popular brands include Stabil and SeaFoam.
- Run the engine before storage: After treating fuel with stabilizer, run the mower for 5–10 minutes to circulate the treated fuel through the carburetor.
- Drain the fuel tank or run it dry: If you do not use stabilizer, drain the fuel tank completely or run the mower until the tank is empty. This prevents stale fuel from sitting in the carburetor all winter.
- Use fresh, quality fuel: Buy fuel from busy gas stations where inventory turns over quickly. Avoid E15 or E85 ethanol blends if your engine is not rated for them; stick to E10 or pure gasoline. Ethanol-blended fuels degrade faster and are more prone to varnish formation.
- Check the fuel filter: If your mower has an inline fuel filter, replace it annually. A clogged filter forces the carburetor to work harder and can lead to fuel starvation.
- Run the mower regularly: Using the mower every 2–3 weeks keeps fuel fresh and prevents deposits from forming. Infrequent use accelerates carburetor problems.
Everything You Need to Know: How To Clean A Riding Lawn Mower Carburetor FAQ
How long does it take to clean a riding lawn mower carburetor?
For someone with basic mechanical experience, the entire process—disassembly, cleaning, reassembly, and testing—typically takes 30–60 minutes. If parts are heavily clogged or you need to soak them longer, add another 30 minutes. First-time cleaners may take 1.5–2 hours.
Can I clean a carburetor without removing it from the mower?
Partial cleaning (spraying carburetor cleaner into the air intake or fuel line) can help with minor clogs, but full cleaning requires removal. Removing the carburetor gives you access to the bowl, jets, and internal passages where most deposits accumulate. Without disassembly, you cannot clean these thoroughly.
What is the difference between a carburetor cleaner and a brake cleaner?
Brake cleaner is harsher and designed for metal parts; it can damage rubber gaskets and plastic components in a carburetor. Carburetor cleaner is gentler and formulated to dissolve fuel varnish without harming seals. Always use carburetor-specific cleaner, not brake cleaner.
Do I need a carburetor rebuild kit, or can I reuse old gaskets?
Old gaskets lose their sealing properties and are prone to fuel leaks. A carburetor rebuild kit (typically $10–25) includes new gaskets, seals, and sometimes a new needle valve and float. Investing in a kit prevents post-cleaning fuel leaks and is worth the cost. Some kits also include new jets if the originals are damaged.
For more hands-on benchmarks and buying recommendations, consult our guides on heavy-duty chainsaw buyer guide, as well as high-CFM commercial leaf blower guide, as well as durable ride-on lawn tractor guide.
Mechanical safety standards, operational tolerances, and protective gear guidelines align with benchmark specifications established by the American National Standards Institute (ANSI).









