

Mechanical safety standards, operational tolerances, and protective gear guidelines align with benchmark specifications established by the American National Standards Institute (ANSI).
For more hands-on benchmarks and buying recommendations, consult our guides on heavy-duty chainsaw buyer guide, as well as high-CFM commercial leaf blower guide, as well as durable ride-on lawn tractor guide.
Quick Answer: How to Clean a Toro Lawn Mower Carburetor
To clean a Toro lawn mower carburetor: Disconnect the spark plug wire, remove the air filter and carburetor from the engine, disassemble carefully, soak internal components in carburetor cleaner for 15-30 minutes, scrub jets and passages with a wire brush, rinse thoroughly with fresh cleaner, dry completely, and reassemble in reverse order. Most cleanings take 1-2 hours and resolve starting problems and rough running caused by fuel varnish buildup.

Pros
- Large-size design named in product title
- Sharpening and balancing functions listed
- Listed as a new upgraded version

Pros
- Adjustable 15-to-45-degree range in title
- Sharpening and balancing functions listed
Pros
- Includes replacement gaskets and a 98079-55846 spark plug
- Matches Honda HRR216 and HRS216 lawn mower models
- Designed around the 16100-Z8B-901 carburetor specification
Cons
- Restricted to select Honda GCV160 mower applications
- Installation requires basic mechanical tools and skills
When to Clean Your Toro Carburetor
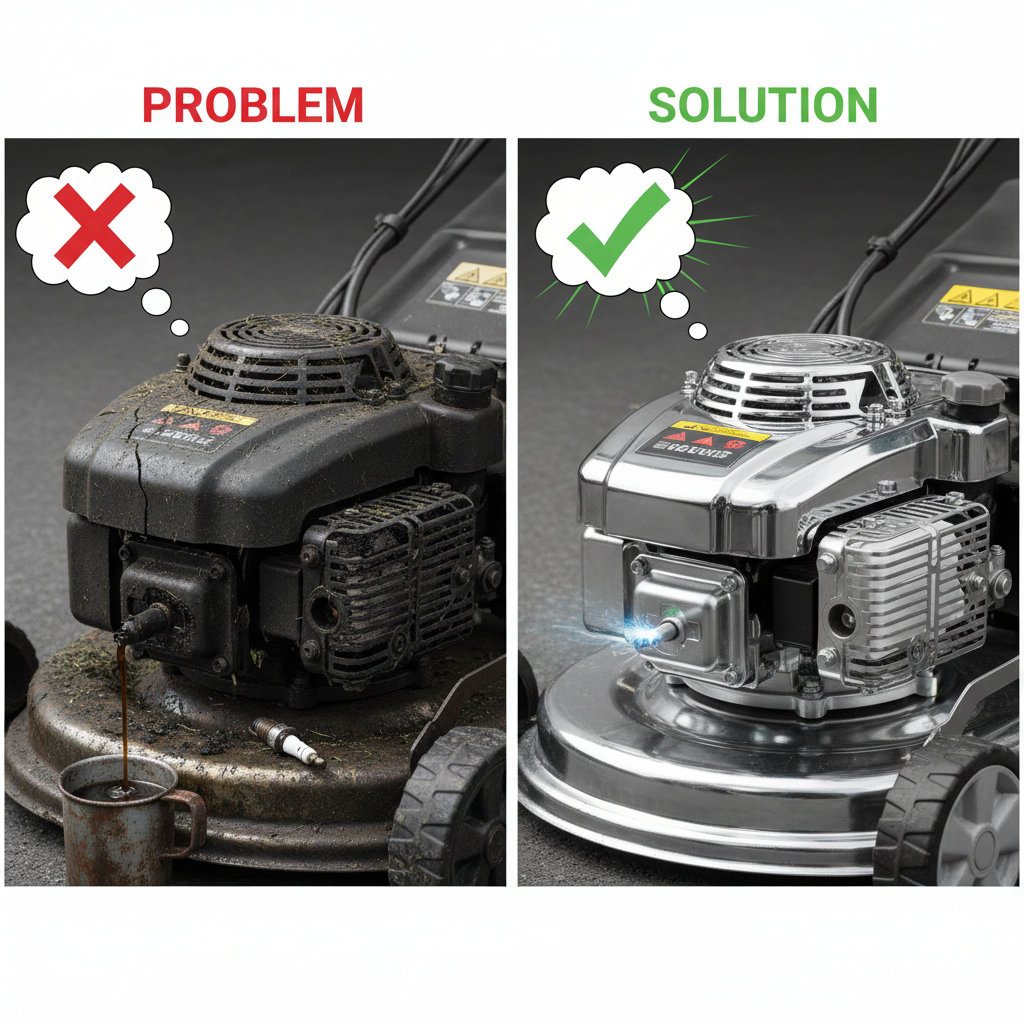
A dirty carburetor is one of the most common reasons a Toro lawn mower won’t start or runs poorly. Fuel that sits unused in the carburetor over winter or during storage oxidizes and leaves behind sticky varnish and gum deposits. These deposits clog the small jets and passages that meter fuel precisely, starving the engine of the fuel it needs to run.
Signs your Toro carburetor needs cleaning include:
- Won’t start or requires extended cranking: Clogged jets prevent fuel from reaching the combustion chamber.
- Rough idling or stalling: Uneven fuel flow causes hesitation and poor idle quality.
- Black smoke or excessive fuel smell: Indicates rich running caused by fuel restrictions forcing the engine to over-compensate.
- Sputtering or surging at full throttle: Fuel flow inconsistencies under load.
- Mower hasn’t run in 3+ months: Preventive cleaning before seasonal use avoids starting problems.
Carburetor cleaning is a cost-effective DIY solution that typically restores full engine performance. Most homeowners can complete the job without special skills or equipment. However, if the carburetor is severely corroded, has internal damage, or if cleaning doesn’t resolve the problem, professional service or carburetor replacement may be necessary.
Tools and Materials You’ll Need
Gather these items before starting to avoid interruptions:
| Tool or Material | Purpose |
| Socket set or screwdriver set | Remove bolts and fasteners holding carburetor and fuel lines |
| Adjustable wrench | Disconnect fuel line fittings |
| Carburetor cleaner (aerosol or liquid) | Dissolve fuel varnish and deposits from internal components |
| Wire brush or soft brass brush | Scrub jets and passages without damaging delicate openings |
| Small container or tray | Soak carburetor components and catch cleaner runoff |
| Clean rags or paper towels | Dry components and wipe surfaces |
| Gasket scraper or soft plastic tool | Remove old gasket material without scratching sealing surfaces |
| Replacement gasket kit | Many Toro carburetors benefit from new gaskets during reassembly |
| Small container for hardware | Organize and prevent loss of small bolts and springs |
Carburetor cleaner type matters: Use a cleaner specifically designed for carburetors, not brake cleaner or general-purpose solvents. Brands like Berryman, Gumout, or Seafoam work well. Aerosol cans offer convenience for spraying jets and narrow passages, while liquid cleaners are better for soaking larger components.
Safety Precautions Before You Start
Small engine work requires care to prevent injury and damage:
- Disconnect the spark plug wire: This is non-negotiable. Remove the wire from the spark plug terminal and position it away from the plug. This prevents accidental engine starting while you work.
- Allow the engine to cool: Wait at least 30 minutes after last use. Hot metal parts and fuel vapor pose burn and fire risks.
- Work in a well-ventilated area: Carburetor cleaner produces strong fumes. Work outdoors or in a garage with the door open and a fan running. Avoid enclosed spaces.
- Never smoke or use open flames: Carburetor cleaner is flammable. Keep it away from ignition sources.
- Drain the fuel tank or position a catch pan: Fuel will spill when you disconnect fuel lines. Place a shallow pan underneath to catch spillage and prevent mess.
- Label fuel line connections: Take a photo or use masking tape labels to mark which hose connects where. This prevents confusion during reassembly.
How to Remove the Carburetor from Your Toro Mower
Step 1: Remove the air filter assembly
Most Toro walk-behind mowers have the air filter mounted directly above or beside the carburetor. Unclip or unbolt the air filter cover and remove the filter element. Set these aside in a clean location. Removing the air filter gives you clear access to the carburetor mounting bolts and fuel lines.
Step 2: Locate and label fuel lines
Your carburetor has at least one fuel line running from the fuel tank and possibly a fuel return or vent line. Before disconnecting anything, take a photo showing which line attaches where. Use masking tape to label each fitting with its position. This prevents mixing up lines during reassembly.
Step 3: Disconnect the fuel line(s)
Position a small container or catch pan beneath the carburetor to catch spilled fuel. Using an adjustable wrench, carefully loosen the fuel line fittings at the carburetor. Some fuel will drip, this is normal. If the fuel tank isn’t already empty or nearly empty, you may need to drain it first to minimize spillage. Have rags ready to wipe spills immediately. Before finalizing equipment decisions, refer to our comprehensive marshall stanmore iii vs harman kardon onyx studio 8 comparison.
Step 4: Remove mounting bolts
The carburetor is typically bolted to the engine’s intake manifold using 2-4 bolts. These are usually accessible from underneath or the side of the carburetor. Use the appropriate socket or screwdriver to remove each bolt. Keep the bolts organized in a small container so you don’t lose them. As you remove the final bolt, gently pull the carburetor away from the engine, being careful not to twist fuel line connections that may still be partially attached.
Step 5: Set aside the old gasket
Once the carburetor is removed, you’ll see a rubber or paper gasket between the carburetor body and the engine. This seals fuel and air passages. Scrape off the old gasket using a soft plastic tool or gasket scraper. Be gentle to avoid scratching the flat sealing surface. Wipe the surface clean with a rag. If you don’t have a replacement gasket kit, you can reuse the old gasket if it’s still pliable, but new gaskets are inexpensive and improve the seal. For broader ecosystem context, read through our operational guide on dyson v8 cyclone vs bissell featherweight stick.
Disassembling and Cleaning Carburetor Components
Step 1: Plan your disassembly
Before removing anything, take a detailed photo of the carburetor from multiple angles. This serves as your reassembly reference. Note the position of springs, clips, and linkages. Many carburetors have an adjustment screw or two on the side—photograph its position, as resetting it after cleaning is important for proper running.
Step 2: Remove the float bowl
The float bowl is the lower chamber that holds liquid fuel and is typically held by one bolt or clip at the bottom. Loosen and remove this fastener. Gently separate the bowl from the upper carburetor body. Inside, you’ll see the float (a hollow plastic or metal sphere) and a needle valve. Carefully remove the float by pushing the hinge pin out. Set these pieces in a clean, organized area. Drain any old fuel from the bowl into your catch pan. For troubleshooting and reliability insights, consult our in-depth bissell crosswave hydrosteam vs shark stainforce report.
Step 3: Remove jets and passages
Carburetor jets are tiny brass cylinders with precisely drilled holes that meter fuel flow. They’re typically held in place by small bolts. Using the appropriate wrench or screwdriver, slowly remove each jet, noting its position. Common jets include the main jet (meters fuel during operation) and the idle jet (meters fuel at idle). Don’t force corroded jets—if a jet resists, apply carburetor cleaner to loosen it. Keep jets and their corresponding bolts separate so they return to the correct positions.
Step 4: Soak components
Fill a shallow container with carburetor cleaner and submerge all removed metal components: jets, needle valve, float bowl, springs, and clips. Let them soak for 15-30 minutes. This dissolves stubborn varnish and gum. Do not soak rubber or plastic components like the float (unless it’s metal) or gaskets. Submerging the float risks rupturing it. Keep rubber and plastic parts separate and clean them with a brush and cleaner-soaked rag instead.
Step 5: Brush jets and passages
After soaking, use a soft brass or nylon wire brush to gently scrub jets and passages. Direct your scrubbing along the jets lengthwise to clear the fuel holes without forcing the brush through them, which could enlarge or damage the opening. For stubborn deposits, spray carburetor cleaner directly into the jet opening and then brush. Use a rag to wipe away loosened debris. Do this for all jets and any passages you can access. Never use steel wool or hard brushes, which can damage the delicate jet openings.
Step 6: Rinse and dry thoroughly
Rinse all cleaned metal components with fresh carburetor cleaner to remove all traces of varnish and debris. Spray or wipe until the cleaner runs clear. Lay cleaned components on a clean rag and allow them to air dry completely. Evaporating cleaner will do most of the drying, but you can gently wipe with a dry rag to speed the process. Ensure no moisture or cleaner residue remains, as these can cause running problems after reassembly.
Reassembling and Reinstalling the Carburetor
Step 1: Reverse the disassembly sequence
Begin reassembly by working backwards through your disassembly steps. This typically means reinstalling jets first, then the needle valve, float, and float bowl. Reinstall jets hand-tight first to ensure they’re in the correct positions and threading correctly. Once all jets are started, tighten them firmly but carefully—over-torquing can strip threads. Replace the float hinge pin and gently reposition the float into its mounts.
Step 2: Reinstall the float bowl
Place the float bowl gasket in position and carefully align the bowl with the upper carburetor body. Insert the mounting bolt and tighten it snugly. Don’t over-torque, which can crack the bowl. The seal should be tight enough to prevent leaks but not so tight that the plastic bowl cracks under pressure.
Step 3: Install a new gasket (recommended)
Before reinstalling the carburetor on the engine, position a new gasket or the original gasket (if reusing) on the engine’s mounting surface. Align it carefully with the bolt holes. New gaskets ensure a proper seal and prevent fuel and air leaks that cause running problems.
Step 4: Reinstall the carburetor on the engine
Carefully guide the carburetor over the mounting studs or holes and press it into position against the gasket. Install mounting bolts hand-tight first, then tighten them evenly in a crisscross pattern (like tightening a wheel) to ensure even pressure and a proper seal. Avoid over-torquing, which can crack the carburetor or crush the gasket.
Step 5: Reconnect fuel lines
Using your photo or labels as a guide, reconnect fuel lines to their original fittings. Hand-tighten fittings first, then use an adjustable wrench to snug them. Fuel line fittings should be tight enough to prevent leaks but not so tight that you strip the threads. Some slight seeping is normal initially; a few seconds of engine running will dry it.
Step 6: Reinstall the air filter
Place the air filter element back in its housing and secure the cover with clips or bolts. Proper air filter installation is critical—a loose or incorrectly seated filter allows unmetered air to enter the carburetor, causing lean running and poor performance.
Step 7: Reconnect the spark plug wire
Reconnect the spark plug wire to the spark plug terminal, ensuring a firm seating. The wire should click or seat with slight resistance, indicating a good connection.
Step 8: Prime and test
Before starting the engine, if your Toro has a fuel primer bulb, squeeze it 3-5 times to refill the carburetor with fresh fuel. This speeds startup and reduces cranking time. Now attempt to start the mower. The engine should catch within a few seconds of cranking. If it starts and runs smoothly, the cleaning was successful. Allow it to run for several minutes to warm up and stabilize.
Troubleshooting: When Cleaning Doesn’t Solve the Problem
Mower still won’t start after cleaning
If the engine doesn’t start or starts briefly then quits, check these issues: (1) Verify the spark plug wire is connected firmly and the spark plug is clean and properly gapped. A fouled spark plug prevents ignition. (2) Check that all fuel lines are connected correctly and tightly—loose connections allow air to enter fuel passages, preventing proper fuel delivery. (3) Ensure the fuel tank has fresh, clean fuel. Old fuel oxidizes and won’t burn efficiently. (4) Verify the air filter is installed correctly and not clogged. A blocked filter restricts air, creating too-rich a fuel mixture that won’t ignite. (5) Check that carburetor mounting bolts are snug and the gasket is sealing properly. Loose connections allow vacuum leaks, disrupting engine timing.
Engine runs but is rough or stalls
Rough running after carburetor cleaning often indicates an air leak or incomplete reassembly. (1) Inspect all carburetor mounting bolts—one loose bolt allows unmetered air to enter, making the engine run lean and stall. Tighten any loose fasteners. (2) Check fuel line connections for leaks or loose fittings. Air in the fuel line prevents consistent fuel delivery. (3) Verify the float bowl gasket is seated correctly. Recheck the gasket position and mounting bolt torque. (4) If the engine runs very lean (surging or hesitating), the main jet or idle jet may still be partially clogged. Remove the affected jet and repeat the soaking and brushing process.
Black smoke or excessive fuel smell
This indicates the engine is running too rich (too much fuel, too little air). (1) Verify the air filter is clean and installed correctly. A blocked filter forces the carburetor to compensate by running richer. (2) Check the float level—an incorrectly positioned float can cause excess fuel to enter the combustion chamber. Consult your Toro manual for the correct float height and adjust if necessary. (3) Ensure no carburetor cleaner residue remains inside fuel passages or jets; this can disrupt fuel metering and cause rich running. (4) Confirm that the idle adjustment screw is at its original position (photographed before disassembly).
Fuel leaks from the carburetor**
Leaks typically indicate seal failures or loose connections. (1) Check that fuel line fittings are tight—a leaking connection is the most common cause. Use an adjustable wrench to snug the fitting. (2) Inspect the float bowl gasket for cracks or improper seating. Remove the float bowl, check the gasket, and reinstall with a new gasket if the original is damaged. (3) Verify the float bowl mounting bolt is tightened evenly. Over-torquing can crack the plastic bowl; under-torquing allows leaks. (4) If the needle valve itself is leaking, it may be damaged and require replacement—this is a more complex repair often better handled by a professional.
When professional service is needed
If cleaning doesn’t restore engine performance after addressing the troubleshooting steps above, the carburetor may have internal damage, a cracked body, or a failed internal component. Additionally, if the engine won’t start after checking spark, fuel, and air systems, or if you’re uncomfortable with disassembly, professional carburetor service or replacement may be more cost-effective than repeated DIY attempts. Many small engine shops can professionally clean, rebuild, or replace a carburetor for $75-200, often faster and with a warranty.
Frequently Asked Questions About How To Clean Carburetor Toro Lawn Mower
How often should you clean a Toro lawn mower carburetor?
Most homeowners need to clean the carburetor once per year or every 50-100 operating hours. Seasonal maintenance before spring startup prevents starting problems. If your mower sits unused for more than 3-4 months, especially over winter, fuel in the carburetor oxidizes and deposits form. Running the mower dry at the end of each season (by shutting off the fuel valve and letting it run until the carburetor is empty) reduces varnish buildup and eliminates the need for frequent cleaning. Mowers used frequently and stored properly may need cleaning less often.
Can you clean a carburetor without removing it from the engine?
Partial cleaning is possible—you can spray carburetor cleaner directly into the air intake or carb opening while the engine is running, which helps dissolve light deposits. However, complete cleaning of jets, passages, and the float bowl requires removal and disassembly. In-engine cleaning is a temporary fix and won’t resolve starting problems caused by severely clogged jets or varnish buildup in the float bowl. For reliable results, removal and detailed cleaning is recommended.
What’s the difference between cleaning and carburetor rebuild?
Cleaning involves soaking and brushing away fuel deposits from existing components and reassembling them. A rebuild goes further—it involves replacing seals, gaskets, springs, and other wear components that may have deteriorated or contribute to poor sealing. Rebuilds are more thorough and longer-lasting but require a rebuild kit specific to your Toro model and more advanced mechanical skill. Most homeowners can handle cleaning; rebuilds are often better left to professionals unless you’re experienced with small engines.
Is carburetor cleaner safe to use indoors?
No. Carburetor cleaner produces strong fumes that are harmful to inhale in enclosed spaces. Always work outdoors or in a well-ventilated garage with doors and windows open and a fan running. Prolonged exposure to fumes can cause dizziness, headaches, and respiratory irritation. Use the cleaner in short bursts rather than continuous application, and take breaks to breathe fresh air. If you feel lightheaded, stop work immediately and move to fresh air.









