Direct Answer
To put string on a weed eater, first disconnect the spark plug wire or remove the battery for safety. Remove the spool cap by rotating it counterclockwise (or as indicated by your manual), then take out the empty spool. Cut a length of trimmer line matching your trimmer’s specifications (typically 0.065 to 0.095 inches in diameter), insert one end into the anchor hole, and wind the line in the direction shown by arrows on the spool. Leave about 5–6 inches of line protruding on each side, thread the ends through the eyelets on the trimmer head, and reassemble the cap. The line is now ready to use.
What Does “Weed Eater” Actually Mean?
“Weed Eater” is both a brand name and a generic term. The Weed Eater brand (owned by Positec) manufactures string trimmers, but over time the name became synonymous with string trimmers in general, similar to how “Kleenex” is used for facial tissues. The steps in this guide apply to most string trimmer models from any manufacturer—including Ryobi, Craftsman, Black & Decker, MTD Yard Machines, and others—though specific details may vary slightly based on your trimmer’s design.
Key Factors to Consider Before Loading String
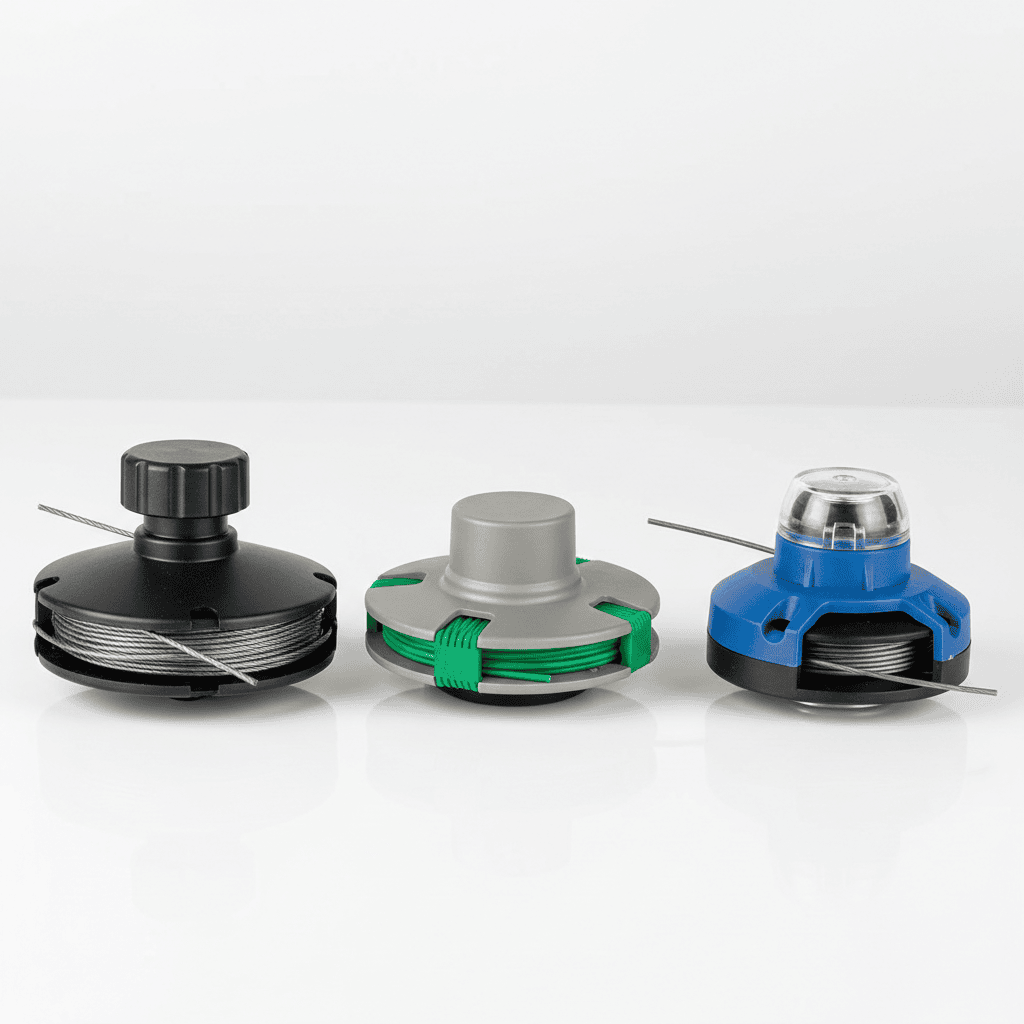
Before you begin, identify three critical details about your trimmer:
- Spool Head Type: Most residential trimmers use a bump-feed head, which automatically advances line when you tap it on the ground. Some have fixed-line heads (where you manually pull the line to extend it) or auto-feed heads (which dispense line continuously). Check your manual to confirm.
- Single or Dual-Line Spool: Bump-feed heads typically use dual-line spools (two cutting lines), while fixed-line heads use single-line designs. Dual-line requires winding line in both channels.
- Line Gauge and Length: The diameter matters. Light residential work uses 0.065 to 0.080 inches, standard lawns use 0.080 to 0.095 inches, and heavy brush work uses 0.105 to 0.155 inches. Your trimmer manual specifies the correct gauge; using the wrong size can damage the motor or cause line breakage. Most residential bump-feed spools hold 20–50 feet of line.
Step-by-Step: How to Put String on a Bump-Feed Spool
The bump-feed head is the most common type on residential string trimmers. Follow these steps:
Step 1: Prepare the Trimmer for Safety
- Turn off the trimmer completely.
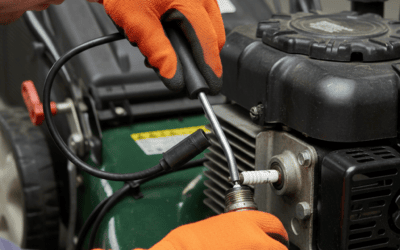
- If gas-powered, disconnect the spark plug wire from the spark plug to prevent accidental starting.
- If battery-powered, remove the battery pack.
- If corded electric, unplug it from the outlet.
- Wait a few minutes for any residual motor heat to dissipate.
Step 2: Remove the Spool Cap
- Locate the bump knob (the central cap) on the bottom of the trimmer head.
- For most models, rotate the bump knob counterclockwise to unscrew it. Some models may require clockwise rotation—check your manual.
- Carefully remove the cap and set it aside in a safe place.
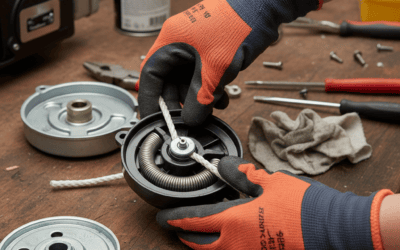
Step 3: Remove the Empty Spool
- Lift out the internal spool (reel) from the housing. It may be held by a spring or small pin—handle it gently.
- If you find a spring, note its position so you can reinstall it correctly.
Step 4: Cut and Prepare the New Line
- Measure the amount of line your spool requires. Check your manual, or use this rule of thumb: most residential bump-feed spools hold 20–40 feet of line.
- Cut a length of trimmer line to the required size using scissors or a utility knife. Make clean, straight cuts to prevent fraying.
- Ensure the line diameter matches your trimmer’s specification (found in the manual or on the spool itself).
Step 5: Insert and Anchor the Line
- Locate the anchor hole(s) on the spool—these are small notches or slots where the line is secured at the start of winding.
- Insert one end of the trimmer line into the anchor hole. Push it in until it’s snug and won’t slip.
- For dual-line spools, there are two anchor holes (one for each line). Insert the first end into one hole.
Step 6: Wind the Line
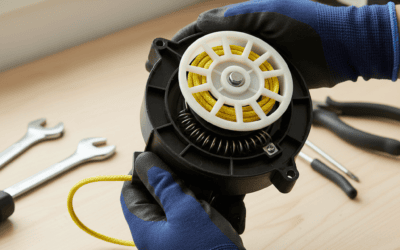
- Look for directional arrows printed or molded onto the spool. These indicate which way to wind.
- Wind the line evenly in the direction shown by the arrows. Overlap the line neatly—avoid crossing or tangling it, which causes feeding problems later.
- Wind slowly and deliberately. If using a speed winder tool, pull the line taut every 5–7 revolutions to keep it organized.
- Continue winding until about 5–6 inches of line remains visible. Do not overwind or the spool will jam.
Step 7: Prepare the Second Line (Dual-Line Spools)
- For dual-line spools, insert the second end of your line (or a separate length of line if using the head’s design) into the second anchor hole.
- Wind this second line in the same direction as the first, keeping tension even across both channels.
- Leave approximately 5–6 inches protruding from the second anchor as well.
Step 8: Thread the Line Through the Eyelets
- Locate the eyelets (small openings) on the outer trimmer head housing. These guide the cutting line.
- Thread one protruding line end through one eyelet, pulling it taut.
- Thread the second line end through the second eyelet.
- Ensure both lines are centered in their eyelets and won’t slip during use.
Step 9: Reassemble the Spool Cap
- Carefully place the internal spool back into the trimmer head housing, ensuring the spring (if present) is correctly positioned.
- Align the bump knob cap with the housing threads.
- Rotate the bump knob clockwise to screw it back on. Tighten it snugly, but do not overtighten, which can crack the plastic.
Step 10: Verify and Test
- Visually inspect the line protruding from both eyelets—it should be even and taut.
- Gently tap the bump knob on the ground (or manually rotate it) to test if the line feeds out correctly. It should advance slightly with each bump or rotation.
- If the line doesn’t feed, the spool may be jammed or the line may be tangled—reopen the head and inspect.
Variations: Fixed-Line and Auto-Feed Heads
Fixed-Line Head
Fixed-line heads hold a single, pre-wound spool and require manual line extension. To reload: remove the spool cap, take out the old spool, insert a new pre-wound spool, and screw the cap back on. These heads don’t require winding—you simply pull the protruding line to extend it as it wears. This design is simpler but doesn’t advance line automatically when tapped.
Auto-Feed Head
Auto-feed heads automatically dispense line as it wears without requiring a bump or manual pull. The winding process is similar to bump-feed heads—insert the line, wind it directionally, and thread it through eyelets—but the internal mechanism is different. Consult your trimmer’s manual, as auto-feed spools sometimes have a different anchor and eyelet configuration. Never force the line if it resists; auto-feed heads can jam if line is wound incorrectly.
Common Mistakes and Troubleshooting
Line Won’t Feed After Reassembly
Cause: The line is tangled, crossed over itself, or wound in the wrong direction. The spool may also be jammed against the housing.
Solution: Remove the spool cap again, inspect the spool for tangles or crossovers, and rewind if necessary. Verify the directional arrows and wind again in the correct direction. Ensure the spool sits freely in the housing without binding.
Line Breaks Frequently During Use
Cause: The line gauge is too thin for your trimmer or the task, or the line is old and brittle.
Solution: Replace with the correct gauge specified in your manual. If using the correct gauge, your trimmer may be operating at very high RPM—consider thicker line (0.095 or 0.105 inches). Always use fresh line; old or UV-damaged line is more prone to breaking.
Spool Won’t Turn When Winding
Cause: The spool is overloaded with line, or the spool is jammed against the housing or spring.
Solution: Remove some wound line and try again. Verify that the internal spring and spool are positioned correctly and that the spool rotates freely before adding line. Clean any dirt or debris inside the housing.
Line Slips Out of the Anchor Hole
Cause: The line end wasn’t inserted deeply enough or isn’t snug in the anchor hole.
Solution: Reinsert the line end and push it firmly into the anchor hole. Some anchor designs require the line to be looped or wrapped slightly; check your manual for the specific technique.
Uneven Line Protrusion
Cause: One line end was wound with more tension or to a different length than the other.
Solution: Remove and rewind, ensuring even tension and equal line length on both sides. Use a reference mark (like a piece of tape) at the 5–6 inch point to keep track of line length as you wind.
Line Gauge Reference Chart
| Line Gauge (inches) | Typical Use | Best For |
|---|---|---|
| 0.065–0.080 | Light residential | Thin grass, light edging, delicate areas |
| 0.080–0.095 | Standard residential | Most home lawns, mixed grass and weeds |
| 0.095–0.110 | Medium-heavy residential | Thick weeds, overgrown areas, larger lawns |
| 0.105–0.155 | Heavy-duty commercial | Dense brush, woody growth, thick vegetation |
Tips for Success
- Always consult your manual: Specific winding directions and line specifications vary by model. Your manual is the most reliable reference.
- Keep line organized: Cross-wound or tangled line is the #1 cause of feeding problems. Wind slowly and neatly.
- Use the correct gauge: Using line thinner than recommended wastes your time with constant breakage; line thicker than recommended strains your motor.
- Measure accurately: Over-winding causes jamming; under-winding wastes trimmer time. Aim for 5–6 inches of protruding line.
- Replace line regularly: Trimmer line degrades in sunlight and use. Replace it annually or after heavy use, even if it hasn’t broken.
- Buy spools in bulk: Pre-wound spools are more expensive per foot than bulk line, so consider buying a spool of line and winding your own for long-term savings.
Frequently Asked Questions
Q: How often should I replace trimmer line?
A: Replace line when it becomes too short to cut effectively (usually after 1–2 hours of heavy use), or annually if you trim infrequently. Line degrades from UV exposure and repeated impacts, so old line is more prone to breaking even if it hasn’t been used much.
Q: Can I use a different gauge of line than what my manual specifies?
A: Not recommended. Using thicker line than rated can overstrain your motor, reduce battery life (on cordless trimmers), and cause overheating. Using thinner line will break frequently and won’t cut efficiently. Always match the specification in your manual.
Q: What if my trimmer has a pre-wound spool instead of a bare spool?
A: Pre-wound spools are common on some models. Simply remove the old spool cap, take out the spent spool, insert a new pre-wound spool, and screw the cap back on. No winding is required. Pre-wound spools are more expensive but faster to install.
Q: How do I know if my trimmer head is bump-feed, fixed-line, or auto-feed?
A: Check your manual or examine the head itself. Bump-feed heads have a large knob in the center that you tap on the ground to advance line. Fixed-line heads have a simple cap and require you to pull the line manually. Auto-feed heads have a similar cap to fixed-line but advance line automatically as it wears. When in doubt, consult your trimmer’s user guide or search your model number online.
Final Thoughts
Putting string on a weed eater is a straightforward task once you understand your specific trimmer’s design. The key steps—disconnect power for safety, remove the old spool, cut the correct gauge and length of line, wind it neatly in the indicated direction, and thread it through the eyelets—apply to nearly all residential trimmers. Take your time during winding to avoid tangles, follow your manual for model-specific details, and you’ll have a properly loaded trimmer ready for yard work. With practice, the entire process typically takes 5–10 minutes.