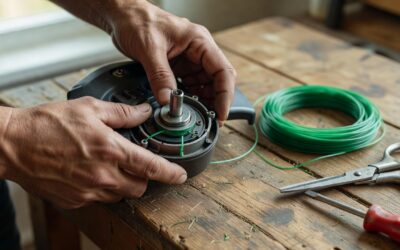
Quick Answer: How to Remove a Weed Eater Head
Most weed eaters secure the cutting head using either a quick-release collar or a fastening bolt. To remove it: disconnect power (unplug corded models, remove batteries from cordless units, or let gas engines cool), locate the fastening mechanism where the head connects to the shaft, turn counterclockwise with your hand or an appropriately sized wrench until loose, then carefully pull the head assembly straight out. The exact process varies by model and manufacturer, so always consult your user manual for specific instructions.
Safety Precautions Before Removing the Head
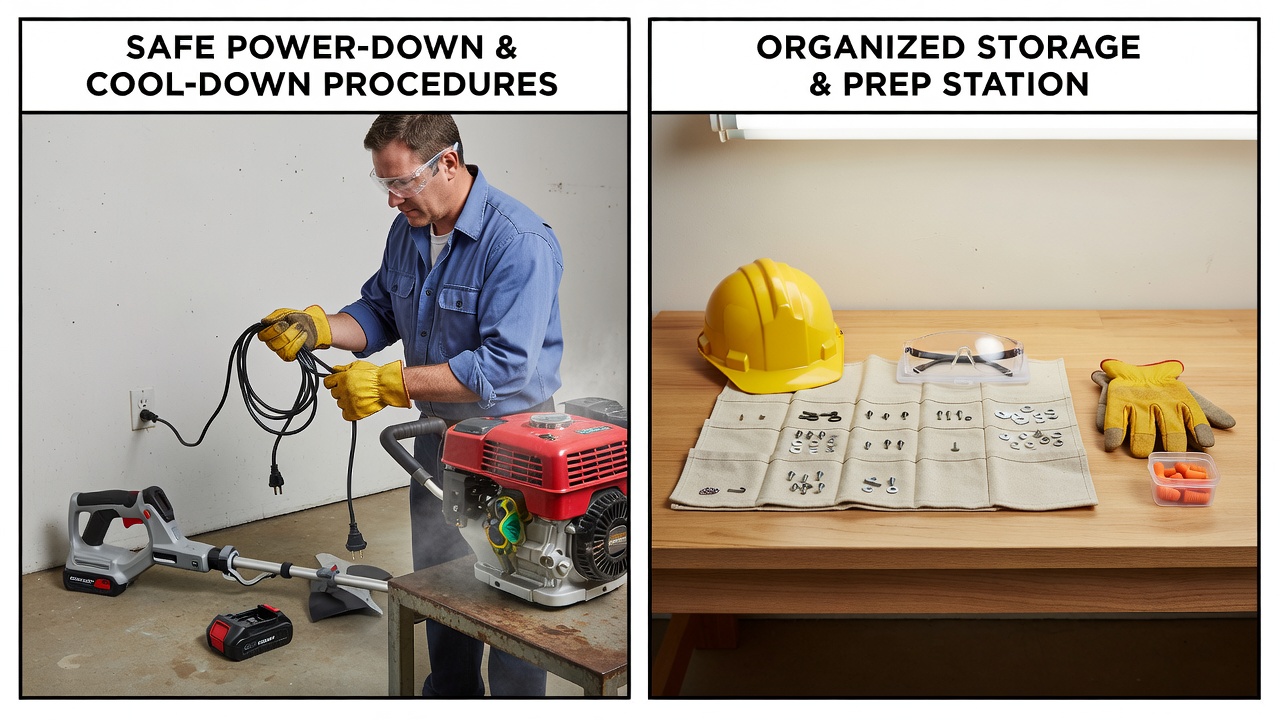
Before attempting any disassembly work on your weed eater, follow these essential safety steps:
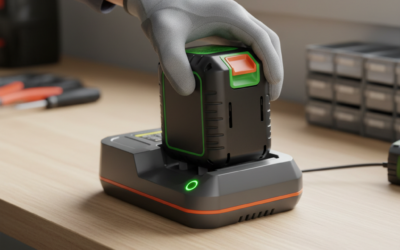
- Disconnect all power sources. For corded electric models, unplug the unit from the outlet. For cordless battery-powered models, remove the battery pack completely. For gas-powered weed eaters, turn off the engine and allow it to cool for at least 5–10 minutes before touching any components.
- Wear appropriate protective gear. Use work gloves to protect your hands from sharp cutting edges, especially if the string head or blade is still attached. Safety glasses protect against any debris that may fall during disassembly.
- Work on a clean, flat surface. Place the weed eater on a stable workbench or table where small fasteners won’t roll away. Use a clean cloth to catch bolts, collars, or springs that may be released.
- Allow gas engines adequate cooling time. Gas-powered equipment retains heat; touching hot components can cause burns. Wait at least 10 minutes after shutdown before handling.
- Check the manual first. Your specific model may have unique disassembly procedures or warnings. Manufacturer guidance takes precedence over general instructions.
Identifying Your Weed Eater Type and Fastening Mechanism
Weed eater head removal processes vary depending on the power source and attachment system. Understanding your model is the first step to successful removal.
Power Source Differences
- Cordless (Battery-Powered): These models are the safest to work with because they have no engine or cord hazards. Simply remove the battery before disassembly. Most cordless models from brands like DeWalt, Ryobi, and Makita use quick-release collars for easy head changes.
- Corded Electric: Always unplug from the outlet before working. These models are lighter and simpler than gas versions, typically using either quick-release collars or small bolts. No cooling time is required.
- Gas-Powered: These require the longest safety preparation. Turn off the engine, let it cool, and wait for residual heat to dissipate. Gas models often use heavier-duty fastening bolts due to vibration during operation.
Fastening Mechanism Types
The head attaches to the shaft using one of two primary methods:
- Quick-Release Collar: A plastic or metal collar that twists counterclockwise by hand or with a wrench. This is the most common system on residential models and allows tool-free head changes. You’ll see this on most cordless and corded electric models.
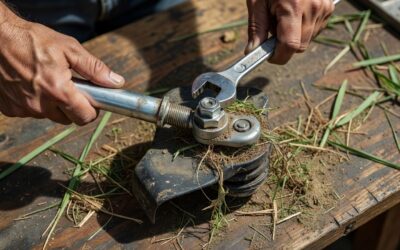
- Fastening Bolt: A single bolt (usually 1/4 inch or 5/16 inch) that secures the head to the shaft. Common on gas-powered and commercial-grade models. Requires a wrench or socket to remove.
The fastening mechanism is located at the base where the cutting head connects to the upper shaft. Locate this junction before beginning removal.
Tools You’ll Need
Gather these items before starting the removal process:
- Appropriately sized wrench or socket set: Common sizes are 5/16 inch, 3/8 inch, and 1/2 inch for bolts; quick-release collars typically require a 10 mm or 13 mm wrench, though many can be turned by hand.
- Work gloves: Leather or mechanics gloves protect your hands from sharp edges and rough surfaces.
- Safety glasses: Protects your eyes from debris or fasteners that may fall during disassembly.
- Clean cloth or small container: Use these to catch and organize bolts, washers, or springs so they don’t get lost.
- Penetrating oil (optional but recommended): Products like WD-40 or PB Blaster can help loosen stuck bolts or collars. Allow 10–15 minutes for the oil to penetrate before attempting removal.
- Rubber mallet (optional): For stuck heads that won’t pull free after loosening, a gentle tap with a rubber mallet can help without damaging components.
Removal Steps for Quick-Release Collars
Quick-release collars are the easiest fastening system to work with and represent the majority of residential weed eater models.
- Disconnect power. Unplug corded models or remove the battery from cordless units. For gas models, turn off the engine and wait for cooling.
- Locate the collar. Look where the cutting head meets the upper shaft. You’ll see a threaded plastic or metal collar surrounding the shaft.
- Turn counterclockwise. Using your hand or a wrench, grasp the collar and turn it counterclockwise. Start with moderate pressure; do not force it immediately if it feels stuck. Many residential collars can be turned by hand without tools.
- Continue turning until fully loose. Once you feel resistance disappearing, keep turning until the collar spins freely and can be removed by hand.
- Pull the head straight out. Gently grasp the cutting head and pull it straight away from the shaft with a steady, even motion. Do not twist or angle it sideways, as this can misalign internal components.
- Set the collar and head aside. Place these components on a clean surface where they won’t roll away.
Removal Steps for Bolt Fasteners
Bolt-secured heads are more common on gas-powered and heavier-duty models. This process requires slightly more effort but follows the same basic principle.
- Disconnect power and allow cooling. For gas models, turn off the engine and wait 10 minutes. For corded models, unplug from the outlet.
- Identify the bolt. Look at the base of the cutting head where it connects to the shaft. You should see a single bolt (occasionally two, depending on the model) protruding from or through the center of the head.
- Select the correct wrench or socket size. Common sizes are 5/16 inch, 3/8 inch, and 1/2 inch. Fit the wrench snugly onto the bolt head to avoid stripping it.
- Turn counterclockwise. Apply steady, even pressure as you turn the wrench counterclockwise. This removes the bolt. Do not use excessive force; if the bolt feels very tight, spray penetrating oil and wait 10–15 minutes before trying again.
- Remove the bolt completely. Once the bolt is loose, continue turning until you can remove it by hand. Be careful not to drop it; place it immediately in a small container or on your cloth.
- Note any washers or spacers. Some models have a washer or plastic spacer under the bolt head. Keep track of these; they must be reinstalled in the same order during reassembly.
- Pull the head straight out. Grasp the cutting head and pull it directly away from the shaft with steady, even pressure. The head should slide off smoothly once the bolt is removed.
Troubleshooting: What If the Head Won’t Come Off?
Stuck components are common, especially on older models or those that haven’t been serviced recently. Here’s how to address common issues:
Stuck Quick-Release Collar
- Apply penetrating oil: Spray WD-40 or similar lubricant around the collar where it meets the shaft. Let it soak for 15–20 minutes to break down corrosion and dried debris.
- Try a larger wrench: If turning by hand doesn’t work, use a wrench or adjustable wrench for better leverage. Wrap a cloth around the collar first to prevent marring the plastic.
- Tap gently with a mallet: After applying penetrating oil, tap the collar gently with a rubber mallet to help break loose corrosion. Tap around the circumference, not in one spot.
- Use heat carefully: For metal collars, applying gentle heat (such as a heat gun on low setting, held 6 inches away for 30 seconds) can help expand stuck components slightly. Do this only if the collar is metal, not plastic.
Stuck Fastening Bolt
- Apply penetrating oil and wait: Spray the bolt generously and wait 20–30 minutes for maximum penetration. Reapply if necessary.
- Increase wrench leverage: Use a longer wrench or slip a length of pipe over the wrench handle to increase leverage. Apply slow, steady pressure rather than sudden force, which can strip the bolt head.
- Tap the wrench handle: Once the bolt begins to turn slightly, tap the wrench handle gently with a hammer to help break corrosion in increments.
- Avoid stripping: If the bolt head begins to round off, stop immediately. Stripped bolts may require drilling out or cutting off. Use the correct wrench size and ensure full contact before applying force.
Head Won’t Pull Free After Fastener Removal
- Check for hidden fasteners: Some models have a second, less obvious bolt or clip. Examine the head connection carefully for any remaining fasteners.
- Tap around the head base: Use a rubber mallet to tap gently around the circumference where the head meets the shaft. This can help break a friction seal without damaging components.
- Wiggle as you pull: While pulling straight out, gently wiggle the head side to side. This can help break corrosion without applying excessive force.
- Apply penetrating oil at the junction: Spray lubricant directly into the gap where the head meets the shaft and let it soak for several minutes.
Model-Specific Variations
While the general process applies across most residential models, some manufacturers have specific design quirks:
- Ryobi cordless models: Most use quick-release collars that turn counterclockwise by hand. No tools are required for routine head changes. Battery removal is essential before disassembly.
- DeWalt gas and cordless models: DeWalt typically uses quick-release systems on cordless models and bolt fasteners on gas models. Gas models often require a 5/16 inch wrench.
- Echo gas-powered models: These professional-grade units commonly use bolt fasteners. Allow extended cooling time (15 minutes minimum) before handling, as these engines run hotter than residential models.
- Corded electric models (various brands): Most use quick-release collars for user convenience. Always verify the correct direction of rotation in your manual, though counterclockwise is standard.
Always consult your specific model’s user manual for exact procedures, as there are exceptions to these general guidelines.
Reinstalling the Head After Maintenance
Proper reinstallation is just as important as removal to ensure safe operation:
- Clean the shaft: Before reinstalling, wipe the shaft clean with a cloth to remove dirt or debris that could affect the connection.
- Align the head correctly: For quick-release collars, slide the head onto the shaft and ensure it’s seated properly before twisting the collar clockwise. For bolt fasteners, position the head and hand-thread the bolt first to ensure proper alignment.
- Tighten securely but not excessively: For collars, tighten until snug—you should feel resistance but should not need to strain. For bolts, tighten firmly with your wrench but do not over-tighten, which can strip threads or crack plastic components. A good reference: tighten until snug, then turn an additional quarter turn.
- Test before use: Before operating the weed eater, grasp the head firmly and try to move it by hand. It should not twist or wobble. If it does, the fastener is not tight enough.
Frequently Asked Questions
How often should I remove and clean the weed eater head?
Most manufacturers recommend inspecting the head quarterly and cleaning as needed to remove grass buildup and debris. If you use your weed eater regularly (weekly or more), monthly cleaning will extend the life of the cutting head and maintain cutting efficiency. Full removal for cleaning is typically necessary only a few times per season unless grass accumulates rapidly in your climate.
What’s the difference between removing the head and removing the string spool?
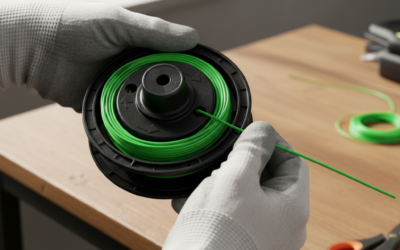
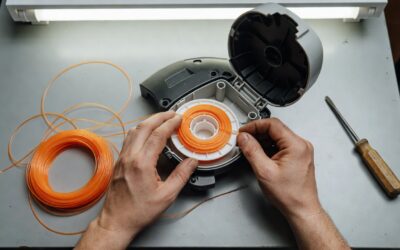
The cutting head assembly includes multiple components: the outer housing, the internal spool (which holds the string), and the fastening mechanism. Removing the entire head disconnects all of these from the shaft. If you only need to replace string or access the spool, you may only need to remove the spool cap (usually a plastic cover on the head) without removing the entire head. Check your manual to determine which level of disassembly your task requires.
Can I use the same wrench size on different weed eater brands?
Not necessarily. Ryobi, DeWalt, Echo, and other brands use different bolt sizes depending on the model’s power and design. Cordless models commonly use smaller bolts (1/4 inch), while gas models may use 3/8 inch or larger. Keep a variety of wrench sizes (5/16, 3/8, and 1/2 inch) on hand, or use an adjustable wrench. Always verify the correct size in your manual to avoid stripping the bolt head.
Is it normal for the head to be difficult to remove?
Some resistance is normal, especially if the weed eater hasn’t been serviced in a while or has been used in wet conditions. Grass, moisture, and mineral buildup can cause fasteners to stick. If the head is extremely stuck—to the point that you fear stripping the bolt or breaking the collar—stop and apply penetrating oil, then wait 15–30 minutes before trying again. Forcing a stuck component risks damage that is more expensive to repair than spending extra time on removal.
Key Takeaways
- Always disconnect power and allow gas engines to cool before removing the head.
- Identify whether your model uses a quick-release collar (usually counterclockwise by hand) or a fastening bolt (wrench required).
- Pull the head straight out without twisting to avoid misaligning internal components.
- For stuck components, apply penetrating oil and wait 15–30 minutes before forcing removal.
- Consult your model-specific user manual for exact procedures and fastener sizes.
- Reinstall with the same care used for removal, ensuring the connection is snug but not over-tightened.