How to Replace a Weed Eater Head: Quick Answer
To replace a weed eater head, disconnect power (unplug electric models or remove the battery from cordless units), then locate the retaining nut or bolt at the base of the head assembly. Use the appropriate wrench or socket to loosen it by turning counterclockwise. Slide off the old head, clean the shaft, and install the new head by reversing the process—align it properly and tighten the nut clockwise until snug. Test briefly to ensure it spins freely.
Identify Your Weed Eater Head Type
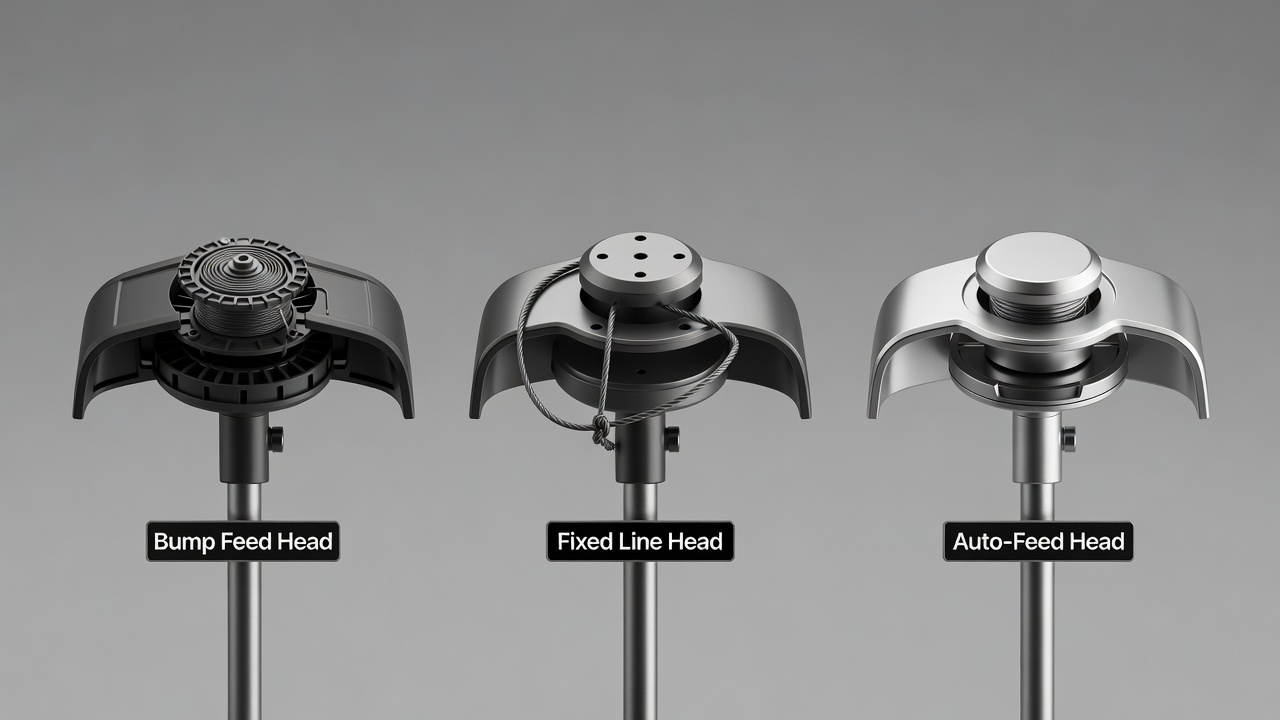
Before you begin, understanding your trimmer’s head type determines both the replacement process and compatible replacement heads. Most residential weed eaters use one of three designs.
Bump Feed Heads
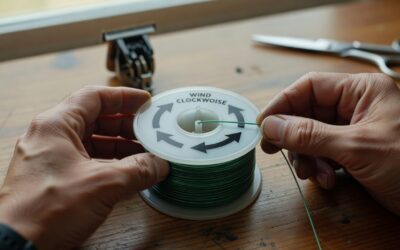
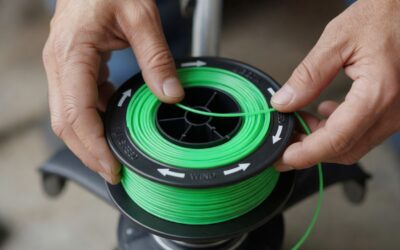
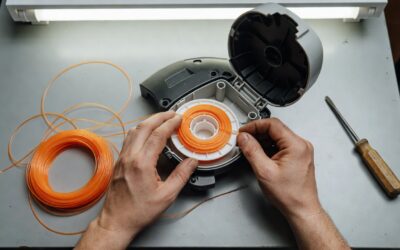
Bump feed heads are the most common type on residential trimmers. They feature a spool that advances cutting line automatically when you tap the head against the ground during operation. This design works on gas, electric, and cordless models. The spool typically contains a spring-loaded mechanism inside, making it ideal for continuous trimming without stopping to manually extend the line.
Fixed Line Heads
Fixed line heads have pre-set cutting lines that don’t advance automatically. You manually unwind and trim the excess line to your desired length. These heads are simpler mechanically and often found on budget models or older trimmers. They require more maintenance since you must manually manage line length during use.
Auto-Feed Heads
Auto-feed heads advance new line continuously as you trim, eliminating the need to tap the head on the ground. These premium heads are common on cordless and higher-end gas trimmers. They offer convenience but typically cost more than bump feed alternatives and may require specific spool cartridges.
Tools and Materials You’ll Need
Gather these items before starting your replacement to avoid interruptions:
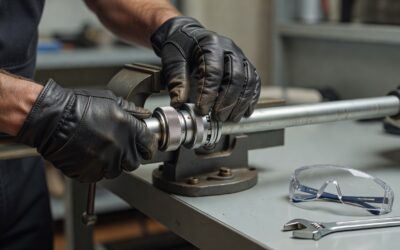
- Wrenches or sockets: Most weed eater heads use 10mm, 12mm, or 13mm sizes. Check your trimmer manual or test common sizes to identify the correct fit.
- Replacement weed eater head: Purchase either a brand-specific head (recommended for warranty coverage) or a universal head compatible with your trimmer shaft diameter.
- Screwdriver set: Phillips and flathead options may be needed to remove covers or access mounting bolts.
- Pliers or adjustable wrench: Helpful for gripping the shaft while loosening stubborn nuts.
- Clean cloth: Use this to wipe debris and inspect the shaft for damage.
- Work gloves: Protect your hands from sharp edges on old heads and rough surfaces.
- Safety glasses: Wear these when working on any power tool, even when powered off.
How to Remove the Old Weed Eater Head
Step 1: Disconnect Power Safely
For electric trimmers: Unplug the cord from the wall outlet. Do not rely on the power switch alone—physically disconnect the power source to eliminate any risk of accidental startup.
For cordless trimmers: Remove the battery pack completely and set it aside in a safe location away from the work area.
For gas trimmers: Disconnect the spark plug wire by gently twisting and pulling it free. This prevents accidental ignition during maintenance.
Step 2: Locate and Access the Retaining Nut
The retaining nut sits at the base of the cutting head assembly where it connects to the trimmer shaft. On most models, you’ll see a large bolt or nut directly below the head. Some trimmers have a cover or protective shroud you may need to remove first using a screwdriver.
Step 3: Prevent Shaft Rotation
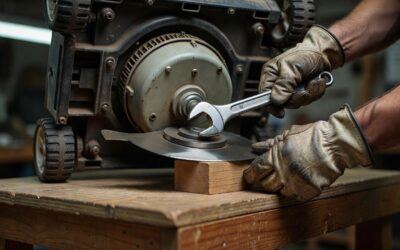
Hold the shaft steady with one hand or use pliers to grip it while loosening the nut with your wrench. This prevents the shaft from spinning, which makes the bolt much easier to remove. Some trimmers have a flat spot on the shaft designed for a wrench—use this if available.
Step 4: Loosen and Remove the Nut
Turn the wrench counterclockwise to loosen the retaining nut. Most weed eater heads use standard right-hand threads, so counterclockwise removes and clockwise tightens. If resistance is high, apply steady pressure rather than forcing it—let leverage do the work. Once loose enough, unscrew by hand and set the nut aside with your other hardware.
Step 5: Remove the Old Head
Slide the old head assembly straight off the shaft. If it’s stuck, gently rock it side-to-side while pulling, but avoid twisting it violently as this may damage the shaft.
Step 6: Clean the Shaft
Wipe the shaft with a clean cloth to remove grass clippings, dirt, and debris. Inspect for damage like dents, corrosion, or burrs that could prevent proper head seating. If the shaft is damaged, contact the trimmer manufacturer about replacement before installing a new head.
How to Install the New Weed Eater Head
Step 1: Align and Slide On the New Head
Position the new head so its mounting hole aligns perfectly with the shaft. Slide it on gently, ensuring it seats flush against the base. The head should sit evenly with no tilting or gaps between the head and the shaft collar.
Step 2: Hand-Tighten the Retaining Nut
Start the nut by hand to ensure the threads engage correctly. Turn it clockwise until you feel resistance. This hand-tightening step prevents cross-threading, which occurs when threads misalign and strip.
Step 3: Tighten with the Wrench
Once hand-tight, use your wrench to tighten the nut further. Turn clockwise until the head is snug—aim for firm resistance but not maximum force. Over-tightening can strip threads, damage the head, or make future removal difficult. Most residential weed eater heads need only moderate tightness.
Step 4: Verify Stability
Grasp the head and attempt to wiggle it side-to-side. It should not move or rock. If movement is present, the nut needs additional tightening. A properly installed head should be solid and stationary.
Step 5: Test Rotation
Manually spin the head by hand to ensure it rotates freely without binding or wobbling. It should spin smoothly for several revolutions before slowing. Resistance or jerky rotation indicates a problem—remove the head and inspect for misalignment or debris.
Safety Check Before First Use
After installation, reconnect power (electric cord, battery, or spark plug) and run the trimmer briefly at low throttle in an open area away from people and obstacles. Listen for unusual noises and observe the head’s rotation. If vibration is excessive or the head wobbles noticeably, stop immediately and review your installation. Never use a trimmer with an unstable or binding head.
Troubleshooting Common Installation Issues
New Head Won’t Spin Smoothly
Debris inside the head assembly or on the shaft can cause binding. Remove the head, clean both surfaces thoroughly, and reinstall. If a new head still binds, it may be defective—contact the manufacturer for replacement.
Retaining Nut Won’t Loosen
Corrosion or over-tightening can freeze the nut. Apply penetrating oil and wait 15 minutes, then try again with steady pressure. Avoid striking the wrench with a hammer, as this may damage the nut or shaft. If still stuck after multiple attempts, contact the trimmer manufacturer for guidance.
Head Tilts or Vibrates Excessively
This indicates improper seating or an unbalanced head. Remove and reinstall, ensuring the base of the new head sits flush against the shaft collar with no gaps. If vibration persists after reinstallation, the replacement head may be defective or incompatible.
New Head Doesn’t Fit the Shaft
Universal heads vary in shaft diameter compatibility. Confirm your trimmer’s shaft diameter (typically 6mm, 8mm, or 10mm) before purchasing. If you installed an incompatible head, remove it and purchase the correct size. Using a mismatched head risks poor performance and safety hazards.
Head Wobbles After Initial Use
Vibration during operation can gradually loosen the retaining nut. Stop the trimmer, allow the head to cool, and re-tighten the nut. Check tightness periodically during your first few uses, especially if you notice increasing vibration.
Maintenance Tips for Your New Head
Proper care extends your replacement head’s lifespan. After each use, inspect the head for debris wrapped around the shaft or mounting base—remove anything caught there. Periodically (every 5-10 operating hours), remove the head, clean the shaft and base thoroughly, and reinstall. This prevents buildup that reduces performance or causes vibration. Check the retaining nut’s tightness monthly if you use the trimmer regularly.
When to Replace vs. Repair
Full head replacement is usually more cost-effective than partial repair. However, some issues are resolvable without replacement. If your bump feed head stops advancing line, you may only need to replace the spool inside the head rather than the entire assembly—check your manual or contact the manufacturer. If the head cracks, has broken cooling fins, or won’t seat properly, replacement is the only solution.
Frequently Asked Questions
How often should I replace my weed eater head?
Weed eater heads typically last 2-5 years with regular residential use, depending on frequency and conditions. Replace sooner if you notice degraded performance, cracks, or excessive vibration. Bump feed spools may need replacement every 1-2 years if you trim frequently, while the head housing itself often lasts longer.
Can I use a universal weed eater head on any trimmer?
Universal heads fit many trimmers, but compatibility depends on shaft diameter and design. Measure your shaft diameter (usually labeled in your manual) and verify the universal head matches before purchasing. Brand-specific replacement heads guarantee compatibility but cost more than universal alternatives.
What’s the difference between a brand-specific and universal replacement head?
Brand-specific heads are designed exactly for your trimmer model and typically include warranty coverage from the manufacturer. Universal heads cost less but may offer slightly different performance characteristics and come without manufacturer warranty. Both perform similarly for typical residential use if properly matched to your trimmer.
Do I need to replace the cutting line when I replace the head?
It depends on the head type. Bump feed and auto-feed heads contain line inside the spool assembly—new heads usually come pre-loaded with line. Fixed line heads don’t include line, so you’ll need to purchase and install it separately. Check what comes with your replacement head before purchasing line separately.