How to Replace a Lawn Mower Blade: Step-by-Step Guide & Safety Tips
To replace a lawn mower blade, first disconnect the spark plug for safety. Secure the mower on a flat surface, tilt it carefully to access the blade, and use a socket wrench to remove the blade bolt. Detach the old blade, ensuring you note its orientation. Install the new blade with the correct side facing down (often marked “Grass Side” or with a lift wing), torque the bolt to the manufacturer’s specification (typically 30-50 ft-lbs for most walk-behind mowers), and reconnect the spark plug. Always wear safety glasses and gloves.
Understanding the Blade Replacement Process
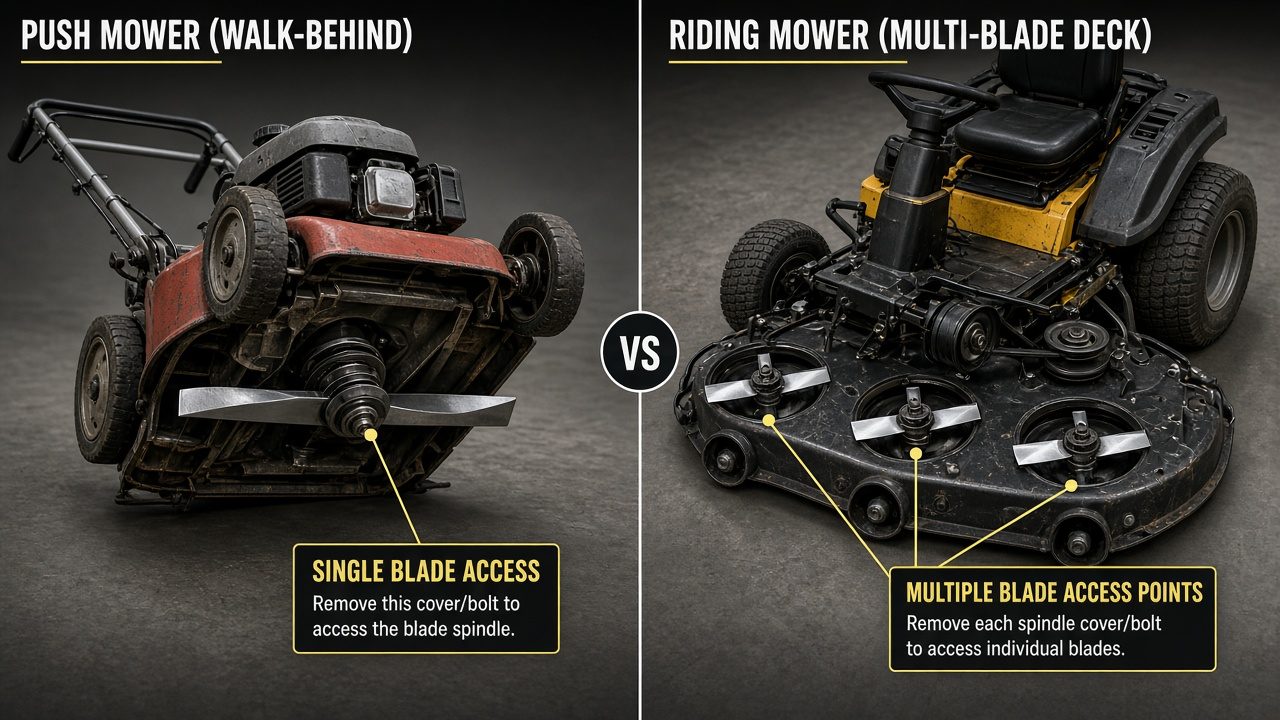
Before you begin, it’s important to understand the scope of the task. The process differs slightly depending on whether you have a push mower (walk-behind) or a riding mower, and whether it’s gas-powered or electric.
Push Mower vs. Riding Mower
- Push Mowers (Walk-Behind): Typically have a single blade. The process involves tilting the mower to access the underside of the deck.
- Riding Mowers: Usually have two or more blades. You’ll need to access each blade individually, often by removing a deck shield or using a specialized lift. The bolt torque specifications may also differ.
Gas vs. Electric Mowers
- Gas-Powered: The critical first step is to disconnect the spark plug wire to prevent accidental starting.
- Electric (Corded or Battery): For corded models, unplug the mower. For battery-powered models, remove the battery pack entirely.
Replacement vs. Sharpening
Users often search for blade replacement when sharpening might suffice. Replace the blade if it has deep nicks, cracks, significant wear, or is bent. Sharpen the blade if it’s dull but otherwise in good condition. A sharp blade provides a cleaner cut, promoting lawn health.
Essential Tools and Safety Precautions
Gathering the right tools and prioritizing safety are non-negotiable first steps.
Required Tools
- Socket Wrench Set: You’ll need a socket that fits the blade bolt (common sizes are 15/16″ or 5/8″).
- Torque Wrench: Essential for tightening the new blade bolt to the manufacturer’s specification to prevent it from coming loose or being overtightened.
- Safety Glasses: To protect your eyes from debris.
- Work Gloves: To protect your hands from sharp blade edges.
- Jack or Blocks of Wood: To safely lift and secure a riding mower. For a push mower, you’ll use blocks to prop it up.
- Wire Brush: Useful for cleaning the mounting area of rust and debris.
Critical Safety Steps
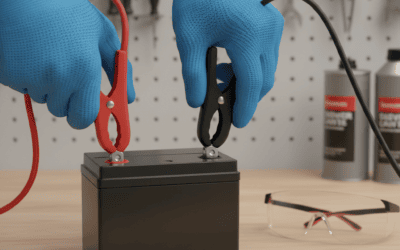
- Disconnect Power: Remove the spark plug wire (gas) or battery (electric).
- Work on a Flat Surface: Ensure the mower is on level ground.
- Secure the Mower: For push mowers, use a sturdy block to prop the deck. For riding mowers, use a jack and jack stands—never rely on a jack alone.
- Wear Protective Gear: Always use safety glasses and gloves.
- Handle Blades with Care: Even old blades are sharp.
Step-by-Step Guide to Replacing the Blade
Follow these steps sequentially for a safe and effective blade replacement.
Step 1: Prepare and Secure the Mower
Disconnect the power source. For a push mower, carefully tilt it onto its side, ensuring the air filter and carburetor are facing up to prevent oil or fuel leaks. Use a block to secure it in place. For a riding mower, use a jack to lift the front or rear (depending on deck location) and secure it with jack stands.
Step 2: Remove the Old Blade
Locate the blade bolt in the center of the blade. Use a socket wrench to loosen and remove it. You may need to block the blade with a piece of wood to keep it from spinning while you turn the bolt. Once the bolt is removed, carefully take off the old blade and any washers or adapters. Note the blade’s orientation—the side with the lift wing or “Grass Side” marking should face the lawn.
Step 3: Install the New Blade
Clean the mounting area with a wire brush. Place any washers or adapters back in their original positions. Position the new blade so the correct side faces down (toward the grass). This is crucial for proper airflow and cutting. The lift wing (the curved part) should point toward the mower deck.
Step 4: Torque the Blade Bolt
Hand-tighten the bolt first. Then, use a torque wrench to tighten it to the manufacturer’s specification. For most walk-behind mowers, this is typically between 30-50 ft-lbs. Check your owner’s manual for the exact value. This ensures the blade is secure without damaging the bolt or adapter.
Step 5: Final Checks
Ensure the blade spins freely by hand (with the spark plug still disconnected). Lower the mower, reconnect the spark plug wire or battery, and you’re ready to test.
Post-Installation Checks and Maintenance Tips
After installation, perform these final checks and consider these maintenance tips.
- Verify Installation: Start the mower and listen for unusual vibrations or noises, which could indicate an improperly installed blade.
- Check Blade Balance: If you sharpen blades yourself, always balance them after sharpening to prevent vibration that can damage the mower.
- Regular Cleaning: Clean grass clippings and debris from under the deck after each use to prevent rust and corrosion.
- Sharpening Schedule: Sharpen your blade every 20-25 hours of use or at the start of each mowing season. Replace it when it’s too worn or damaged to sharpen.
Frequently Asked Questions
What happens if I install the blade upside down?
Installing the blade upside down will result in poor cutting performance. The mower will tear the grass instead of cutting it cleanly, leading to a ragged, brown appearance on your lawn. It also disrupts the airflow under the deck, which is necessary for bagging or mulching.
What should I do if the blade bolt is stuck or stripped?
If the bolt is stuck, try applying a penetrating oil like PB Blaster and letting it sit for 15-20 minutes. Use a breaker bar for more leverage. If the bolt is stripped, you may need to use a bolt extractor set. In severe cases, the blade adapter or mandrel might need replacement.
Do I need to replace the blade adapter or mandrel when changing blades?
Not typically. The blade adapter or mandrel should only be replaced if it is visibly damaged, cracked, or if the blade does not sit securely on it. Inspect it during blade replacement for any signs of wear.
How often should I replace my lawn mower blade?
There’s no set time, but inspect your blade regularly. Replace it when you see deep nicks, cracks, significant wear, or if it’s bent. For most homeowners, replacing the blade once per mowing season is sufficient, provided you sharpen it periodically.