Quick Answer: How to Replace a Pull Rope
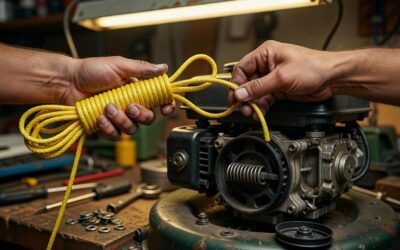
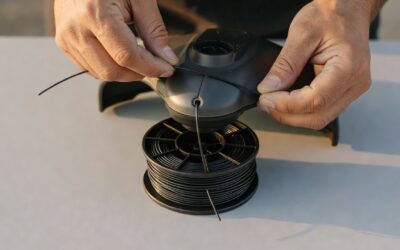
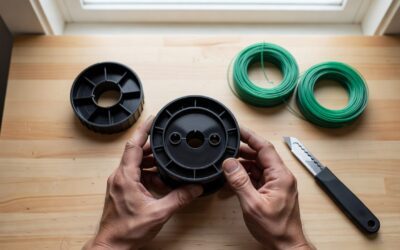
To replace a pull rope on a lawn mower, disconnect the spark plug wire, remove the recoil starter cover by unbolting it, extract the old rope from the pulley spool, and thread a new 5.5mm diameter nylon rope (typically 40–50 feet long) through the pulley and handle. Retension the recoil spring with 2–3 turns of preload, tie a secure knot in the handle end, and test the pull resistance before reassembling the cover.
Understanding Your Lawn Mower’s Pull Rope System
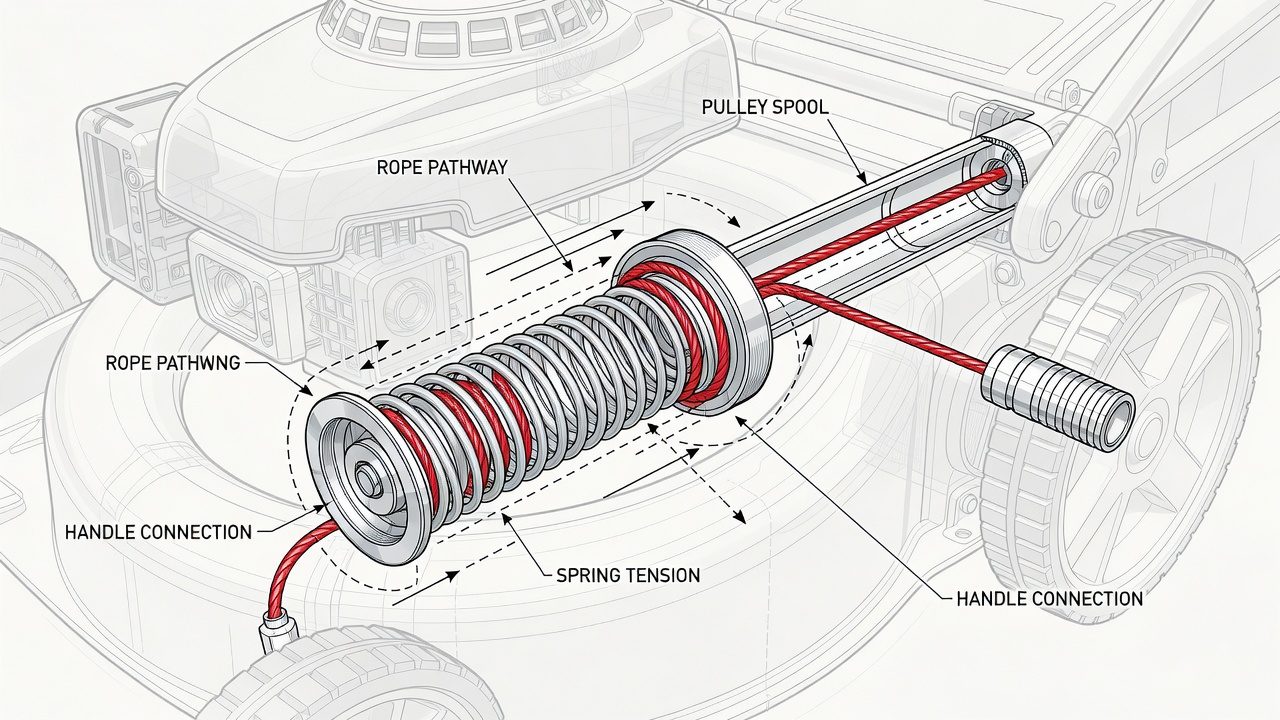
The pull rope, also called a pull cord or starter cord, is the mechanism you use to manually start your lawn mower’s engine. It connects to a recoil starter—a spring-loaded device housed in a plastic or metal cover on the mower’s engine. When you pull the rope, it unwinds from a spool, engaging the engine’s flywheel to turn it over and start combustion.
Pull ropes wear out for several reasons: repeated pulling causes friction, exposure to sunlight degrades nylon fibers, and fraying occurs when the rope frays at the handle end or where it exits the starter housing. Most residential lawn mowers use a standard 5.5mm diameter nylon rope, though some older or commercial models may differ.
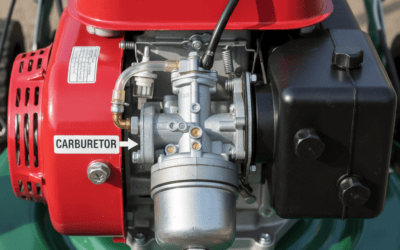
Understanding whether you have a push mower, self-propelled mower, or riding mower matters because the starter housing location and access method vary. Push and self-propelled mowers typically have the recoil starter mounted on the engine’s side, while riding mowers may have it on top or underneath the engine shroud.
Safety Precautions Before Starting
Working with the recoil starter system involves hazards that demand respect:
- Disconnect the spark plug wire—Remove the wire from the spark plug by twisting and pulling gently. This prevents accidental engine start if the rope is pulled during disassembly.
- Be aware of recoil spring tension—The spring inside the starter housing is under significant tension and can snap forcefully if released suddenly. Keep your hands clear when removing the cover or handling the spool.
- Work on a flat surface—Place the mower on a level work bench or ground to prevent it from rolling. Secure it if needed.
- Allow the engine to cool—If you’ve recently used the mower, let it cool for at least 15 minutes before working on it.
- Gather tools in advance—You’ll need a socket set or wrench (typically 8mm, 10mm, or 12mm depending on your mower), needle-nose pliers, and scissors or a utility knife. Having everything ready prevents fumbling while the starter is disassembled.
Removing the Old Pull Rope
Step 1: Locate and Access the Recoil Starter Housing
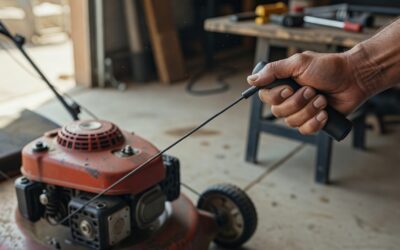
On most push mowers, the recoil starter is bolted to the side of the engine. Look for a plastic or metal cover with a rope handle protruding from it. On self-propelled mowers, it’s typically on the top or side of the engine, accessible from above. On riding mowers, consult your owner’s manual, as the location varies by model.
Step 2: Remove the Starter Cover
Using your wrench or socket set, unbolt the cover by removing 3–6 fasteners around its perimeter. Keep these bolts in a small container so you don’t lose them. Gently pry the cover away from the engine housing using a plastic pry tool or old screwdriver to avoid scratching painted surfaces. Do this slowly and carefully—you may hear or feel the recoil spring’s tension.
Step 3: Secure the Spring
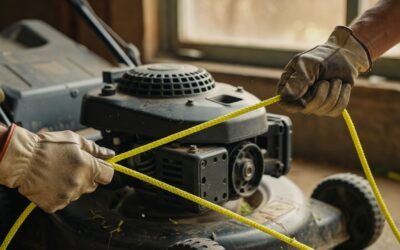
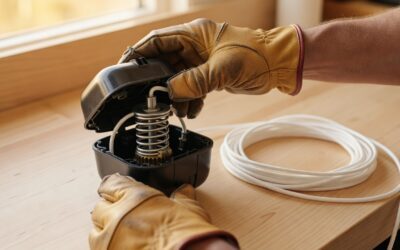
Once the cover is removed, you’ll see the pulley spool and recoil spring coiled beneath it. To prevent the spring from unwinding violently, place one hand flat on the spool to hold it steady. Do not let go suddenly. Some technicians wrap a rubber band around the pulley and cover to hold tension during rope removal—this is a safe approach if you’re uncomfortable holding it.
Step 4: Remove the Old Rope
With the spool secured, locate where the rope is knotted or tied to the pulley. Most ropes are attached with a square knot or are melted/fused to a small loop on the spool. Use needle-nose pliers to undo or cut away the old rope from the spool. Once freed from the spool, pull the rope completely out of the handle (on the starter cover) and discard it.
Selecting and Measuring Your Replacement Rope
Rope Diameter and Material
Standard replacement ropes for residential lawn mowers are 5.5mm in diameter and made of nylon. Nylon is more durable than cotton for outdoor equipment and resists weathering better. You can purchase replacement rope from hardware stores, online retailers, or mower dealers. Some vendors sell complete starter kits that include the rope, handle, and sometimes a new pulley spring—these are convenient if you want a guaranteed fit.
Rope Length
If you still have the old rope, measure its full length and add 2–4 inches for tying knots. If the old rope is gone, typical lengths are:
- Push mowers: 40–45 feet
- Self-propelled or larger engines: 45–50 feet
- Riding mowers: 50–60 feet (consult your manual)
When in doubt, opt for a longer rope and trim it after installation—you can always cut excess, but you can’t add length once installed.
Threading and Installing the New Rope
Step 1: Prepare the Rope Ends
Nylon rope can fray when cut. Prevent this by carefully melting the cut ends with a lighter or match, moving the flame quickly past the nylon to seal it without charring. Alternatively, wrap the area with electrical tape to hold fibers together temporarily while you thread.
Step 2: Thread Through the Pulley
Hold the spool steady (or use the rubber band method mentioned earlier) and thread one end of the new rope through the opening in the pulley spool where the old rope exited. Pull the rope through completely until about 12–18 inches of rope remains outside the spool on the starter cover side.
Step 3: Attach Rope to the Spool
Inside the recoil starter housing, the rope must be secured to the spool so it winds around and stores tension. Most modern mowers have a small loop or eyelet on the pulley where you’ll tie the rope. Use a square knot (also called a reef knot): cross the rope over itself, wrap it under and back over, then repeat to create a secure double knot. Pull tight. Some mowers use a melted loop attachment—if so, fashion a small loop at the rope end and melt-glue it to the spool using a small dab of super glue or epoxy, or tie it off with several wraps of thread.
Step 4: Wind the Rope Around the Spool
Begin winding the rope clockwise around the spool, keeping tension and ensuring each wrap sits flat against the previous one. As you wind, you’ll feel the recoil spring tightening. Continue winding until approximately 12–18 inches of rope remains—this is the section that will pass through the starter cover and into the handle.
Step 5: Thread Rope Through the Cover and Attach the Handle
Pull the remaining rope through the hole in the starter cover where it exits to the handle. Slide the rope through the handle grip (a plastic or foam tube). At the end of the rope, tie a knot large enough that it won’t slip back through the handle. A double overhand knot (knot it once, then tie again) works well. Trim any excess rope beyond the knot and seal the end with a lighter as before.
Retensioning the Recoil Spring
The recoil spring’s tension determines how quickly the rope retracts after you release it. Proper tension is critical for safe operation and user experience.
Applying Initial Preload Tension
With the rope wound onto the spool and the handle assembled, manually wind the spool an additional 2–3 complete turns clockwise (when viewed from outside the housing) to preload the spring. This added tension ensures the rope will retract smoothly after pulling. Some mower designs allow you to rotate the spool using a notch or hole; others require you to gently turn it by hand while holding the cover slightly away from the engine.
Testing Pull Resistance
Before reassembling the starter cover completely, perform a pull test. Reconnect the spark plug wire (for safety, it should be off during this test, but reconnect it to simulate normal conditions), and give the rope a gentle 2–3 inch pull. The rope should:
- Retract smoothly and fully with a soft “click” or “snap” sound
- Require moderate resistance—not too loose or too tight
- Not jerk harshly or feel strained
If the rope doesn’t retract well, the spring needs more preload; rotate the spool another half turn and test again. If the pull feels too stiff or jerky, you’ve overtightened it—back off by half a turn.
Reassembly and Testing
Step 1: Reassemble the Starter Cover
Once tension is correct, carefully guide the starter cover back over the engine housing, aligning the bolt holes. Ensure the rope and handle sit properly in their grooves on the cover. Insert and tighten all bolts in a crisscross pattern (like tightening wheel lugs) to ensure even pressure. Tighten firmly but do not over-torque, which can crack plastic covers.
Step 2: Final Safety Check
Reconnect the spark plug wire by pushing it firmly back onto the spark plug. Verify that the fuel valve is open (if your mower has one) and that the choke is set correctly (usually to “choke” or “cold start” position for the first start after repair).
Step 3: Test the Mower
On a flat, open area away from obstacles, attempt to start the mower. The rope should pull smoothly and the engine should turn over. If it starts, let it run for a minute to confirm normal operation. If it doesn’t start on the first pull, try 2–3 more times—new rope sometimes needs a few pulls to prime the engine. If it still won’t start, check that the spark plug wire is firmly seated and the fuel is fresh.
Post-Repair Maintenance
After your mower runs successfully, let it cool and inspect the starter housing for any signs of rope fraying or misalignment. If the rope sits unevenly on the spool, it may cause future wear—if so, disassemble and rewind it. Store your mower in a dry location to prevent rust and rope degradation.
Frequently Asked Questions
How long does it take to replace a pull rope?
For someone with basic mechanical experience, the entire process takes 20–45 minutes. First-time repairs may take an hour. Most of that time is spent carefully disassembling and reassembling the starter cover; the actual rope installation is quicker once you understand the mechanism.
Can I use a different diameter rope, or does it have to be 5.5mm?
Stick to 5.5mm for standard residential mowers. Thinner rope (4mm) will fray faster and may not fill the pulley spool correctly. Thicker rope (6mm or larger) may not fit through the starter cover holes and handle grip. Always consult your owner’s manual or a parts diagram if you’re uncertain.
What if the rope keeps retracting too slowly or not at all?
The recoil spring may need more preload tension, or the spring itself may be worn or damaged. Try adding one more half-turn of preload. If that doesn’t help, the spring may need replacement—purchase a complete starter kit or contact a mower repair shop. A broken or severely weakened spring cannot be repaired and must be replaced.
Is it normal for the new rope to feel slightly different than the old one?
Yes. A new nylon rope may feel slightly stiffer initially, especially in cold weather. After several pulls, nylon softens and becomes more flexible. If the pull resistance feels dramatically different (much harder or easier), recheck your spring preload tension.
When to Seek Professional Help
If you encounter a severely rusted or corroded starter housing, a spring that won’t hold tension even after preload adjustment, or any significant difficulty removing the cover bolts (stripped threads, extreme corrosion), consider taking your mower to a professional repair shop. Forcing stuck bolts or damaged springs can cause further damage. Most shops charge $50–$150 for a pull rope replacement, including parts and labor—reasonable insurance if you’re uncertain about doing it yourself.