Quick Answer: How to Sharpen a Lawn Mower Blade
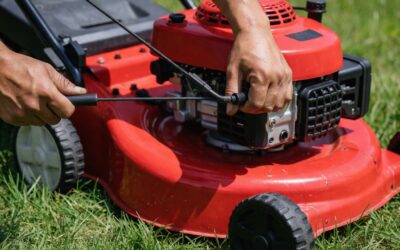
Disconnect the spark plug, tip the mower with the air filter side up, remove the blade bolt, and clamp the blade in a vise. Sharpen the existing bevel at 20–30 degrees using a metal file or angle grinder with smooth, consistent strokes following the factory edge. Balance the blade on a nail or dedicated blade balancer before reinstalling, and repeat every 20–25 hours of use or once per season.
Before You Start: Safety Steps That Cannot Be Skipped
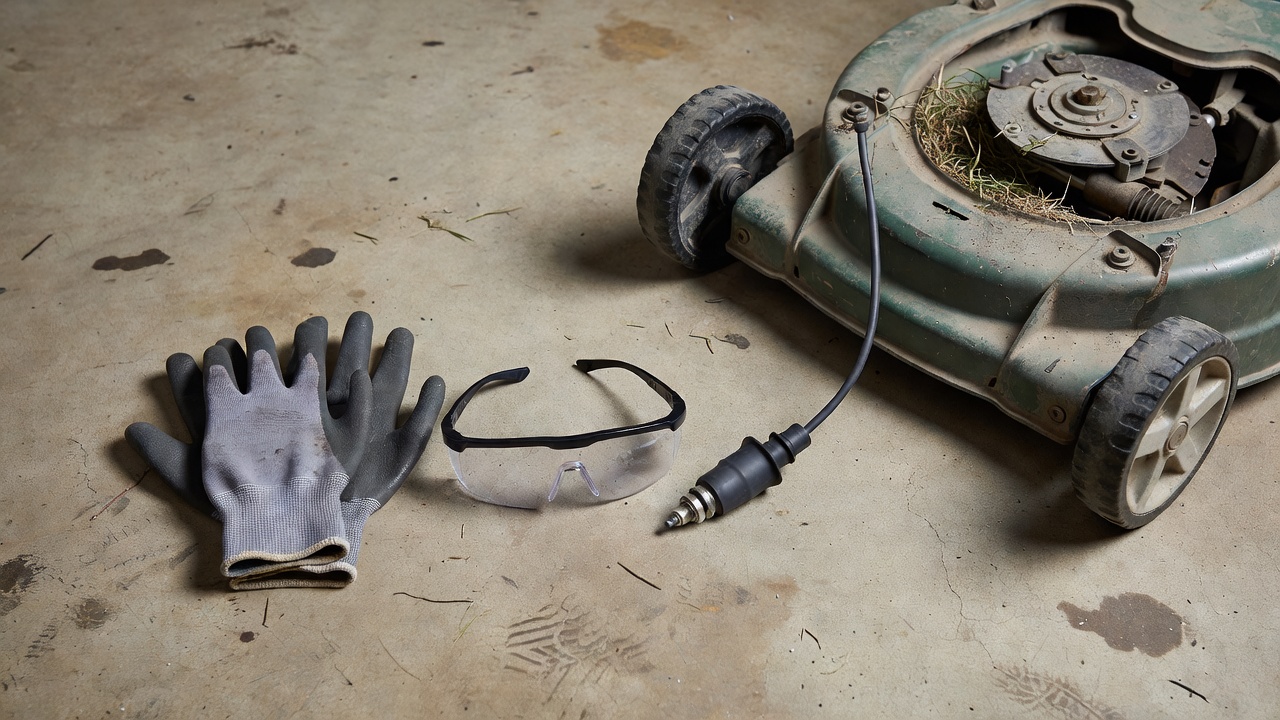
Skipping these steps risks accidental engine start, blade spin, fuel spills, and serious injury. Complete every item before touching the blade.
- Disconnect the spark plug wire. Pull the rubber boot off the spark plug and tuck it away from the plug. This is the single most important step — without it, the engine can fire if the blade is bumped or rotated.
- Put on PPE. Wear cut-resistant gloves and ANSI-rated safety glasses or a face shield. Mower blades carry nicks and burrs that cut skin on contact, and metal filings from sharpening are an eye hazard.
- Drain or manage fuel. Either run the tank dry before tipping the mower, or ensure the fuel cap is sealed tightly. Many manufacturers recommend running the tank empty for any maintenance involving tipping.
- Tip the mower with the air filter side up. Tilting with the air filter facing down allows oil to drain into the air filter and carburetor, fouling both. Always position the air filter and carburetor on the high side.
- Secure the mower. Work on a flat, stable surface. Once on its side, confirm the mower cannot roll or fall before reaching under the deck.
These precautions apply to standard rotary push mowers and self-propelled rotary mowers. Reel mowers require a different process — see the final section.
How to Remove a Lawn Mower Blade
Blade removal is where most DIYers stall. The bolt direction and immobilization method are the two details that matter.
What You Need
- Socket wrench with the correct socket (typically 5/8 in. or 15/16 in. — check your owner’s manual)
- A scrap block of wood (2×4 works well)
- Work gloves
Removal Steps
- Wedge the wood block between the blade and the deck. This stops the blade from rotating while you apply torque to the bolt. Do not use your hand to hold the blade.
- Turn the bolt counterclockwise to loosen. On most single-blade rotary mowers, the blade bolt uses standard right-hand threads — counterclockwise loosens. Some older or brand-specific models differ; consult your manual if the bolt will not move.
- Note the blade orientation before removal. Take a photo or mark the underside of the blade with a paint marker. Reinstalling a blade upside-down causes the mower to mulch air instead of cutting grass.
- Remove the bolt, any washers or adapter, and the blade. Keep all hardware together in a container — small parts disappear quickly on a workbench.
Inspect Before You Sharpen
Examine the blade for cracks, deep bends, or heavy gouges. A cracked or severely bent blade must be replaced, not sharpened. Sharpening a structurally compromised blade creates a fragmentation risk at high RPM. Surface nicks, small dents along the cutting edge, and general dullness are normal and sharpenable.
Choosing Your Sharpening Tool: File vs. Angle Grinder vs. Drill Attachment
No single tool suits every situation. The table below covers the main options so you can match tool to skill level and budget without buying something unnecessary.
| Tool | Best For | Approximate Cost | Speed | Control | Skill Level |
|---|---|---|---|---|---|
| Mill bastard file (10 in.) | Beginners, light dullness, no power tools | $8–$15 | Slow (5–10 min per blade) | Highest — fully manual | Beginner |
| Angle grinder | Heavily nicked blades, experienced users | $30–$80 (tool); $5–$10 (disc) | Fast (1–3 min per blade) | Lower — requires steady hand | Intermediate–Advanced |
| Drill-attachment blade sharpener | Homeowners who want speed with guardrails | $10–$20 | Moderate (3–5 min per blade) | Moderate — guide sets angle | Beginner–Intermediate |
- Metal file: Maximum angle control, zero risk of overheating the metal, and no power required. The right choice for a homeowner sharpening once per season with light use.
- Angle grinder: Removes material fast, ideal for blades with significant nicking from rocks or debris. Risk of overheating the blade (which draws the temper and softens the edge) is real — use short passes and let the metal cool between strokes. Wear a full face shield, not just glasses.
- Drill-attachment sharpener: A cone-shaped abrasive stone that fits a standard drill. The guide contacts the blade bevel and maintains a consistent angle automatically. A practical middle ground for homeowners who own a drill but not an angle grinder.
How to Sharpen a Lawn Mower Blade at the Correct Angle
The standard sharpening angle for rotary mower blades is 20–30 degrees, matching the factory bevel. Most manufacturers, including Honda and Husqvarna, specify this range in their owner’s manual maintenance sections. Sharpening at a shallower angle produces a finer edge that dulls faster; a steeper angle creates a more durable but less effective cutting edge.
Clamping the Blade
Secure the blade horizontally in a bench vise with the cutting edge facing up and accessible. Never hold a blade freehand while sharpening.
File Technique
- Position the file on the cutting edge at the existing bevel angle — follow the factory grind, not a new angle you estimate.
- Push the file across the edge in one direction only (away from your body), lifting on the return stroke. Draw-filing (pulling back) creates a wire edge that breaks off quickly.
- Use long, consistent strokes across the full length of the bevel. Apply moderate, even pressure.
- Count strokes per side and keep them equal on both ends of the blade to avoid removing more material from one end — which creates imbalance (addressed in the next section).
- Repeat until the edge is uniformly bright and free of flat spots.
Angle Grinder Technique
- Use a flap disc (80-grit) rather than a cutting disc for blade sharpening — it removes material more controllably.
- Hold the grinder so the disc contacts the bevel at 20–30°. Use the existing factory bevel as your visual guide.
- Move the grinder in short, sweeping passes from the center of the blade outward. Never dwell in one spot — heat buildup discolors and softens steel.
- If the metal turns blue or purple, you have overheated it. Stop, let it cool completely, and continue with lighter passes.
Testing for Sharpness
Mower blades do not need to be razor-sharp — butter-knife sharp (the standard used by most extension service turf guides) is sufficient and more durable. Run your thumbnail lightly across the edge (not along it): a sharp blade catches your nail cleanly. A dull blade slides across without catching. Do not test by running a finger along the edge.
How to Balance a Lawn Mower Blade After Sharpening
An unbalanced blade causes excessive vibration, which transfers stress to the spindle, bearings, and deck. Over time this accelerates wear and can cause premature component failure. Balance is not optional — it takes two minutes and protects a significant mechanical investment.
Why Imbalance Happens
Sharpening removes metal. If more metal is removed from one end of the blade than the other, that end becomes lighter and the blade spins unevenly. Even small differences in weight distribution are amplified at 2,700–3,200 RPM.
Nail-Through-Center-Hole Method
- Drive a nail horizontally into a wall stud or clamp it in a vise so it projects straight out.
- Hang the blade on the nail through the center mounting hole.
- The heavy end drops. The blade should rest level; if it tips to one side, that side is heavier.
- File a small amount of metal from the back (non-cutting) face of the heavy end — never from the cutting edge. Recheck after every few strokes.
- The blade is balanced when it rests horizontally without tipping in either direction.
Purpose-Built Blade Balancer
A cone-shaped plastic or metal balancer (typically $5–$15) sits on a workbench and accepts the center hole of the blade. It provides a stable, repeatable platform that gives more consistent results than a nail. Either method works; the balancer is marginally more reliable.
How to Reinstall the Blade and Test the Mower
Blade Orientation
The cutting edges must face the direction of rotation — toward the front of the mower as it moves forward. The blade’s wings or lift fins curve upward toward the deck when installed correctly. Refer to the photo or mark made during removal. An upside-down blade pushes grass down rather than cutting it and generates no suction for discharge or bagging.
Reinstallation Steps
- Slide the blade onto the adapter or spindle shaft, aligning any keyways or flats.
- Replace any washers in the original order.
- Thread the bolt in by hand (clockwise to tighten on standard right-hand thread models).
- Wedge the wood block between blade and deck again to prevent rotation.
- Torque the bolt to manufacturer specification. Most residential rotary mowers specify 35–50 ft-lb — check your owner’s manual. Undertightening risks the blade loosening during operation; overtightening can strip the spindle or crack the adapter.
First-Run Check
- Reconnect the spark plug wire.
- Set the mower on level ground, start it, and let it run at full throttle for 30 seconds.
- Listen and feel for vibration. Some vibration is normal; rhythmic shaking or a new grinding noise indicates a balance or installation problem. Stop immediately and recheck.
- Make one pass on a test strip of grass and inspect the cut: clean, even cuts confirm correct installation and adequate sharpness. Torn or frayed tips mean the blade needs more sharpening.
How Often Should You Sharpen a Lawn Mower Blade?
The University of Missouri Extension and other cooperative extension programs recommend sharpening rotary mower blades every 20–25 hours of mowing or at least once per season for typical residential use. For a homeowner mowing one hour per week during a 25-week growing season, that works out to one or two sharpenings per year.
Signs the Blade Has Dulled
- Torn or ragged grass tips rather than clean cuts. A dull blade tears plant tissue rather than slicing it. Torn tissue desiccates and turns brown at the tips within 24–48 hours of mowing — a visible sign of dullness and a turf health concern, as damaged tissue is more susceptible to fungal disease.
- The mower requires more passes over the same area to achieve an even cut.
- Increased engine strain — the engine sounds like it is working harder than usual at the same throttle setting.
- Visible nicks or flat spots on the cutting edge after inspecting the removed blade.
Terrain Accelerates Dulling
Mowing sandy soil, gravel-edged beds, or any area with embedded rocks dulls a blade significantly faster than clean turf. If you regularly clip a gravel border or debris-heavy area, inspect the blade every 10–15 hours rather than 20–25.
Blade Replacement Threshold
Replace the blade (rather than sharpening again) when: the blade is cracked anywhere; the center hole is elongated or damaged; the blade has a persistent bend that cannot be straightened; or the cutting edge has been sharpened so many times that it is thinner than 1/4 inch from the lift fin to the edge. A worn-thin blade is a structural failure risk at operating RPM.
Reel Mowers: A Quick Note on Different Sharpening Needs
Everything above applies to rotary mowers, which are the standard for most residential lawns. Reel mowers — the cylinder-style mowers with a spiral of fixed blades rotating against a bedknife — require a completely different process called backlapping.
Backlapping involves applying a lapping compound (an abrasive paste) to the reel blades and driving the reel in reverse (either manually or with a backlapping kit), so the blades hone themselves against the bedknife. Filing or grinding reel mower blades with the methods described above will destroy the precise geometric relationship between the reel and bedknife that makes a reel mower cut correctly. If you own a reel mower, consult its manufacturer guide or a reel-mower-specific resource for backlapping instructions.
Frequently Asked Questions
What happens if I don’t disconnect the spark plug before removing the mower blade?
If the spark plug wire remains connected, rotating the blade by hand can turn the engine crankshaft. On a compression stroke, this can cause the engine to fire — spinning the blade at full speed with your hands near it. Disconnecting the spark plug wire is non-negotiable before any under-deck work.
How do I know if I’m holding the correct 20–30 degree angle while filing?
Follow the existing factory bevel — the bright, angled surface already ground into the blade. Place the file flat against that surface and it will naturally sit at the correct angle. If the factory bevel is worn away from previous sharpening, use a bevel gauge or angle finder to set 25 degrees as a midpoint target. The drill-attachment sharpener is a useful option for anyone who struggles to hold a consistent angle freehand.
How many times can a lawn mower blade be sharpened before it needs to be replaced?
Most residential blades can be sharpened 3–5 times before the cutting edge becomes too thin to sharpen safely. The limiting factor is not a fixed number of sharpenings but the remaining thickness of the blade at the cutting edge. Inspect the edge thickness each time you sharpen; once it approaches 1/4 inch or the blade shows structural wear, replace it.
Why is my lawn mower vibrating after I sharpened and reinstalled the blade?
Vibration after sharpening almost always indicates one of three problems: the blade is not balanced (more metal removed from one end), the blade bolt is not torqued to specification and the blade is shifting during operation, or the blade was reinstalled upside-down or misaligned on the spindle. Stop the mower, disconnect the spark plug, remove the blade, and check all three before running again.