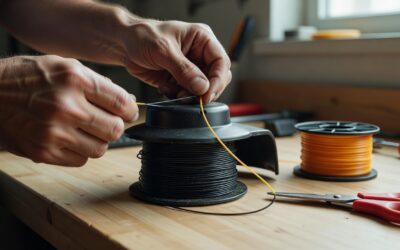
Stringing a trimmer means replacing the cutting line in the trimmer head. To do it: disconnect the power first (remove the battery, unplug the cord, or pull the spark plug wire on gas models), open the head and remove the old spool, choose the correct line gauge, wind the new line onto the spool in the direction shown by the arrows, thread the ends through the eyelets, and reattach the head. During use, advance the line by tapping a bump-feed head on the ground while running, or by stopping and manually pulling more line on a fixed-line head.
Whether you have a gas, battery-powered, or corded electric string trimmer, the process of replacing the line follows a similar general pattern. This guide walks you through each step so you can get back to trimming with confidence.
What Stringing a Trimmer Means and How Trimmer Heads Work
The phrase “how to string a trimmer” can be a bit ambiguous. It most commonly refers to replacing the cutting line inside the trimmer head. However, some people use it as shorthand for learning how to operate a string trimmer in general. This guide focuses on the first meaning: reloading the line so your trimmer cuts effectively.
Common Trimmer Head Designs
Most string trimmers fall into one of three head categories:
- Bump-feed heads: These are the most common design. The spool sits inside the head, and you tap the bottom of the head against the ground while the trimmer is running to release more line. A built-in cutter trims the line to the correct length.
- Fixed-line heads: These hold one or two pre-cut lengths of line. There is no spool to unwind. When the line wears down, you stop the trimmer and manually pull out more line or replace it entirely.
- Tap-to-advance heads: Similar to bump-feed in concept, these heads release line when you press or tap a button or mechanism on the head. The exact method varies by design.
Understanding which head type you have is the first step. Check the head for markings, or consult the owner’s manual if you are unsure.
How the Line Cuts
The trimmer head spins at high speed, and the flexible line extends outward due to centrifugal force. The spinning line strikes grass, weeds, and light vegetation, cutting through stems and blades. The line wears down over time as it contacts hard surfaces and dense growth, which is why periodic replacement is necessary.
Safety First: Prepare the Trimmer Before You Start
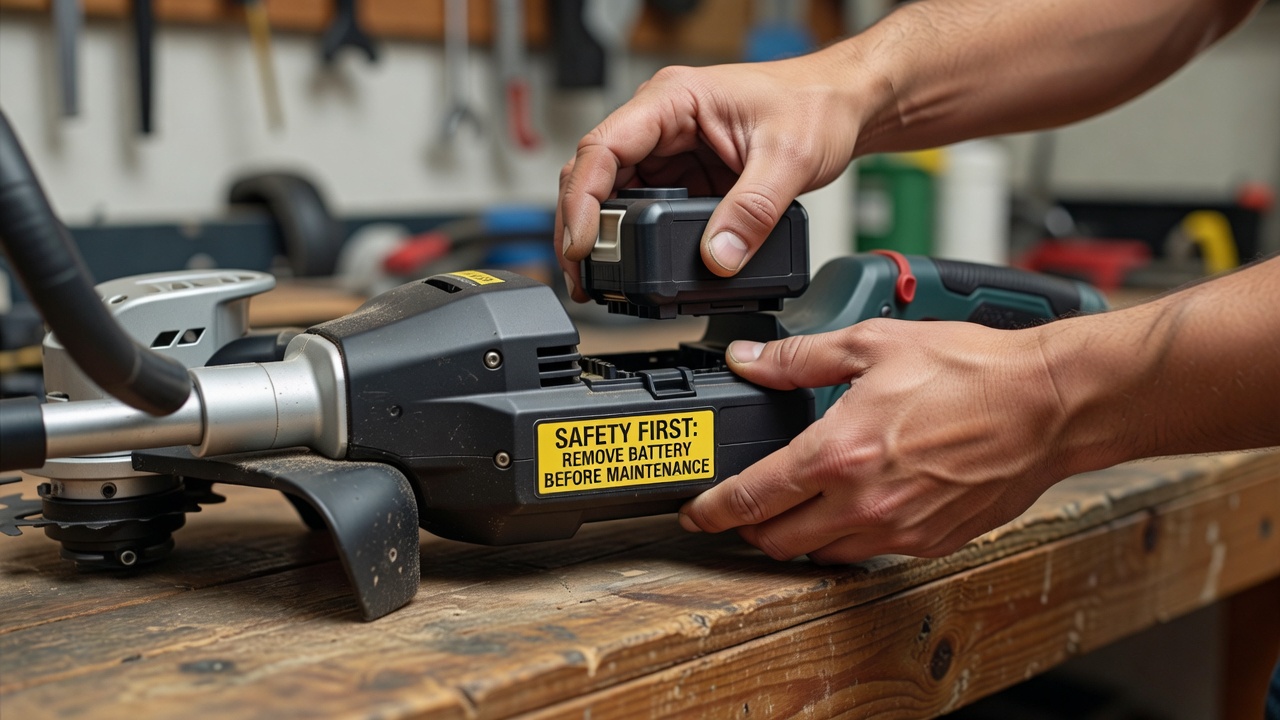
Before you put your hands anywhere near the cutting head, you must make sure the trimmer cannot accidentally start. This is a non-negotiable safety step regardless of your trimmer type.
Battery-Powered Trimmers
Remove the battery completely from the trimmer. Store it away from your work area so it cannot be accidentally reinserted.
Corded Electric Trimmers
Unplug the trimmer from the extension cord or wall outlet. If the plug is not visible, disconnect at the outlet to be certain.
Gas Trimmers
Disconnect the spark plug wire by pulling the rubber boot off the spark plug. This prevents the engine from firing even if the pull cord is accidentally engaged.
Additionally, be aware that the head and line may still hold tension after recent use. The head can also be hot if you have been trimming for an extended period. Allow the trimmer to cool if needed, and handle the head carefully.
Remove the Old Spool and Leftover Line
With the trimmer safely disconnected, you can now open the head to access the spool. The exact method depends on your head type, but the general approach is similar across most models.
Opening a Bump-Feed Head
Most bump-feed heads have tabs or buttons on the sides of the head. Press these tabs to release the outer cap or housing, which exposes the spool underneath. Some designs use a screw-on cap that you twist counterclockwise to remove. Others have a knob on top that unscrews.
Removing the Spool
Once the head is open, lift the spool out. You may need to note how it sits in the head, including any alignment tabs or notches, so you can reassemble it correctly later.
Cleaning Out Old Line
Remove all remaining pieces of old line from the spool. Tangled or broken line fragments can interfere with the new line feeding properly. Dispose of the old line pieces.
Fixed-Line Heads
Fixed-line heads do not use a traditional spool. Instead, the line is threaded through slots or holes in the head. To remove old line, simply pull it out or cut it free, depending on how it is secured.
Choose the Right Line and Measure the Length
Selecting the correct replacement line is important for both cutting performance and the longevity of your trimmer head.
Line Gauge (Diameter)
The recommended line diameter is usually printed on the trimmer head itself or listed in the owner’s manual. Common gauges range from about 0.065 inches to 0.155 inches, with many residential trimmers using line in the 0.080 to 0.095 inch range.
Using line that is too thick for your head can cause jams, strain the motor or engine, and potentially damage the head. Line that is too thin may cut less effectively and wear out faster. Always match the gauge to your trimmer’s specifications.
Line Shapes
Trimmer line comes in several shapes, each with different characteristics:
- Round line: The most common and versatile option. Good for general trimming around lawns, gardens, and walkways.
- Twisted or spiral line: Features a helical profile that may reduce noise and air resistance. Often marketed for cleaner cuts through thicker growth.
- Serrated or multi-sided line: Has edges or teeth designed to saw through dense weeds and light brush more aggressively.
For most homeowners, round line in the manufacturer-recommended gauge is a reliable choice. If you regularly tackle thicker weeds or brush, a twisted or serrated line may offer better performance.
How Much Line You Need
A full spool refill typically requires roughly 15 to 30 feet of line (approximately 5 to 9 meters), but the exact amount depends on your specific head and spool size. Some heads use a single piece of line with two working ends, while others use two separate pieces. Check the markings on your spool or the manual for guidance.
Wind and Load the New Line onto the Spool
This is the core step of stringing a trimmer. Take your time to do it correctly, as improper winding is the most common cause of feeding problems.
Find the Winding Direction
Most spools have arrows or printed markings that indicate the correct winding direction. The line must be wound in the direction the head spins so that it feeds out smoothly during operation. If you wind it backwards, the line will not advance when you bump or tap the head.
Winding the Line
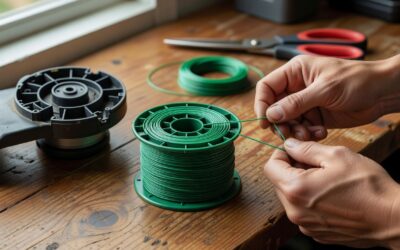
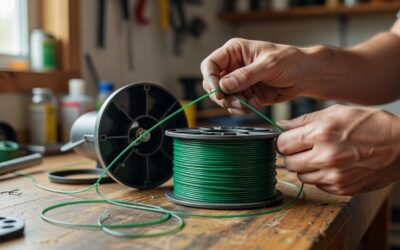
Start by anchoring the line in the spool’s starting slot or notch. Wind the line evenly and firmly around the spool, keeping the wraps neat and avoiding overlaps. Overlapping or loose wraps can cause tangles and jams.
If your spool uses a single piece of line with two ends, find the center of the line and anchor it in the spool’s center divider before winding each half in opposite directions. If your spool uses two separate pieces, wind each one independently into its designated section.
Securing the Ends
Once the line is wound, tuck the loose ends into the holding slots on the outer edge of the spool. These slots keep the line from unwinding while you reassemble the head. Leave enough line extending from the slots to thread through the eyelets later.
Reattach the Spool and Feed the Line Through the Eyelets
With the line loaded onto the spool, you can now reassemble the head.
Seating the Spool
Place the spool back into the head, aligning it with any tabs, notches, or guides. Press it down until it seats flush or clicks into place. Make sure the spool rotates freely and is not binding.
Threading the Eyelets
Feed each line end through its corresponding eyelet on the outside of the head. Pull the line through until the ends extend a few inches beyond the eyelets. The line should move freely through the eyelets without kinking.
Reattaching the Head Cap
Replace the outer cap or housing by pressing the tabs back into place or screwing the cap on, depending on your head design. Give the line a gentle tug to confirm it feeds smoothly.
Some trimmers have a built-in line cutter on the edge of the head housing. This cutter trims the line to the optimal length once the head is spinning, so do not worry if the line ends seem long at this stage.
Advance the Line During Use
Knowing how to advance the line while trimming is just as important as loading it correctly.
Bump-Feed Heads
While the trimmer is running at operating speed, tap the bottom of the head lightly against the ground. This engages the bump mechanism and releases a short length of line from the spool. The cutter on the head trims it to the correct length. You can bump as often as needed when you notice the line getting short.
Fixed-Line Heads
When the line wears down on a fixed-line head, stop the trimmer completely. Pull out more line manually if the head design allows it, or remove and replace the line segment entirely. Some fixed-line heads hold multiple pre-cut pieces so you can rotate to a fresh section.
Tap-to-Advance Heads
These work similarly to bump-feed heads but may use a button or twist mechanism instead of a bump action. Follow the specific method indicated on your head.
Troubleshooting: Line Won’t Feed, Tangles, or Breaks
Even with careful loading, you may occasionally run into issues. Here are some common problems and their typical causes.
Line Won’t Advance
- The line may be wound in the wrong direction on the spool.
- The line gauge may be too thick for the head, causing it to bind.
- The spool may not be fully seated in the head.
- The line may be tangled on the spool from uneven winding.
To fix this, open the head, remove the spool, and rewind the line carefully, paying close attention to the directional arrows.
Line Keeps Tangling
Tangles usually result from winding the line too loosely or allowing it to overlap during loading. Rewind the line with firm, even tension and keep each wrap flat against the previous one.
Line Breaks Frequently
Line that breaks or wears out very quickly may be too thin for the work you are doing, or it may be contacting hard surfaces like concrete, stone, or fencing. Switching to a slightly heavier gauge (within your trimmer’s recommended range) or adjusting your trimming technique to avoid hard surfaces can help.
Safe Operating Tips and When to Replace the Line
A few final tips will help you use your string trimmer safely and effectively.
Protective Gear
Always wear eye protection when operating a string trimmer. The spinning line can throw debris, pebbles, and cut vegetation at high speed. Long pants, closed-toe shoes, and hearing protection (especially for gas trimmers) are also recommended.
Clear the Work Area
Before starting, walk the area and remove rocks, sticks, toys, and other debris that could become projectiles. This also protects your line from unnecessary wear.
Avoid Hard Surfaces
The line wears fastest when it contacts concrete, brick, stone, or metal fencing. Trim alongside these surfaces carefully, and consider using a edger or manual tool for precise work along hardscape edges.
When to Replace the Line
Replace the line when it no longer cuts effectively, when the head will not hold any more line, or when you notice cracks, fraying, or brittleness in the line. Regular inspection and timely replacement keep your trimmer working well and prevent unnecessary strain on the motor or engine.
By following these steps, you can keep your string trimmer loaded and ready for any yard task. Taking the time to wind the line correctly and choose the right gauge makes a noticeable difference in cutting performance and reduces frustration during use.