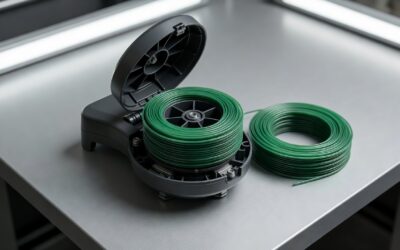
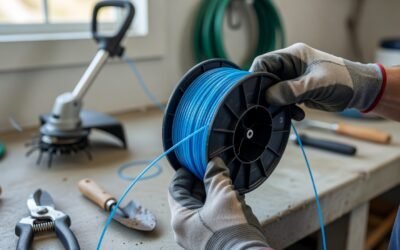
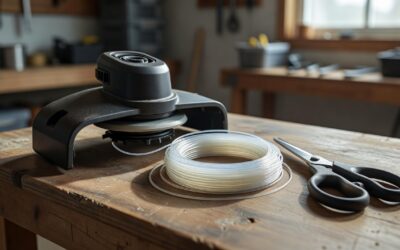
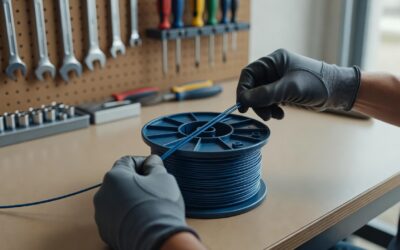
To string a weed eater, first identify your trimmer head type—bump-feed, auto-feed, or manual wind. Remove the old spool, select the correct line gauge for your model, and wind the new string tightly in the direction indicated by arrows on the spool. Thread the line through the eyelet or guide, reassemble the head, and test at low speed before full operation. The specific technique varies slightly depending on your head design, but the core principles remain consistent across all residential models.
Understanding Your Trimmer Head Type
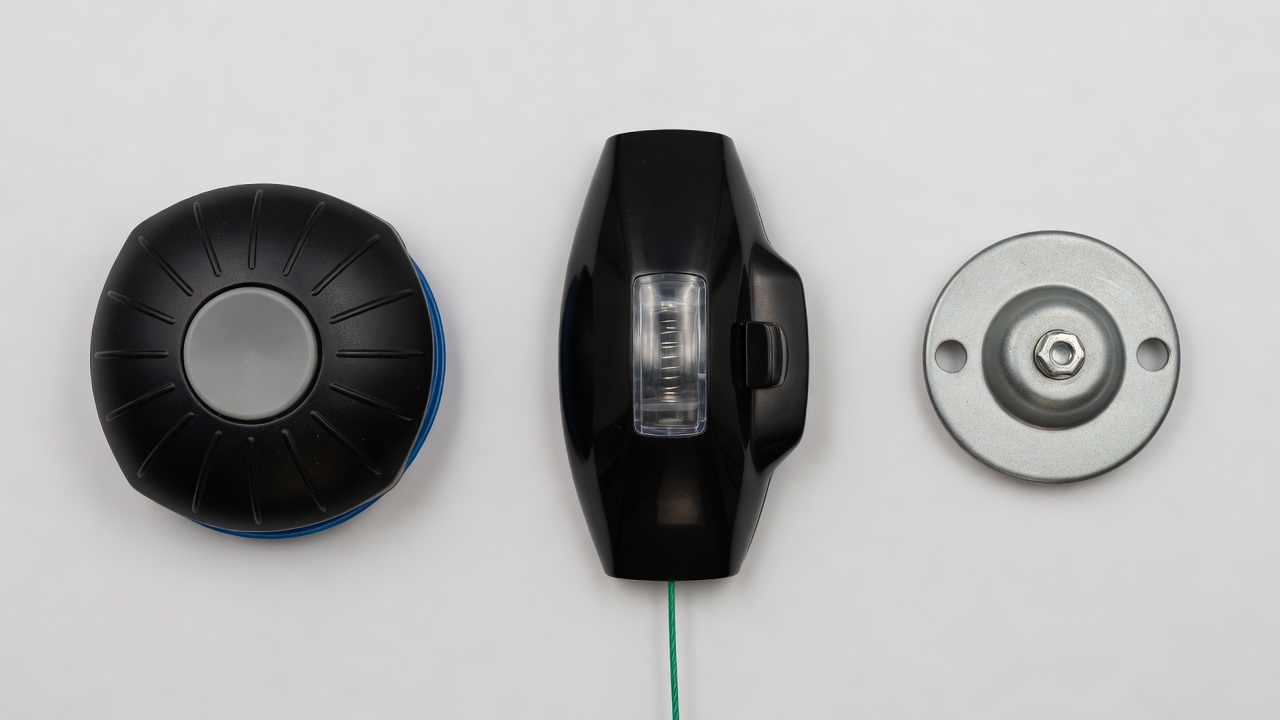
Before you begin stringing your weed eater, knowing which type of head you have determines the exact procedure you’ll follow. Manufacturers use three main head designs for residential string trimmers, each requiring a slightly different approach to installation.
Bump-feed heads represent the most common design found on residential models. These heads feature a spool inside a housing where you tap the underside of the head against the ground to release additional line. The spool slides up and down on a central spindle, and a bump button at the bottom controls line advancement.
Auto-feed heads function similarly to bump-feed models but advance line automatically using centrifugal force or internal springs. When the trimmer spins, the mechanism senses when more line is needed and feeds it out without manual bumping. Some auto-feed models still require you to tap or bump periodically to initiate feeding.
Manual-wind or fixed-spool heads require you to thread line through stationary eyelets or slots without using a removable spool. These heads often use a cartridge or blade-style system where you insert the line through designated holes and secure it with screws or retention clips.
How to Identify Your Head Type
Turn off your trimmer and examine the head closely. If you can see a visible spool that slides when you press the bottom button, you have a bump-feed head. If the head has no visible moving parts but features small holes or slots for threading line, it’s likely a manual-wind design. Auto-feed heads typically have more complex internal mechanisms and may have labeling indicating automatic operation.
Choosing the Right String Type and Gauge
Using the correct trimmer line prevents feeding problems, excessive wear on your equipment, and premature breakage during operation. Trimmer line comes in various gauges and shapes, and matching these to your machine matters significantly.
Line Gauge and Diameter
Trimmer line diameter typically ranges from 0.065 inches to 0.130 inches. Smaller gauges suit light-duty trimming of grass and soft weeds, while thicker gauges handle heavier vegetation and woody growth. Check your owner’s manual for the manufacturer’s recommended gauge range. Using line that’s too thick can strain your motor and cause premature wear, while line that’s too thin breaks excessively under load.
Line Shape Differences
Round line represents the most common and least expensive option, cutting cleanly through grass with a circular motion. Square or star-shaped line provides cleaner cuts and works well for edging, though it tends to wear faster. Twisted line offers improved efficiency and reduced noise levels, making it popular among users who trim frequently.
Whatever shape you choose, ensure the diameter matches your trimmer’s specifications. Mixing incompatible line types can cause jams, poor cutting performance, or damage to the head assembly.
How to String a Bump-Feed Weed Eater (Most Common)
Bump-feed heads require the most familiar stringing process, so mastering this technique prepares you for most residential trimmers. Work on a clean, flat surface with good lighting.
Step 1: Remove the Spool
Turn your trimmer so the cutting head faces up. Locate the center cap or button at the bottom of the head—this is the bump plate. Depending on your model, either twist this cap counterclockwise by hand or use a compatible tool to release the spool retention mechanism. Some caps have slots requiring a flat-blade screwdriver, while others feature a center hole for an arbor tool.
Once released, lift the bump plate straight up. The inner spool should come with it, revealing the spindle underneath. Set the bump plate aside and remove the spool carefully, noting which direction it was oriented.
Step 2: Clear Old Line and Debris
Remove any remaining line fragments from the spool and the inside of the housing. Wipe away grass clippings, dirt, and debris that may have accumulated. Inspect the inside of the housing for damage or wear that might affect spool movement. A clean workspace prevents tangling and ensures smooth operation.
Step 3: Prepare the New Line
Cut a length of new trimmer line—typically 6 to 10 feet depending on your spool capacity. Check your manual for specific length recommendations, as overfilling can cause tangles while underfilling reduces runtime between refills. Fold the line in half to find its center point.
Step 4: Wind the String
Look for directional arrows or grooves on the spool indicating which way to wind the line. This direction matters—winding backward causes the line to pull out during operation instead of staying secured. Most spools wind in a clockwise direction when viewed from the top.
Insert the center fold of the line into the spool’s center notch or hole. Begin winding the line in the indicated direction, keeping the line taut and wrapping it in neat, side-by-side layers. Wind toward the outer edge of the spool, maintaining even tension throughout. Most spools have two compartments—wind each leg of line separately in opposite compartments if your design includes this feature.
Leave approximately 6 inches of line unwound at the end, and tuck the remaining line into the temporary slots or notches on the sides of the spool to hold it in place during reassembly.
Step 5: Reassemble the Head
Thread the free ends of line through the eyelets or holes in the housing, pulling them through from inside the head outward. Guide the spool back onto the spindle, ensuring it seats properly and aligns with any retention pins or tabs. Replace the bump plate and press down firmly while rotating until the retention mechanism clicks or locks into place.
Pull the temporarily secured line ends to release them from the notches, allowing them to extend outward through the eyelets. Trim any excess beyond the desired length if necessary.
How to String an Auto-Feed Weed Eater
Auto-feed systems reduce the need for manual bumping but still require proper stringing technique to function correctly.
Identifying Auto-Feed Components
Auto-feed heads may appear similar to bump-feed models from the outside, but the spool mechanism differs internally. Look for dual feed holes or slots on opposite sides of the head. Some models have a simple cap removal process similar to bump-feed heads, while others require removing screws or a twist-lock ring.
Winding Procedure
The winding process closely mirrors bump-feed stringing, with key differences in line retention. Auto-feed spools often use spring tension to hold line in place rather than notched slots. After winding the line in the indicated direction, ensure the ends protrude through the feed holes and remain accessible for the mechanism to grab.
Some auto-feed systems require threading a single continuous length through both holes rather than winding a spool. In these cases, insert the line through one hole, across the internal mechanism, and out the opposite hole, leaving equal lengths on each side.
Troubleshooting Auto-Feed Issues
If the line fails to advance during operation, the spring mechanism inside the head may need cleaning or replacement. Debris accumulation commonly causes auto-feed failures. Disassemble the head and clean the internal components with a brush, then reassemble carefully to avoid damaging delicate spring parts.
How to String a Manual-Wind Weed Eater Head
Manual-wind heads eliminate the spool entirely, requiring you to thread line through fixed channels. These designs appear on some older models and certain specialty trimmers.
Fixed-Spool Threading
Remove any retention clips, screws, or covers holding the line in place. Locate the entry holes on opposite sides of the head. Cut two pieces of line to length—typically 6 to 8 feet each for residential models. Insert one end of the first line piece into one hole, pushing it through the internal channel until it exits the opposite side. Repeat with the second piece through the remaining hole.
Securing Without a Spool
Without a spool to hold tension, manual-wind heads rely on friction and retention hardware to keep line in place. Some models use small screws or clips that pinch the line where it exits the head. Others employ a twist-lock cap that compresses against the line ends when installed. Ensure your retention method holds the line firmly without crushing or weakening it.
Cartridge-Style Heads
Cartridge heads use pre-wound replaceable units rather than loose line. Simply insert the cartridge into the head and secure it with the retention mechanism. This design simplifies stringing but requires purchasing manufacturer-specific replacement cartridges.
Common Mistakes to Avoid
Several errors frequently cause problems during stringing and subsequent operation. Avoiding these improves your success rate and extends equipment life.
Winding in the Wrong Direction
Perhaps the most common mistake—winding line opposite to the indicated direction causes it to unravel during operation. Always verify directional arrows before beginning. If no arrows exist, observe which direction releases line during normal operation and wind accordingly.
Overfilling or Underfilling the Spool
Too much line creates tangles and makes reassembly difficult, while too little reduces cutting time between refills. Wind to the indicated fill line or leave approximately 1/8 inch between the wound line and the spool edge. Uneven winding causes imbalance and vibration during operation.
Using Incorrect Line Gauge
Installing line that’s too thick damages your trimmer head and may void your warranty. Too thin causes constant breakage and poor cutting performance. Always match the gauge to manufacturer specifications—these exist to optimize both performance and equipment longevity.
Neglecting to Clean Before Stringing
Dirt, grass, and debris on the spool or inside the housing cause inconsistent winding and potential jamming. Take time to clean all components before installing new line, even if the head appears relatively clean.
Forgetting to Seat the Spool Properly
A spool that isn’t fully seated won’t spin freely, causing poor cutting and potential damage. Ensure the spool drops fully onto the spindle with any alignment pins engaging their corresponding holes.
Testing Your Work
Proper testing validates your installation before tackling actual trimming work. This step prevents frustration and potential damage from undetected problems.
Initial Startup Procedure
With the trimmer resting on a flat surface and the cutting head slightly elevated, start the engine at idle speed. Observe the line behavior—properly installed line should remain secure while the head spins freely without excessive wobble or noise.
For bump-feed heads, tap the underside gently against the ground. The line should advance smoothly with each tap. If it doesn’t advance, the spool may be installed incorrectly or the internal mechanism may need attention.
Visual Inspection
After a brief test run, stop the engine and inspect the line. Both ends should extend to equal lengths from the eyelets. Check that the line hasn’t slipped from its retention slots or clips. Verify the bump plate sits flush and secure.
Signs of Problems
If the string breaks immediately or continuously during testing, the gauge may be wrong, the line may be catching on debris, or the head may have a burr or obstruction. If only one side extends, the opposite line end may not have threaded properly through its channel. Reassemble and test again if problems occur.
Safety Considerations
String trimmers pose real hazards requiring appropriate precautions. Always disconnect the spark plug wire before performing any maintenance, including stringing. Wear eye protection during operation and maintenance. Allow the engine to cool before working on the head, as some components retain heat even after shutdown.
Follow your specific model’s manual for maintenance intervals and procedures. Replace worn or damaged components promptly—cracked housings, damaged eyelets, or malfunctioning bump mechanisms affect both safety and performance.
Frequently Asked Questions
How often should I replace the trimmer line?
Replace line whenever it becomes worn below usable length, damaged, or when it breaks excessively during normal operation. Frequent use may require replacement every few weeks, while occasional use might allow months between changes.
Can I mix different line gauges or types?
Avoid mixing gauges in the same head—use consistent diameter throughout. You may occasionally use different line types (round vs. square) if the gauge matches, but consistency typically provides the most reliable results.
What if my spool has no directional arrows?
Observe your current spool before removing it. The line wraps in a particular direction already—if the line currently installed works properly, copy that direction. Alternatively, start winding in one direction and test; if the line fails to advance or pulls out, reverse direction.
Why does my line keep tangling?
Tangling usually indicates uneven winding, overfilling, or a damaged spool. Rewind carefully, ensuring even tension and proper fill levels. If the spool itself is warped or cracked, replacement may be necessary.
Is professional servicing ever necessary?
If stringing problems persist despite correct technique, the head assembly may have internal damage or wear requiring professional inspection. Likewise, any uncertainty about equipment operation or safety should prompt consultation with a qualified service technician.
Conclusion
Stringing a weed eater follows consistent principles across head types—identify your design, select correct line, wind properly following directional indicators, and reassemble securely. Bump-feed heads remain the most common residential design, making them the priority technique to master. Auto-feed and manual-wind heads follow similar principles with minor variations in threading and retention.
Taking time to string correctly prevents operational frustrations and extends both line and equipment life. When in doubt, consult your specific model’s manual for manufacturer guidance tailored to your equipment.