


Pros
- Large-size design named in product title
- Sharpening and balancing functions listed
- Listed as a new upgraded version

Pros
- Adjustable 15-to-45-degree range in title
- Sharpening and balancing functions listed

Pros
- Sharpener and balancer functions in title
- 15-to-45-degree adjustable setting listed
- Built for lawn mower blade maintenance
Pros
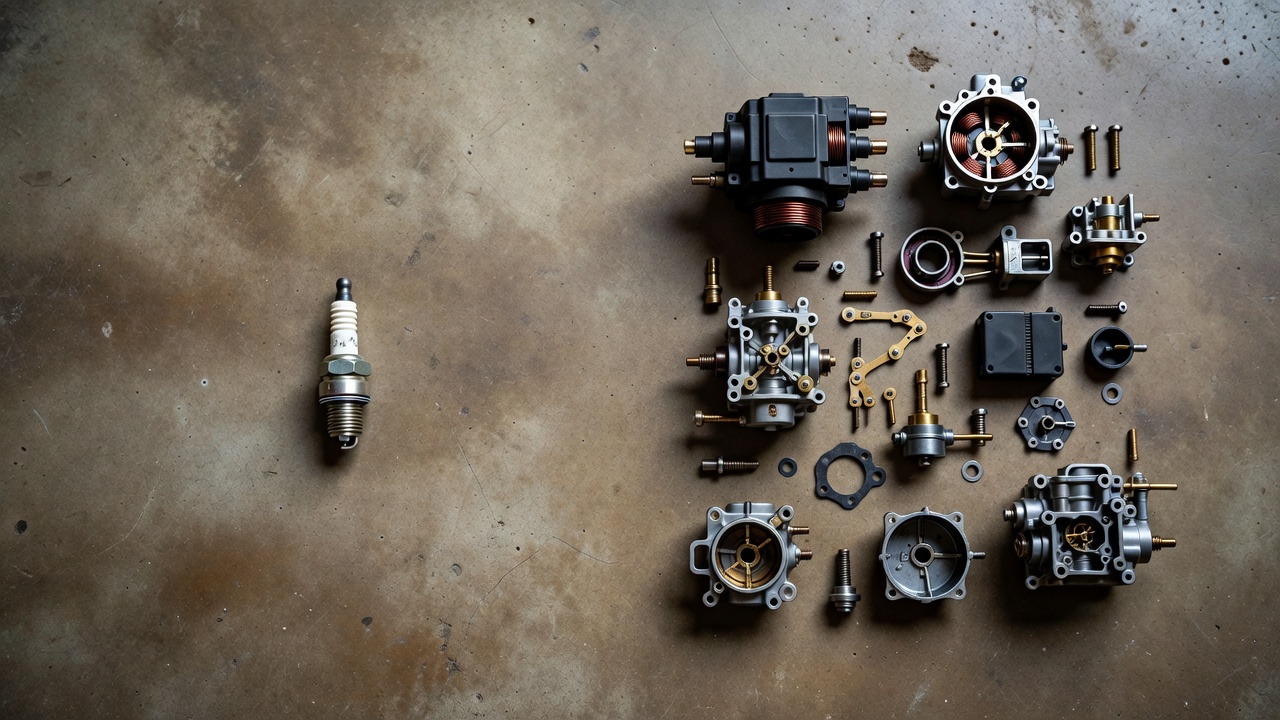
- Includes replacement gaskets and a 98079-55846 spark plug
- Matches Honda HRR216 and HRS216 lawn mower models
- Designed around the 16100-Z8B-901 carburetor specification
Cons
- Restricted to select Honda GCV160 mower applications
- Installation requires basic mechanical tools and skills
Why Testing Before Replacing Saves Time and Money
A spark plug is the first suspect when a lawn mower won’t start, starts hard, idles rough, or burns more fuel than usual. But a plug can look perfectly clean on the outside and still fail to fire under compression — meaning a visual glance alone isn’t enough. Running all three test methods before buying a replacement eliminates guesswork, confirms the plug is actually the problem, and rules out a more expensive fault like a failed ignition coil.
Most small-engine manufacturers recommend replacing the spark plug every 25 hours of operation or once per season, whichever comes first — Briggs & Stratton publishes this interval across its maintenance schedules. Outside that window, testing is the right first move rather than reflexive replacement.
Common symptoms that point to the spark plug as the culprit:
- Engine cranks but won’t fire
- Hard pulling required before it catches
- Mower runs roughly or surges at idle
- Higher-than-normal fuel consumption
- Black smoke from the exhaust
None of these symptoms exclusively confirm a bad plug, which is exactly why the three-method approach below exists. For broader ecosystem context, read through our operational guide on jbl partybox club 120 vs sony srs xv500.
What You Need Before You Start
Two tool paths cover the full range of tests. Choose based on what’s available. For broader ecosystem context, read through our operational guide on jbl partybox club 120 vs sony srs xv500.
Basic-Tools Path (Methods 1 and 2)
- Spark plug wrench or deep socket — most push mowers use a 5/8 in (16 mm) socket; many riding mowers use 13/16 in (21 mm) — check your engine manual
- Wire brush (for cleaning carbon deposits)
- Feeler gauge (for checking and setting the electrode gap)
- Insulated rubber gloves or insulated pliers (for holding the plug during the grounded-spark test)
- Clean rag
Confirmation-Tools Path (Method 3)
- Inline spark plug tester (~$10 at any hardware store) — the fastest confirmation tool
- Or a digital multimeter set to resistance (Ω) mode
Safety Steps — Do These Before Touching Anything
- Let the engine cool completely — at least 30 minutes after last use.
- Work on a flat, stable surface.
- Disconnect the spark plug wire (boot) before removal — pulling the wire while the engine is off prevents accidental starts.
- On riding mowers, engage the parking brake and remove the ignition key.
- Keep a fire extinguisher nearby if fuel vapors are present.
How to Remove the Spark Plug from a Lawn Mower
Push / Walk-Behind Mowers
The spark plug sits on the front or side of the engine block, facing forward for air cooling. It’s typically the most visible component with a rubber wire boot attached to its ceramic tip. For troubleshooting and reliability insights, consult our in-depth z890 vs x870e motherboard report.
- Pull the rubber boot straight off the plug — grip the boot, not the wire, to avoid damaging the connection.
- Brush away any dirt or debris around the plug base so nothing falls into the cylinder when the plug is removed.
- Fit the correct deep socket over the plug and turn counterclockwise to loosen.
- If the plug resists, apply penetrating oil to the base threads and wait 10 minutes before trying again — forcing a seized plug in an aluminum head strips the threads.
- Once loose, remove by hand and set aside on a clean surface.
Riding Mowers and Zero-Turn Mowers
Single-cylinder riding mowers have one plug, usually accessible from the front of the engine. V-twin engines (common on larger riders and zero-turns) have two plugs — one on each side of the engine block. Access may require removing an engine shroud or tilting the hood fully open. Test and inspect each plug independently.
Method 1 — Visual Inspection (No Tools Required)
Hold the plug up to a bright light and examine the electrode end. The deposit color and electrode condition tell a clear diagnostic story. For troubleshooting and reliability insights, consult our in-depth z890 vs x870e motherboard report.
| What You See | What It Means | Action |
|---|---|---|
| Light tan or gray deposits, sharp electrode edges | Normal, healthy plug | Proceed to grounded-spark test to confirm |
| Black, sooty, or oily carbon coating | Carbon fouling — rich fuel mixture, oil burning, or too-cold plug heat range | Clean with wire brush and re-gap; retest — address root cause (carburetor, air filter, oil level) |
| White, chalky, or blistered ceramic | Overheating — lean mixture, incorrect plug heat range, or cooling issue | Replace plug; investigate lean fuel cause |
| Cracked ceramic insulator | Structural failure — plug is leaking spark | Replace immediately — do not reinstall |
| Rounded, eroded, or missing center electrode tip | Normal wear — plug past service life | Replace — electrode erosion cannot be corrected by cleaning |
| Heavy wet oil fouling | Oil is entering the combustion chamber — piston rings or valve seals | Replace plug; engine requires further diagnosis |
Note on cleaning: NGK — one of the world’s largest spark plug manufacturers — advises that cleaning a fouled plug with a wire brush is an acceptable temporary measure but recommends replacement over cleaning whenever possible, as abrasive particles can embed in the electrode and accelerate wear. Clean and retest only when a replacement isn’t immediately available.
Method 2 — The Grounded-Spark Test (Best At-Home Test)
This is the most reliable no-special-tools method. It simulates actual operating conditions and produces a visible pass/fail result. Readers comparing setup options can review our technical analysis on marshall stanmore iii vs harman kardon onyx studio 8.
Step-by-Step
- Reconnect the spark plug wire (boot) firmly onto the plug’s ceramic tip — you should feel a click or snug fit.
- Hold the threaded metal body of the plug against a bare, unpainted metal surface on the engine block or cylinder head. Do not ground against painted surfaces — paint insulates and produces a false result.
- Use insulated rubber gloves or grip the plug with insulated pliers. Do not hold the plug with bare hands — the ignition system on a small engine produces 12,000–45,000 volts at the plug, enough to deliver a painful and potentially dangerous shock.
- Have a second person pull the pull cord (or turn the key on a riding mower with electric start) while you observe the electrode gap.
- Observe the spark carefully.
Reading the Result
- Strong, bright blue-white spark: Plug is firing correctly — passes this test. Proceed to reinstall or confirm with Method 3 if the mower still won’t start.
- Weak, yellow, or orange spark: Insufficient voltage reaching or jumping the gap — plug is likely failing. A yellow or orange spark indicates the plug is not generating enough energy to reliably ignite the air-fuel mixture under compression. Replace the plug.
- Intermittent spark (fires sometimes, not others): Plug is borderline — replace rather than clean.
- No spark at all: Either the plug is completely failed or the problem is upstream (wire, boot, ignition coil). Proceed to Method 3 to isolate the plug before condemning the coil.
Method 3 — Inline Tester or Multimeter Test (Confirmation Method)
Use this method when Method 2 produces no spark and you need to confirm whether the plug or the ignition coil is the fault, or when you want a quantifiable reading.
Option A: Inline Spark Plug Tester
An inline tester connects between the spark plug wire and the plug, then shows spark activity through a small window when the engine is cranked. For complementary field maintenance guidelines, examine our breakdown of dyson v8 cyclone vs bissell featherweight stick.
- Disconnect the spark plug boot from the plug.
- Connect the tester’s wire-side connector to the boot.
- Connect the tester’s plug-side connector to the spark plug.
- Crank the engine (pull cord or key start).
- Observe the tester window: a visible spark in the window means the ignition system is delivering voltage. If the inline tester shows spark but the plug failed the grounded-spark test, the plug is the fault. If the inline tester shows no spark, the fault is in the wire, boot, or ignition coil — not the plug.
Option B: Multimeter Resistance Test
This tests the internal resistance of the plug’s suppressor resistor — a built-in component that reduces radio frequency interference. Out-of-range resistance indicates internal plug failure.
- Set the multimeter to resistance mode (Ω).
- Touch one probe to the center electrode (the top terminal where the boot connects).
- Touch the other probe to the threaded metal shell of the plug.
- Read the display.
| Multimeter Reading | What It Means | Action |
|---|---|---|
| 4,000–8,000 Ω | Normal suppressor resistance — plug is electrically sound | Plug passes; look elsewhere for the no-start cause |
| OL / infinity (open loop) | Open circuit inside the plug — current cannot pass | Replace plug |
| Near 0 Ω (short circuit) | Internal short — suppressor has failed | Replace plug |
The 4,000–8,000 ohm range is the standard specification for resistor-type spark plugs used in small engines, consistent with NGK and Champion published data. Non-resistor plugs (used in some older or commercial mowers) will read near 0 Ω normally — consult your engine manual to confirm plug type before interpreting results. To evaluate matched hardware tolerances, consult our detailed overview of bissell crosswave hydrosteam vs shark stainforce.
How to Read Your Results: Clean, Re-Gap, or Replace?
| Visual Finding | Spark Test Result | Multimeter | Verdict |
|---|---|---|---|
| Normal, tan deposits | Strong blue spark | 4,000–8,000 Ω | Reinstall — plug is good; diagnose elsewhere |
| Carbon fouling, no cracks | Weak or yellow spark | High but in range | Clean and re-gap, then retest — replace if still weak |
| Cracked insulator or burned electrode | Any result | Any reading | Replace immediately — physical damage is non-repairable |
| Appears okay | No spark | OL or near 0 Ω | Replace — internal electrical failure |
| Appears okay | No spark | 4,000–8,000 Ω | Plug is good — fault is in the ignition coil, wire, or boot |
How to Re-Gap a Lawn Mower Spark Plug
The gap is the distance between the center electrode and the ground electrode (the bent arm). An incorrect gap causes misfires even on a structurally sound plug.
- Locate the correct gap specification for your engine — 0.030 in (0.76 mm) is the standard for most Briggs & Stratton walk-behind mower engines, but Kohler, Honda, Kawasaki, and other manufacturers publish model-specific values in their owner’s manuals. Always verify before setting the gap.
- Slide the correct feeler gauge blade between the two electrodes. It should pass through with slight resistance — not loose, not requiring force.
- If the gap is too wide, gently tap the ground electrode against a hard surface to close it slightly.
- If the gap is too narrow, use the feeler gauge’s stepped base or a small screwdriver to carefully lever the ground electrode outward — move in very small increments.
- Recheck with the feeler gauge after each adjustment.
- Do not re-gap a plug with a cracked insulator or eroded electrode — replace it.
What to Check If the Spark Plug Tests Good But the Mower Still Won’t Start
A passing plug eliminates one component. The fault sits elsewhere in the starting or fuel system. Work through these in order:
- Ignition coil: The coil generates the high voltage sent to the plug. A failed coil produces no spark at the plug even with a brand-new plug installed. Test with an inline tester connected directly to a known-good plug — if there’s still no spark, the coil is the suspect. The air gap between the coil and flywheel magnets also matters: most small engines spec this at 0.010 in (0.25 mm). An incorrect air gap reduces spark intensity.
- Spark plug wire and boot: Inspect the boot for cracks or carbon tracking. A damaged boot leaks voltage to ground before it reaches the plug.
- Fuel delivery: Old or stale fuel (degraded after 30 days without stabilizer), a clogged fuel filter, or a stuck carburetor needle will prevent starting even with a perfect ignition system.
- Carburetor: Ethanol-blended fuel leaves varnish deposits that clog carburetor jets. A no-start after winter storage almost always involves a dirty carburetor, not a failed plug.
- Safety switches (riding mowers): Seat, blade engagement, and brake safety switches cut the ignition circuit when not engaged correctly. A faulty switch mimics ignition failure. Test by checking switch continuity with a multimeter.
- Compression: Low compression (below ~90 PSI on most small engines) means the plug fires but can’t ignite the mixture because it isn’t compressed enough. A compression test with a gauge rules this in or out.
Buyer FAQs: How To Test A Spark Plug On A Lawn Mower Solved
How often should I test or replace the spark plug on my lawn mower?
Briggs & Stratton and most small-engine OEMs recommend replacing the spark plug every 25 hours of operation or once per season, whichever comes first. If the mower is used heavily or shows any symptoms — hard starting, rough idle, poor power — test the plug regardless of hours. Testing costs nothing; a fresh plug costs $3–$8 and eliminates the variable immediately.
What does a yellow or orange spark mean on a lawn mower?
A yellow or orange spark indicates the plug is not generating sufficient voltage to reliably cross the electrode gap. Under the high compression of a running engine, a weak spark like this will misfire or fail to ignite the air-fuel mixture entirely. A healthy plug produces a sharp, bright blue-white spark. Yellow or orange is a definitive replace indicator.
Can I test a lawn mower spark plug without any tools?
The grounded-spark test (Method 2) requires only the plug wrench to remove the plug and insulated gloves or pliers to hold it safely during the test. No tester or multimeter is needed. Visual inspection (Method 1) requires no tools at all — just the plug wrench for removal. The multimeter and inline tester only become necessary when the grounded-spark test is inconclusive.
What is OL on a multimeter when testing a spark plug?
OL stands for over-limit or open loop — the multimeter is detecting infinite resistance, meaning no electrical continuity exists between the two probes. On a resistor-type spark plug, an OL reading means the internal suppressor resistor has broken, creating an open circuit. No current can pass through the plug to fire it. Replace the plug.
For more hands-on benchmarks and buying recommendations, consult our guides on heavy-duty chainsaw buyer guide, as well as high-CFM commercial leaf blower guide, as well as durable ride-on lawn tractor guide.
Mechanical safety standards, operational tolerances, and protective gear guidelines align with benchmark specifications established by the American National Standards Institute (ANSI).









