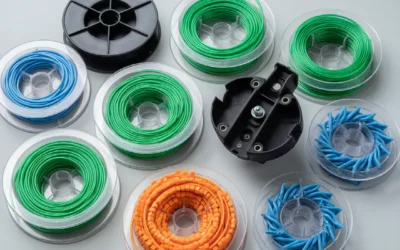
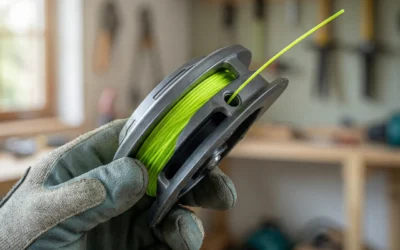
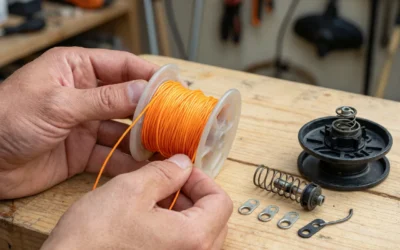
To thread a weed wacker spool, first remove the spool from the trimmer head by pressing the locking tabs or unscrewing the cap. Cut two equal lengths of trimmer line, typically 10–15 feet each depending on your spool’s capacity. Insert each line end into the spool’s eyelets or anchor holes, then wind the line in the direction indicated by the arrows on the spool, usually counterclockwise. Leave about 6 inches of line protruding from each eyelet, feed the ends through the head’s exit holes, and reassemble. The exact steps vary by spool type, so always consult your user manual for model-specific details.
Identify Your Spool Type
Before you begin threading your weed wacker spool, it is essential to know which type of spool your trimmer uses. The three most common designs are bump-feed, auto-feed, and fixed-line spools, and each requires a slightly different threading procedure. Understanding your spool type will save you time and prevent frustration during the reloading process.
Bump-Feed Spools
Bump-feed spools are the most common type found on residential trimmers. They feature a spring-loaded head that releases more line when you tap the bottom of the head against the ground while the trimmer is running. To thread a bump-feed spool, you typically press in the tabs on the side of the head and pull the spool out, or you may need to unscrew the cap. The line winds around the spool, and the ends feed through eyelets that align with exit holes in the head.
Auto-Feed Spools
Auto-feed spools use a centrifugal mechanism that automatically releases line as the trimmer head spins at high speed. These spools often have a simpler threading process because the line feeds through a single eyelet and a guide channel. You may need to insert the line through a small hole in the spool and wind it in a specific direction, then thread the end through the head’s exit port. Always check the arrows molded into the plastic to confirm the winding direction.
Fixed-Line Spools
Fixed-line spools, also known as manual-feed spools, do not automatically advance line. Instead, you manually pull the line out to the desired length before trimming. These spools are often simpler to thread because there is no spring mechanism to contend with. You typically insert the line through a hole in the spool, wind it in the indicated direction, and leave a short length protruding. Fixed-line heads are common on lightweight electric trimmers and budget-friendly gas models.
To determine which type you have, look for visible tabs, a bump knob on the bottom, or a fixed plastic head with no moving parts. Your owner’s manual will also specify the spool design and provide the correct line diameter for your model.
Removing the Spool from the Trimmer Head
Once you have identified your spool type, the next step is to remove the spool from the trimmer head safely. This process varies depending on the head design, but the goal is always the same: access the spool without damaging the housing or internal components.
Releasing the Cap or Locking Mechanism
For most bump-feed and auto-feed heads, you will find two tabs on the sides of the head. Press both tabs inward simultaneously and pull the outer housing off to expose the spool. Some models use a threaded cap instead; in that case, hold the spool steady and turn the cap counterclockwise to unscrew it. Fixed-line heads may have a small screw in the center that you need to remove with a screwdriver before the spool can be lifted out.
What If the Spool Is Stuck?
If the spool will not come out easily, do not force it, as you may crack the plastic housing. Try pressing the tabs again while gently wiggling the housing. A buildup of grass clippings or debris can sometimes wedge the spool in place, so clean around the head with a brush or compressed air before attempting removal. If the cap is stuck due to corrosion or overtightening, apply a small amount of penetrating oil around the threads and allow it to sit for a few minutes before trying again. Never use excessive force, and avoid prying with a metal tool that could scratch or break the housing.
Once the spool is free, inspect it for cracks, worn eyelets, or broken tabs. If the spool is damaged, replace it rather than trying to reuse it, as a damaged spool can cause line tangling or feed failures.
Cutting and Inserting the New Line
With the spool removed, you can now prepare the new trimmer line. The correct line length and diameter are critical for proper operation, so check your spool’s capacity and your trimmer’s specifications before cutting.
How Long Should the Line Be?
Most standard spools hold between 10 and 15 feet of line per side, but this varies widely by model. Look for a line capacity marking on the spool itself, often expressed in feet or meters. If no marking exists, a good starting point is 12 feet per side for a typical residential spool. Cutting the line too long can make winding difficult and cause the line to bunch up, while cutting it too short means you will need to reload more frequently.
Where Do I Insert the Line Ends?
Most spools have two anchor holes or eyelets, one on each side, where the line ends are inserted to secure them during winding. Some spools have a single hole in the center through which you fold the line in half. To begin, insert the end of one line into one anchor hole and pull it through until about an inch protrudes on the other side. Repeat with the second line on the opposite side. Make sure the line is seated securely so it does not pull free while you wind.
For spools with a center hole, fold the line in half, push the loop through the hole, and hook it over the small notch or ridge inside the spool. Then pull both ends tight to secure the line before winding. This method is common on smaller spools and simplifies the threading process.
Winding the Line Correctly
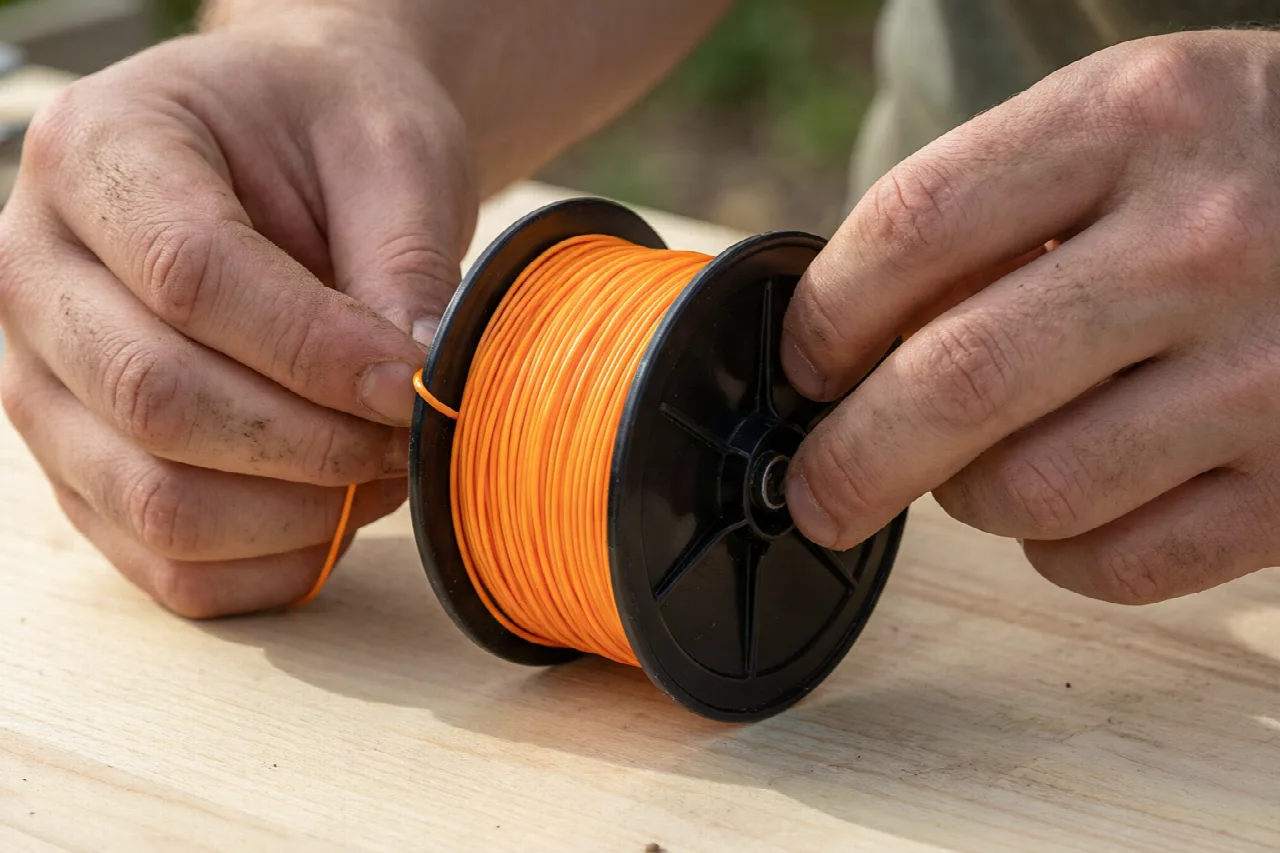
Winding the line properly is the most important step in threading a weed wacker spool. Incorrect winding direction or loose tension will cause tangling, uneven feeding, and poor cutting performance.
Which Way Do I Wind the Line?
Always wind the line in the direction indicated by the arrows molded into the spool. On most models, this is counterclockwise, but some spools wind clockwise. Winding in the wrong direction will cause the line to unwind instead of feed out when the head spins. Look for small arrows on the top or bottom of the spool, and follow them precisely. If the arrows are worn or hard to see, consult your owner’s manual or look up your model online.
How Tight Should the Winding Be?
The line should be wound snugly and evenly, with each wrap lying flat against the previous one. Avoid overlapping or crossing the line, as this creates lumps that cause the line to bind during feeding. Keep moderate tension on the line as you wind, but do not pull so hard that you stretch or deform the line. Stop winding when the line is level with the outer rim of the spool, leaving about 6 inches protruding from each eyelet. Overfilling the spool makes it difficult to reassemble and can cause the line to jam in the head.
After winding, check that the protruding ends are free and not pinched between the spool and the housing. If the line is caught, gently pull it free before reassembling the head.
Reassembling and Testing
Once the line is wound correctly, you can reassemble the trimmer head and test the feed mechanism. Proper reassembly is essential to ensure the line feeds out smoothly when you start trimming.
How Do I Feed the Line Through the Exit Holes?
Before placing the spool back into the housing, align the protruding line ends with the exit holes or slots on the outer head. Thread each line end through its corresponding hole, pulling it through until the line is flush with the spool. Then replace the housing, pressing it down until the tabs click into place or screwing the cap back on securely. Make sure the line ends are not pinched between the housing and the spool, as this will prevent them from feeding out.
How Do I Test That It Feeds Properly?
After reassembly, give the line ends a gentle tug to confirm they move freely through the exit holes. For bump-feed heads, tap the bottom of the head on a hard surface to see if the line advances slightly. For auto-feed heads, start the trimmer and let the head spin at full speed for a few seconds to verify the line feeds out automatically. If the line does not advance, check that the spool is seated correctly and that the line is not tangled inside the housing. If the line feeds out too far, trim it to the recommended cutting length, usually 4 to 6 inches from the head.
Troubleshooting Common Issues
Even with careful threading, you may encounter problems with your weed wacker spool. Here are some of the most common issues and how to resolve them.
What If the Line Keeps Getting Tangled?
Tangling is usually caused by winding the line in the wrong direction, overfilling the spool, or using line that is too thick for the head. Remove the spool, unwind the line, and rewind it carefully following the directional arrows. Make sure the line is wound evenly and not overlapping. Also verify that you are using the correct line diameter for your trimmer, as oversized line can bind inside the head and cause tangles.
What If the Spool Won’t Turn?
If the spool will not rotate inside the head, it may be seated incorrectly or the line may be pinched between the spool and housing. Remove the spool and inspect it for debris or damage. Clean the inside of the head and ensure the spool sits flat and turns freely before reassembling. If the spool still will not turn, the internal spring or ratchet mechanism may be broken, and you may need to replace the entire head assembly.
What If the Line Breaks Frequently?
Frequent line breakage is often caused by using line that is too thin for the job, hitting hard surfaces like concrete or rocks, or running the trimmer at excessive speed. Use the recommended line gauge for your model, and avoid striking hard objects. If the line breaks near the head, check for sharp edges or burrs on the exit holes that may be cutting the line, and smooth them with fine sandpaper if necessary.
By following these steps and troubleshooting tips, you can keep your weed wacker spool threaded correctly and your trimmer running smoothly throughout the season.