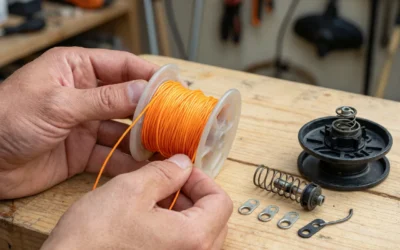
To reload a weed wacker, start by turning off the machine and disconnecting the spark plug. Remove the spool from the trimmer head by pushing in the tabs or twisting the cap. If you have a pre-wound spool, replace it entirely; if manually winding, cut two equal lengths of line based on your spool’s capacity, insert them into the spool’s anchor holes, wind in the direction of the arrows, and secure the ends through the eyelets. Feed the line through the head’s exit holes, reassemble, and test the feed mechanism. Always refer to your model’s manual for specific instructions.
Preparing for Reloading
Before you begin reloading your weed wacker, proper preparation is essential for both safety and efficiency. Taking a few minutes to gather the right tools and follow safety precautions will make the process smoother and prevent accidents.
Do I Need to Disconnect the Spark Plug?
Yes, for gas-powered trimmers, disconnecting the spark plug is a critical safety step. The trimmer may start accidentally if the ignition is left connected, and the spinning head can cause serious injury. Locate the spark plug wire near the engine, grasp the boot firmly, and pull it off the plug. Tuck the wire away from the plug so it cannot accidentally reconnect while you work. For electric trimmers, simply unplug the unit from the power outlet or remove the battery pack. This step is non-negotiable and should be done before any maintenance work.
What Tools Are Required?
Reloading a weed wacker requires minimal tools. In most cases, you will only need a flathead screwdriver to pry off stubborn caps or remove center screws, and a pair of scissors or a utility knife to cut the trimmer line to length. Some trimmers come with a small tool or wrench for removing the head, so check your owner’s manual. You will also need the correct replacement line, either a pre-wound spool or a roll of trimmer line in the proper gauge. Having a clean, flat work surface and good lighting will make the job easier and help you avoid losing small parts.
Before you start, clear the work area of debris and make sure the trimmer is on a stable surface. If you are working on a gas model, allow the engine to cool completely before touching any components near the motor.
Opening the Trimmer Head
With the machine safely powered down, you can now access the spool by opening the trimmer head. The method varies depending on the head design, so identify your type before proceeding.
How Do I Open a Bump-Feed Head?
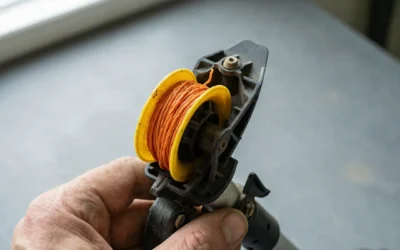
Bump-feed heads are the most common and typically feature two tabs on the sides of the outer housing. Press both tabs inward simultaneously and pull the housing straight off to expose the spool. Some models have a cap that screws onto the head; in that case, hold the spool steady and turn the cap counterclockwise to remove it. Once the housing is off, lift the spool out of the head assembly. Be careful not to lose the spring or any small washers that may sit beneath the spool.
How Do I Open a Fixed-Line Head?
Fixed-line heads are usually simpler to open. Many have a small screw in the center of the head that you remove with a screwdriver, allowing the spool to lift out. Others have a single tab or a twist-lock mechanism. Look for any visible fasteners or release points, and consult your manual if you are unsure. Avoid prying with excessive force, as the plastic housing can crack easily. If the head seems stuck, clean around the edges and check for a hidden screw or clip.
For auto-feed heads, the opening process is similar to bump-feed heads, with tabs or a threaded cap. Once open, note how the spool sits inside the head so you can reassemble it correctly. Taking a photo with your phone before removal is a helpful trick for remembering the orientation.
Deciding Between a Pre-Wound Spool and Manual Winding
When reloading your weed wacker, you have two main options: use a pre-wound spool or wind the line manually. Both methods work, but each has its own advantages and drawbacks.
Should I Buy a Pre-Wound Spool or Wind My Own Line?
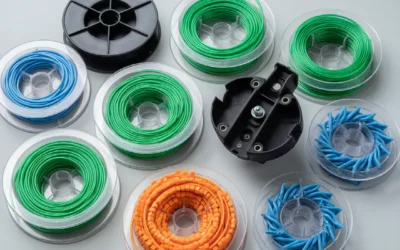
A pre-wound spool comes with the line already loaded, so you simply remove the old spool and drop in the new one. This is the fastest and easiest option, especially for beginners or anyone who wants to avoid the fiddly process of winding line by hand. Pre-wound spools are widely available for popular trimmer models and ensure the line is wound at the correct tension and direction. The main drawback is cost, as pre-wound spools are more expensive per use than a bulk roll of line.
What Are the Advantages of Each?
Manual winding is more economical in the long run, since a single roll of trimmer line provides many reloads. It also gives you control over the line length and tension, and you can use any compatible line gauge. The downside is that manual winding takes more time and requires some care to do correctly. If you wind the line unevenly or in the wrong direction, you will encounter tangling and feed problems. For occasional users, a pre-wound spool is often worth the convenience; for frequent users, learning to wind manually will save money over time.
Consider your skill level and how often you use the trimmer when deciding. Many users keep a pre-wound spool on hand as a backup while they practice manual winding.
Manual Winding Step-by-Step
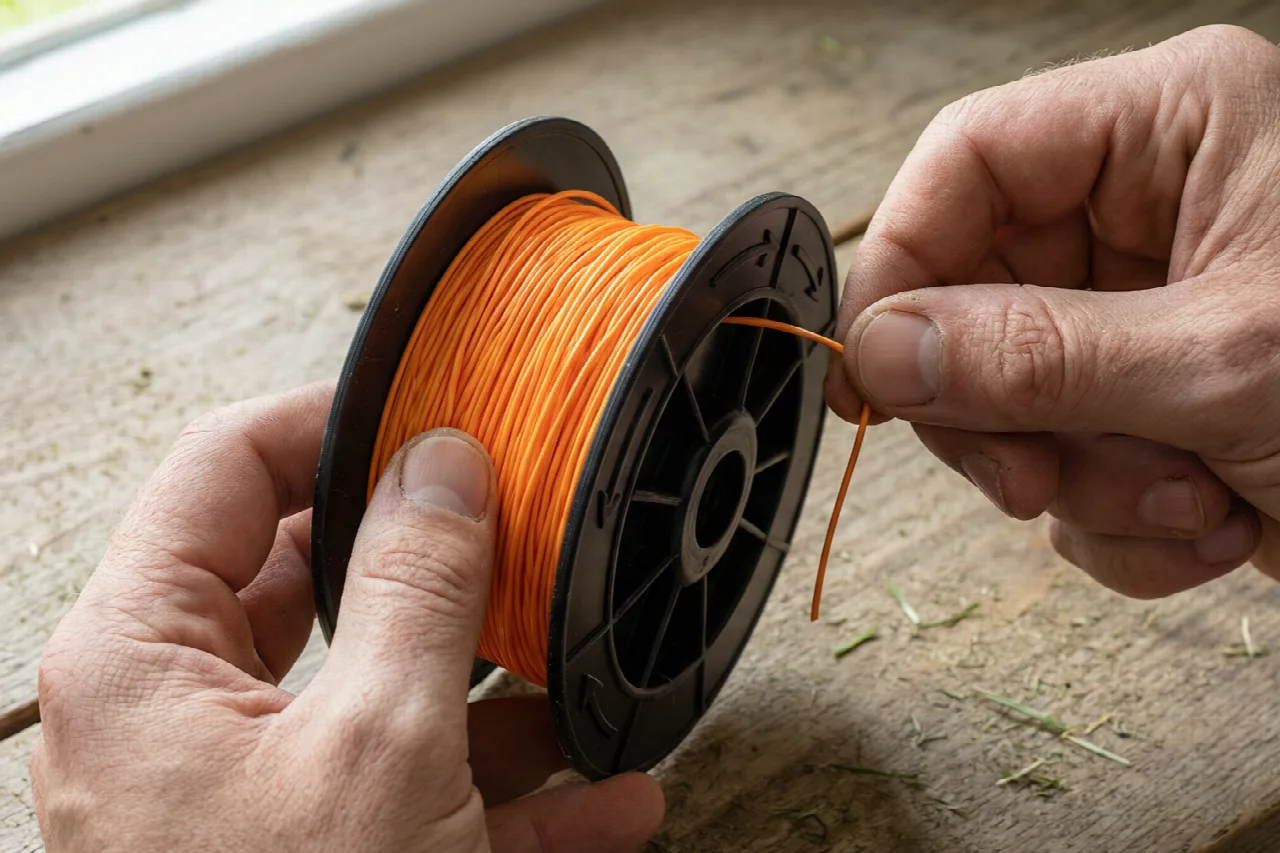
If you choose to wind the line manually, follow these detailed steps to ensure a clean, functional reload. Take your time, as rushing this process is the most common cause of reloading mistakes.
How Much Line Do I Cut?
Check your spool for a line capacity marking, usually expressed in feet. Most standard spools hold between 10 and 15 feet of line per side. If there is no marking, cut two equal lengths of approximately 12 feet each for a typical residential spool. Using too much line makes winding difficult and can cause the spool to jam; using too little means more frequent reloads. When in doubt, err on the shorter side, as you can always add more line later.
How Do I Anchor the Line?
Look for the anchor holes or eyelets on the spool. Most spools have two holes, one on each side, where you insert the line ends. Push the end of one line through one hole and pull it through until about an inch protrudes. Repeat with the second line on the opposite hole. Some spools have a single center hole; in that case, fold the line in half, push the loop through the hole, and hook it over the notch inside the spool. Ensure the line is firmly anchored so it does not pull free while winding.
Which Direction Do I Wind?
Always wind in the direction indicated by the arrows molded into the spool, which is usually counterclockwise but varies by model. Winding the wrong way will cause the line to unwind when the head spins. Hold the line taut and wind it evenly, keeping each wrap flat against the previous one. Avoid overlapping, which creates lumps that cause binding. Stop when the line reaches the outer rim of the spool, leaving about 6 inches protruding from each eyelet.
After winding, check that the protruding ends are free and not pinched. If the line is caught, gently pull it free before reassembling the head.
Reassembling the Head and Testing
Once the line is wound, you must reassemble the trimmer head correctly and test the feed mechanism to ensure everything works properly.
How Do I Make Sure the Line Feeds Out Correctly?
Before replacing the housing, thread each protruding line end through the corresponding exit hole or slot on the outer head. Pull the line through until it is flush with the spool, then press the housing back into place until the tabs click or the cap threads on securely. Make sure the line ends are not pinched between the housing and the spool. After reassembly, tug gently on each line end to confirm it moves freely through the exit holes. If the line does not move, the spool may be seated incorrectly or the line may be tangled inside.
What If the Line Does Not Advance?
If the line does not feed out when you start the trimmer, first check that the spool is seated correctly and rotates freely. For bump-feed heads, tap the bottom of the head on the ground to release more line. For auto-feed heads, let the head spin at full speed for a few seconds to trigger the feed mechanism. If the line still does not advance, remove the head and inspect for tangles, debris, or a misaligned spool. Also verify that you wound the line in the correct direction, as a reversed wind will prevent feeding.
Troubleshooting Reload Problems
Even with careful reloading, you may encounter problems. Here are common issues and practical fixes to get your weed wacker running smoothly again.
Why Does the Line Keep Breaking?
Frequent line breakage is usually caused by using line that is too thin for the cutting conditions, striking hard surfaces like concrete or rocks, or running the trimmer at too high a speed. Use the recommended line gauge for your model and avoid hitting hard objects. If the line breaks near the head, inspect the exit holes for sharp edges or burrs that may be cutting the line, and smooth them with fine sandpaper if needed.
Why Won’t the Spool Rotate?
If the spool will not turn inside the head, it may be seated incorrectly, or debris may be wedged between the spool and housing. Remove the spool, clean the inside of the head, and ensure the spool sits flat and rotates freely before reassembling. If the spool still will not turn, the internal spring or ratchet mechanism may be broken, and you may need to replace the head assembly. Check your warranty or consult a professional for repairs if you are unsure.
By following these steps and troubleshooting tips, you can reload your weed wacker confidently and keep your trimmer performing at its best all season long.