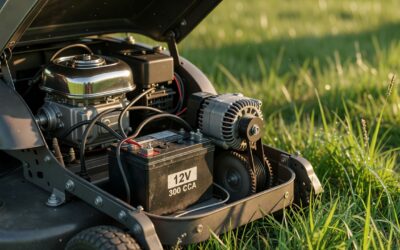
Direct Answer: How to Winterize a Riding Lawn Mower
To winterize a gas-powered riding lawn mower, stabilize or drain the fuel (stabilize if storing under 30 days; drain completely if storing longer), change the engine oil, remove or trickle-charge the battery, inspect and replace spark plugs, clean the mower deck thoroughly, check tire pressure, lubricate moving parts, and store the unit covered in a dry, sheltered location. Completing these steps before the first hard freeze prevents gummed carburetors, dead batteries, corroded decks, and seized engines—ensuring reliable starting in spring.
Why Winterizing a Riding Lawn Mower Matters
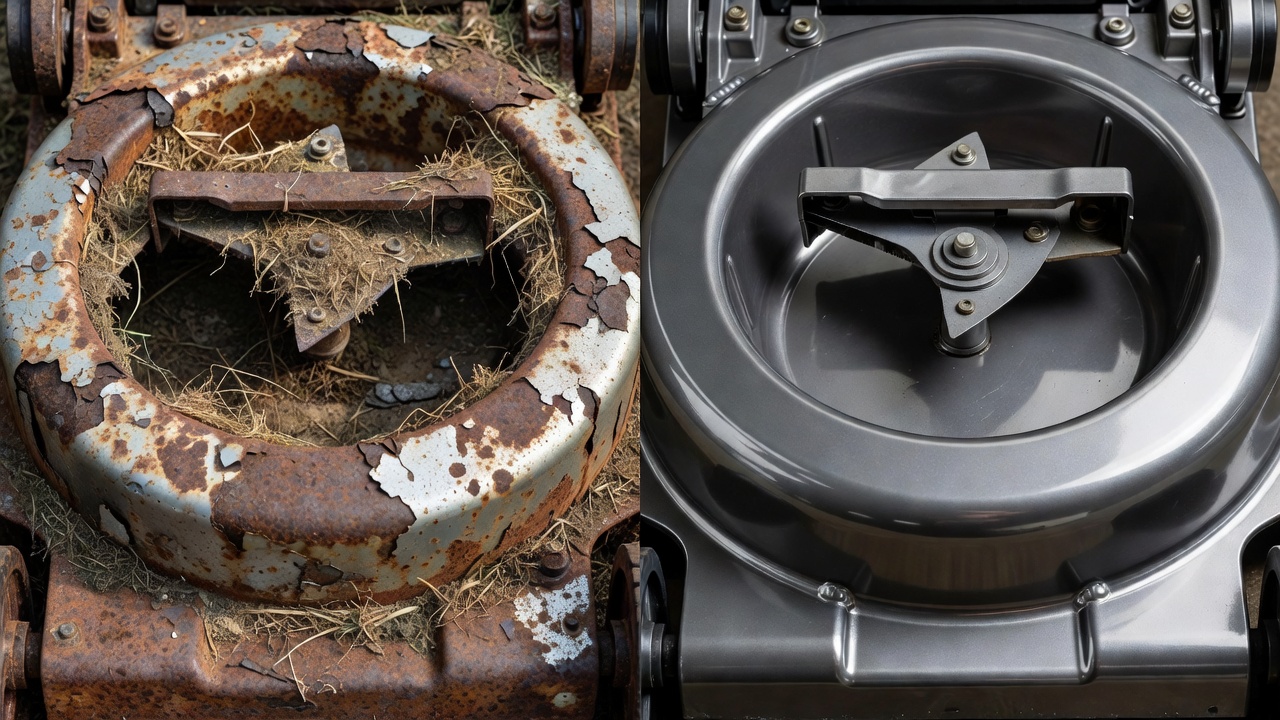
Skipping winterization exposes your mower to months of corrosion, fuel degradation, and component seizure. Ethanol-blended gasoline begins forming varnish deposits in the carburetor in as little as 30 days of storage. Used engine oil contains combustion acids that eat away at metal surfaces during the off-season. A fully discharged lead-acid battery will sulfate and lose permanent capacity. Dried grass clippings trap moisture against the deck, accelerating rust. Battery terminals corrode. Tires flatten from weeks of sitting.
The result: a mower that won’t start come spring, or one that requires expensive carburetor cleaning or engine repair. Winterization takes 2–3 hours and costs under $50 in supplies—a trivial investment compared to a no-start or seized engine.
What You’ll Need Before You Start
Gather these tools and supplies before beginning:
- Fuel stabilizer (e.g., Sta-Bil, Briggs & Stratton Fuel Treatment)
- Engine oil (correct viscosity per your OEM manual—typically SAE 30 or 10W-30)
- Oil drain pan (to catch used oil)
- New spark plugs (confirm correct type in your manual)
- Air filter (replacement if current one is dirty)
- Wire brush or plastic deck scraper
- Tire pressure gauge
- Battery tender or trickle charger (12V for most riding mowers)
- Dielectric grease (for battery terminals)
- Grease gun and multipurpose grease (for lubrication)
- Light machine oil (for cables and linkages)
- Rust-inhibiting spray (for the mower deck)
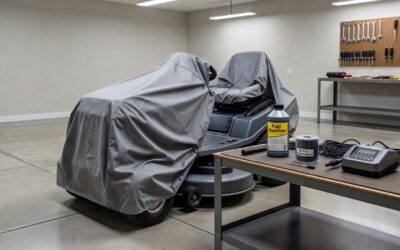
- Mower cover or tarp (breathable preferred)
Step 1: Handle the Fuel—Stabilize or Drain?
The Dilemma: Two camps exist—stabilizers vs. complete fuel drainage. The answer depends on storage length.
- Storing under 30 days: Add fuel stabilizer to the tank and run the engine for 5–10 minutes to distribute the additive through the fuel system and carburetor.
- Storing 30 days or longer (typical winter): Drain the fuel tank completely, then run the engine until it stalls (carburetor dry), or use a siphon pump to empty the carburetor bowl. This prevents varnish formation entirely.
Why this matters: Ethanol-blended gasoline (standard in the U.S.) absorbs moisture and oxidizes, leaving sticky varnish that clogs carburetor jets and prevents spring starting. Stabilizers slow this process but don’t stop it over months. Complete drainage is the only fail-safe for long-term storage.
Recommended approach: If your winter is longer than a month, drain the tank. Fill it with fresh, stabilized fuel only when you’re ready to use the mower in spring.
Step 2: Change the Engine Oil
Used oil is acidic and corrosive. Leaving it in the engine over winter allows acid to eat microscopic pits into bearing surfaces and cylinder walls.
How to change the oil:
- Warm the engine slightly (2–3 minutes of idling) to thin the oil.
- Stop the engine and locate the oil drain plug (consult your OEM manual for exact location).
- Place an oil drain pan underneath and remove the plug by turning it counterclockwise.
- Let the old oil drain completely (10–15 minutes).
- Wipe the drain plug clean and reinstall it; tighten snugly but do not over-torque.
- Locate the oil filter (if your model has one) and replace it per the manual.
- Refill with fresh engine oil to the full mark on the dipstick. Check your manual for the correct viscosity—typically SAE 30 for warm climates or 10W-30 for cold winters.
Note: This step applies only to four-stroke gas engines. Two-stroke mowers mix oil with fuel and do not have a separate oil change procedure.
Step 3: Service Spark Plugs and Air Filter
Spark plugs and air filters accumulate carbon and debris over the mowing season. A weak spark plug and a clogged filter make cold-starting near-impossible in spring.
Spark plug replacement:
- Remove the spark plug wire(s) by twisting and gently pulling.
- Use a spark plug socket to unscrew the old plug.
- Inspect the electrode gap (distance between the center and ground electrode). The spec is usually 0.030–0.040 inches; consult your manual.
- Install a new plug of the same type, gapped correctly.
- Reinstall the wire(s).
Engine fogging (optional but recommended): Add a few drops of clean engine oil directly into the spark plug hole, then pull the starter cord slowly 3–5 times to coat the cylinder walls. This prevents rust on internal surfaces over winter. Reinstall the spark plug afterward.
Air filter: Remove and inspect the air filter. If it is visibly dirty, clogged, or hasn’t been replaced in over a season, install a new one.
Step 4: Remove, Charge, or Tender the Battery
A lead-acid battery left fully discharged over winter will sulfate—a chemical reaction that permanently reduces its capacity. A lithium-ion battery should be stored indoors above 32°F and at 50–80% charge for optimal longevity.
For lead-acid batteries:
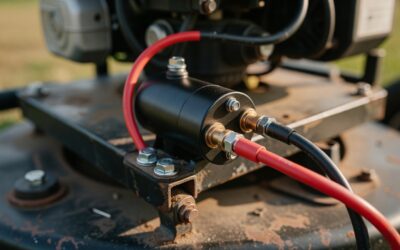
- Disconnect the negative (black) terminal first, then the positive (red) terminal.
- Remove the battery from the mower and store it indoors in a cool, dry location.
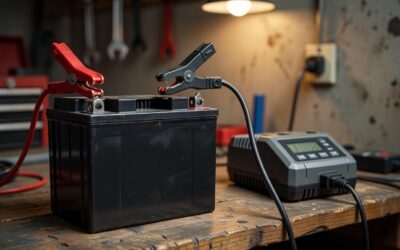
- Place the battery on a battery tender (trickle charger) set to 12V. This maintains a safe charge level without overcharging.
- Alternatively, if an outlet is available in your storage shed or garage, you can leave the battery installed on the mower and run the tender directly.
- Before reinstalling in spring, clean the terminals with a wire brush and apply dielectric grease to prevent corrosion.
For lithium-ion batteries (on newer electric-assist or battery-powered models):
- Charge the battery to 50–80% state of charge (not 100%, which accelerates degradation).
- Remove the battery and store indoors above 32°F (0°C).
- Check the battery periodically during winter; if it drops below 40%, recharge to 50–80%.
Step 5: Clean and Inspect the Mower Deck and Blades
Grass clippings, dirt, and moisture trapped under the deck cause rust and corrosion. Blades with nicks or dull edges tear grass in spring, inviting disease.
Deck cleaning:
- Disconnect the spark plug wires to prevent accidental starting.
- Tip the mower on its side (check your manual for the correct side and fuel tank orientation to avoid spilling fuel into the engine).
- Use a plastic scraper or wire brush to remove all dried clippings and dirt from the deck underside. Scrape gently to avoid gouging the steel.
- Rinse with a hose and dry thoroughly with compressed air or a towel.
- Apply a light coat of rust-inhibiting spray (e.g., WD-40, Eastwood Rust Encapsulator) to the clean deck underside.
Blade inspection:
- Look for nicks, bends, or chips on the blade edges.
- If a blade has minor nicks, sharpen it with a metal file, maintaining the original angle. Keep both blades balanced (same weight) to prevent vibration.
- If a blade is severely bent or cracked, replace it before spring.
- Mark each blade with a paint pen before removal so you reinstall it on the same side (prevents imbalance).
Step 6: Check Tire Pressure and Lubricate Moving Parts
Tires sitting flat and under-pressure for months develop flat spots that persist even after inflation. Dry, unlubricated pivot points and linkages seize up from corrosion.
Tire pressure:
- Find the recommended PSI on the tire sidewall or in your OEM manual (typically 10–15 PSI for riding mower tires).
- Use a tire pressure gauge to check each tire.
- Inflate to the recommended PSI using a bicycle pump, hand pump, or air compressor.
- Over-inflate slightly (1–2 PSI above spec) to account for minor pressure loss over winter.
Lubrication:
- Locate all grease fittings (called zerks or nipples) on the mower chassis, spindles, and belt tensioners per your manual.
- Attach a grease gun and pump 2–3 shots of multipurpose grease into each fitting until grease just begins to ooze out.
- Wipe away excess grease with a cloth.
- Apply light machine oil to throttle cables, choke linkages, and brake rods using a small oilcan.
- Work the linkages by hand a few times to distribute the oil.
Step 7: Store the Mower Correctly
Storage location and conditions make the difference between a mower that fires up in spring and one that requires expensive repairs.
Ideal storage hierarchy:
- Best: Enclosed, climate-controlled garage (50–70°F, low humidity)
- Good: Unheated shed or barn (protected from rain and direct sun)
- Acceptable: Outdoor storage under a breathable, waterproof cover (avoid plastic tarps, which trap condensation)
Storage setup:
- Park the mower on a level surface to prevent oil settling in one area of the engine.
- Engage the parking brake and chock the wheels with blocks to prevent rolling.
- Place the mower in a low-traffic area where it won’t be bumped or disturbed.
- Cover it with a breathable mower cover or canvas tarp to reduce dust and UV exposure.
- To prevent rodent entry, place crumpled steel wool or a rodent deterrent in the muffler outlet, and set traps nearby if rodents are common in your area.
Moisture control: If storing in an unheated shed, place moisture-absorbing packets (silica gel or commercial dehumidifiers) nearby to reduce condensation buildup inside the mower.
How to Winterize a Battery-Electric Riding Lawn Mower
Electric and battery-electric riding mowers skip fuel and oil concerns but require different battery and maintenance protocols.
Battery-electric winterization:
- Charge to 50–80%: This is the sweet spot for lithium-ion longevity. Storing at 100% charge accelerates cell degradation; storing at 0% risks over-discharge and cell damage.
- Remove and store indoors: Bring the battery pack inside to a cool, dry space above 32°F (0°C). Cold temperatures can damage lithium-ion cells.
- Monitor charge: Check the battery monthly. If charge drops below 40%, top it back to 50–80%.
- Deck and drivetrain: Clean the mower deck as described above. Lubricate any grease fittings or pivot points on the drivetrain.
- Storage location: Follow the same storage hierarchy (garage best, shed acceptable, outdoor last resort).
Note: Battery-electric mowers do not require spark plug service, oil changes, or fuel stabilization. However, deck cleaning and lubrication are just as important.
Winterization Checklist at a Glance
Print this checklist and check off each step before storing your mower:
- ☐ Stabilize fuel (store under 30 days) OR drain tank and carburetor (store longer)
- ☐ Change engine oil and replace oil filter
- ☐ Remove or inspect spark plugs; replace if worn
- ☐ Fog engine cylinders (optional but recommended)
- ☐ Replace air filter if dirty
- ☐ Disconnect, clean, and remove battery OR connect battery tender if leaving installed
- ☐ Clean mower deck thoroughly; apply rust inhibitor
- ☐ Inspect and sharpen or replace mower blades
- ☐ Check and inflate tires to recommended PSI
- ☐ Lubricate all grease fittings (zerks) with multipurpose grease
- ☐ Apply light oil to cables, linkages, and pivots
- ☐ Move mower to dry, sheltered storage location
- ☐ Cover mower with breathable cover or tarp
- ☐ Place steel wool in muffler outlet (rodent prevention)
Spring Startup: Getting Your Mower Running After Winter
All the winterization effort pays off with a smooth spring startup if you follow these steps:
- Reinstall the battery: Connect the positive (red) terminal first, then the negative (black). Clean and apply dielectric grease to terminals if corrosion is visible.
- Check oil level: Remove the dipstick, wipe it clean, reinsert fully, then read the level. Top off with fresh oil if low.
- Inspect fuel: If you stored with stabilized fuel, check the fuel level and smell for rancid odor. Fresh fuel is always safer; if in doubt, drain and refill.
- Remove spark plug and inspect: Look for fouling or excessive carbon. Replace if questionable.
- Check tire pressure: Adjust to recommended PSI after weeks of storage.
- Remove rodent deterrent: Pull steel wool from the muffler and check inside for signs of nesting.
- Test start: Prime the fuel system per your manual (usually by clicking the primer bulb 3–5 times), set the choke to cold, and attempt to start. If the engine doesn’t turn over after 3–4 pulls, stop and investigate (check spark, fuel flow, battery voltage).
Frequently Asked Questions
What happens if you don’t winterize a riding lawn mower?
Skipping winterization almost guarantees starting problems in spring. Stale fuel gums the carburetor, preventing fuel flow. A dead battery won’t turn the engine over. A corroded deck and seized linkages add friction and drag. In worst cases, the engine won’t start at all, requiring carburetor removal and cleaning or engine replacement—easily a $300–$1,000 repair versus a $50 preventive investment.
How long does it take for gas to go bad in a lawn mower?
Ethanol-blended gasoline (standard in the U.S.) begins to degrade in as little as 30 days, forming varnish that clogs carburetor jets. After 90 days, the fuel is typically unusable without stabilizer. With a quality fuel stabilizer (Sta-Bil, Briggs & Stratton Fuel Treatment), fuel can remain stable for up to 24 months, though 3–6 months of storage is the practical limit before degradation accelerates.
Should I remove the battery from my riding lawn mower for winter?
Yes, for lead-acid batteries. Removal and storage on a trickle charger indoors is the safest approach because it prevents sulfation and extends battery life by 2–3 years. If you leave the battery on the mower in an unheated shed, connect a battery tender to maintain optimal charge. Lithium-ion batteries should always be removed, stored indoors above 32°F, and charged to 50–80% for winter.
Can I store my riding lawn mower outside in winter?
Outdoor storage is possible but not ideal. If you must store outside, use a breathable, waterproof cover or canvas tarp (avoid plastic, which traps moisture and causes rust). Ensure the mower is on level ground and chocked to prevent rolling. Store the battery indoors regardless. Expect faster rust and corrosion compared to indoor storage; inspect the mower more frequently during winter.