Direct Answer: How to Winterize Your Lawn Mower
Winterize your lawn mower by stabilizing the fuel with an additive, changing the oil, cleaning or replacing air filters, inspecting the spark plug, servicing the blades, and storing the mower in a dry, protected location. Perform these steps 2–4 weeks before your region’s first hard frost to prevent varnish buildup in the carburetor, engine corrosion, and spring startup failures.
When to Winterize Your Lawn Mower
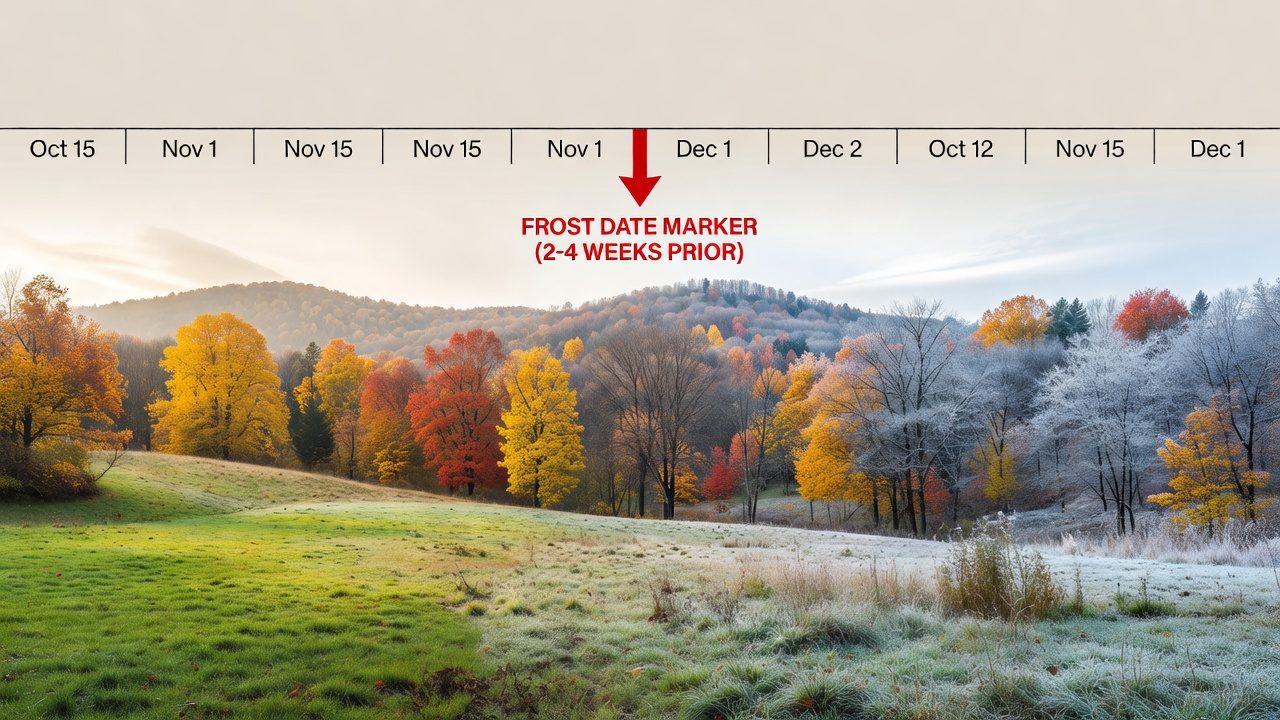
The ideal time to winterize is before temperatures drop below 50°F consistently, typically 2–4 weeks before your area’s first hard frost. This timing allows you to complete all maintenance while weather remains mild and gives fuel stabilizer time to mix thoroughly with gasoline in the tank.
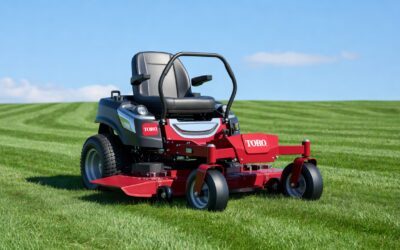
For push mowers, winterization can happen after your final mow of the season. For riding mowers and zero-turn machines, which see heavier use and carry larger fuel tanks, begin winterization at the same timeframe but allow extra time if you plan professional service for blade or belt inspection.
Check your local frost date online or contact your county extension office to plan accordingly. Early winterization is always safer than rushing the process as temperatures plummet.
Stabilize Fuel and Drain the Tank
Gasoline left in an engine for 30 or more days can degrade and form varnish deposits that clog the carburetor, preventing the mower from starting in spring. You have two winterization approaches:
Option 1: Use Fuel Stabilizer (Recommended)
- Add fuel stabilizer to a full tank of gasoline per product instructions—most stabilizers treat 10–30 gallons
- Run the mower for 5–10 minutes to distribute the stabilizer throughout the fuel system and carburetor
- Turn off the mower and let it cool; the stabilized fuel remains in the tank during storage
- Fuel stabilizer extends gasoline shelf life by 12–24 months when used as directed
Option 2: Drain the Tank Completely
- Run the mower until the fuel tank is empty
- Start the engine again to purge remaining fuel from the carburetor and fuel lines
- Allow the engine to cool, then store with an empty tank
- This approach eliminates old fuel but requires more manual effort and poses disposal considerations for leftover gasoline
Best practice: Use fuel stabilizer for most homeowners—it’s simpler, protects the entire fuel system, and requires less cleanup.
Change the Oil and Check Oil Level
Oil degrades during the mowing season as it absorbs moisture and combustion byproducts. Changing oil before storage removes these acidic compounds that accelerate engine corrosion during winter dormancy.
Steps to Change Mower Oil
- Run the mower for 2–3 minutes to warm the oil, making it flow more freely
- Turn off the engine and allow it to cool for 5 minutes
- Locate the oil drain plug or dipstick (consult your manual for your mower model)
- Place a drain pan underneath and remove the drain plug or unscrew the oil filler cap
- Let old oil drain completely—this typically takes 5–10 minutes
- Replace the drain plug or reinstall the cap
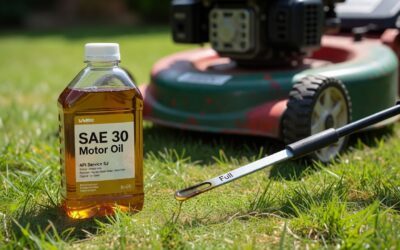
- Add fresh oil of the grade recommended in your manual (most small engines use SAE 30 or 10W-30)
- Check the oil level with the dipstick and top up if needed
For riding mowers, an oil change may require more time and oil volume (typically 1.5–2 quarts instead of 0.5–1 quart for push mowers). Consult your owner’s manual for exact specifications.
Clean or Replace Air Filters
A clean air filter ensures the engine runs efficiently and prevents debris from entering the engine during storage and the following spring. Most mowers have a foam or paper air filter accessible from the side or top of the engine.
Cleaning a Reusable Foam Filter
- Remove the filter cover (usually held by a single bolt or latch)
- Lift out the foam filter and inspect for dirt and debris
- Tap the filter gently against a hard surface to dislodge loose particles
- Wash the filter in warm soapy water, then rinse thoroughly until water runs clear
- Squeeze out excess water—do not wring or twist
- Allow the filter to air-dry completely (at least 1–2 hours)
- Reinstall the dry filter and replace the cover
Replacing a Paper Filter
- Remove the filter cover and take out the old paper filter
- Note the orientation (pleated side typically faces outward)
- Insert the new filter in the same orientation
- Reinstall the cover and ensure it is secure
If your filter is heavily soiled, clogged, or damaged, replacement is more effective than cleaning. Most mower air filters cost $10–30 and are widely available.
Inspect and Service the Spark Plug
The spark plug ignites fuel in the engine. A worn or fouled spark plug can prevent the mower from starting after winter storage.
Checking Your Spark Plug
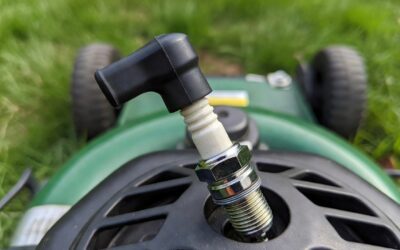
- Locate the spark plug wire on the engine (consult your manual if unsure)
- Carefully twist and pull the wire off the spark plug
- Use a spark plug socket and wrench to unscrew the spark plug
- Inspect the spark plug tip: a light tan or brown color is normal; black buildup or heavy corrosion indicates wear
When to Replace
Replace the spark plug if it shows signs of:
- Heavy carbon or black deposits
- Corrosion or pitting on the electrode
- A gap that is too wide (measure with a feeler gauge; consult your manual for the correct gap)
- Age (spark plugs typically last 100–300 operating hours)
Installing a New Spark Plug
- Purchase a replacement spark plug with the correct part number from your manual
- Set the gap using a feeler gauge (most mower spark plugs are gapped at 0.030–0.040 inches)
- Thread the new spark plug in by hand first to avoid cross-threading
- Tighten with a spark plug socket—snug but not over-tight
- Reconnect the spark plug wire firmly until you hear or feel a click
Sharpen or Service Blades
Dull blades tear grass rather than cutting cleanly, increasing engine strain and stress. Sharpening blades before storage ensures your mower is ready for optimal performance when spring arrives.
Inspecting Blades
- Disconnect the spark plug wire before any blade work to prevent accidental engine start
- Tip the mower carefully (on its side or back) to access the blade underside
- Inspect the blade edge for nicks, dents, or dullness
- Check blade balance: mark the heaviest side and compare to the opposite end; a severely imbalanced blade causes vibration and engine damage
Sharpening Blades
- Use a mill file or angle grinder to sharpen the blade edge at a 30–45 degree angle
- Make equal passes on both ends of the blade to maintain balance
- Test balance by hanging the blade on a nail through its center; it should stay level
- Reinstall the blade, ensuring it is mounted with the correct side facing down (check your manual)
Professional Blade Service
If you are uncomfortable sharpening blades or suspect imbalance damage, local mower repair shops offer professional blade sharpening (typically $15–40 per blade). This is a worthwhile investment if your mower has multiple blades or if balance is uncertain.
Prepare for Storage
Where and how you store your mower during winter significantly impacts its condition come spring.
Ideal Storage Conditions
- Dry location: A garage, shed, or covered area protects the mower from snow, ice, and moisture that cause rust and corrosion
- Temperature: Ideally 32°F or above; storing in temperatures below freezing risks fuel line freeze and engine oil thickening
- Ventilation: Avoid airtight spaces where moisture accumulates; good airflow prevents mold and rust
- Level ground: Store the mower on a stable, level surface to prevent fuel and oil leaks
Final Preparation Steps
- Clean the mower deck thoroughly to remove grass clippings, which trap moisture and promote rust
- Wipe down the engine and body with a dry cloth
- Cover the mower with a breathable tarp or cover to shield it from dust and debris (avoid plastic, which traps moisture)
- For riding mowers, consider slightly deflating tires to prevent flat spots (inflate before spring use)
- Disconnect the battery on riding mowers to prevent slow discharge during storage
Spring Startup: Reversing Winterization
When spring arrives and frost danger has passed, follow these steps to safely reactivate your mower:
Before Starting
- Inspect the mower for any signs of damage, rust, or pest infestation
- Check the oil level and top up if necessary
- Verify the spark plug wire is securely connected
- Reconnect the battery on riding mowers
- Inflate tires on riding mowers to the recommended pressure
Starting the Engine
- Set the choke to the full or “cold start” position
- Prime the engine by pressing the primer bulb 3–5 times (if your mower has one)
- Pull the starter cord firmly or turn the key
- If the engine does not start after 3–5 attempts, wait a few minutes and try again
- Once running, let the engine warm up for a few minutes before using the mower
What If the Mower Won’t Start?
If your mower fails to start after proper winterization, likely causes include:
- Stale fuel: If you did not use stabilizer and fuel remains in the tank, drain it and add fresh gasoline
- Fouled spark plug: Remove, inspect, and clean or replace the spark plug
- Clogged carburetor: If starting problems persist, the carburetor may need professional cleaning—contact a local mower repair shop
- Low oil: Always check and top up oil before troubleshooting further
Winterization Checklist by Mower Type
| Task | Push Mower | Riding Mower | Zero-Turn Mower |
|---|---|---|---|
| Fuel Stabilizer | Yes—smaller tank means faster preparation | Yes—larger tank benefits from stabilizer | Yes—essential due to large fuel capacity |
| Oil Change | 0.5–1 quart | 1.5–2 quarts | 2–3 quarts (varies by model) |
| Air Filter Cleaning | Yes—foam or paper filter | Yes—may have engine-mounted and cabin filters | Yes—typically foam or pleated filter |
| Spark Plug Inspection | 1 plug | Often 1–2 plugs (consult manual) | 1–2 plugs (consult manual) |
| Blade Service | 1 blade | 2–3 blades | 3–6 blades (depending on deck width) |
| Battery Disconnection | N/A—no battery | Recommended | Recommended |
Frequently Asked Questions
Can I winterize my mower without using fuel stabilizer?
Yes, but it requires more effort. You can drain the fuel tank completely by running the mower until empty and then starting it again to purge the fuel lines and carburetor. However, fuel stabilizer is simpler and more effective—it allows you to store a full tank, which prevents condensation buildup inside the tank and carburetor over winter. Most experts recommend stabilizer for residential mowers.
Should I store my mower indoors or outdoors?
Always store your mower indoors in a dry, well-ventilated space such as a garage, shed, or covered structure. Outdoor storage exposes the mower to snow, ice, rain, and temperature fluctuations that accelerate rust, corrosion, and engine damage. If indoor storage is unavailable, use a heavy-duty, breathable cover (not plastic, which traps moisture) and elevate the mower slightly off the ground on pallets to promote airflow underneath.
How often should I change the oil on a seasonal mower?
For mowers used seasonally (spring through fall), change the oil at least once per year—ideally before winterization. If your mower runs more than 50 hours per season, consider changing oil mid-season as well. Refer to your manual for manufacturer recommendations, as small engine oil change intervals vary by model and operating conditions.
What should I do if my mower still won’t start in spring after winterization?
Start by checking the spark plug—remove it, inspect for fouling, and clean or replace if necessary. Next, verify the oil level and top up if low. If the engine still won’t turn over, the carburetor may be clogged despite fuel stabilizer use. Drain the old fuel, add fresh gasoline, and try again. If problems persist, contact a local lawn mower repair shop for professional carburetor cleaning and engine diagnostics. Most shops charge $50–150 for basic winterization troubleshooting.