Why Blade Maintenance Matters for Mower Safety and Performance
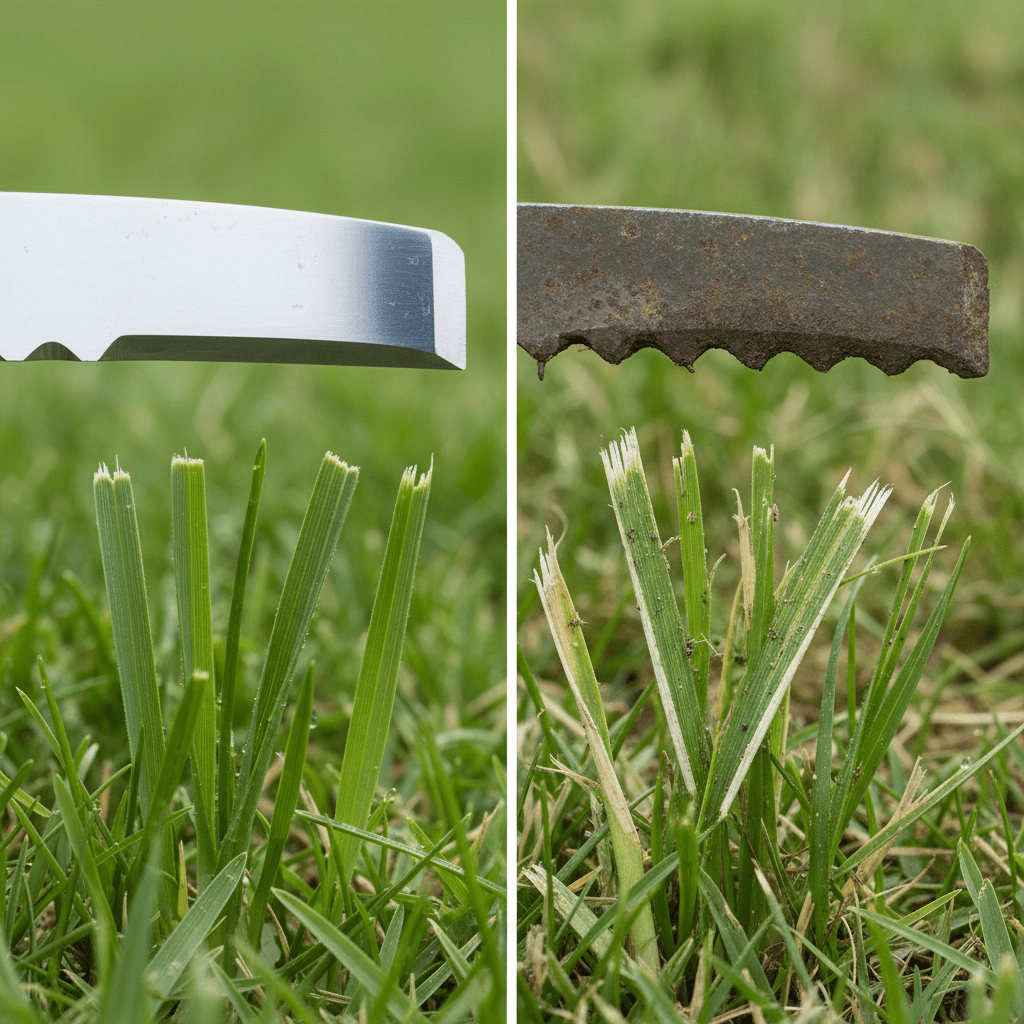
Regular blade maintenance is essential for both the safety and performance of your riding mower. Dull or damaged blades tear grass rather than cutting it cleanly, leaving your lawn susceptible to disease and browning. Beyond aesthetics, neglected blades create dangerous operating conditions—unbalanced blades cause excessive vibration that strains the mower’s spindles and bearings, potentially leading to blade ejection or sudden equipment failure during operation.
Most manufacturers recommend inspecting blades every 20-50 hours of mowing and replacing them when they show signs of wear, damage, or excessive duling. Bent blades, cracked edges, or blades with large chips should be replaced immediately rather than sharpened, as attempting to restore a damaged blade can create an imbalanced cutting system that poses safety risks.
Essential Safety Precautions Before Changing Blades
Safety must be your first priority when working on any part of your mower. Follow these critical precautions:
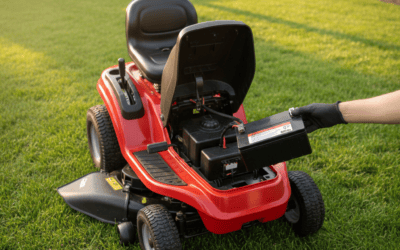
- Disconnect spark plug wires: Remove the spark plug wires or caps completely to eliminate any possibility of accidental engine ignition while you’re working near rotating components.
- Disengage the blade clutch: Set the mower to neutral and engage the parking brake if equipped.
- Allow the engine to cool: Wait at least 15-20 minutes after operation to ensure the engine and deck are cool enough to touch safely.
- Wear protective equipment: Use heavy-duty work gloves to protect against sharp blade edges and a long-sleeved shirt to prevent cuts.
- Position the mower on level ground: Ensure the mower is on a flat, stable surface where it cannot roll or shift unexpectedly.
- Raise the deck to maximum height: This provides the most comfortable working position and ensures maximum clearance for blade removal.
- Never work alone: Have someone nearby in case you need assistance or emergency help.
Tools and Materials You Will Need
Gathering the right tools before you start prevents frustration and ensures you can complete the job safely and efficiently:
| Tool/Material | Purpose | Notes |
|---|---|---|
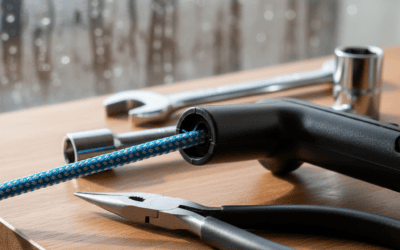
| Socket wrench set | Remove and tighten blade fasteners | Most riding mowers use 9/16", 5/8", or 3/4" sockets; check your owner’s manual |
| Torque wrench | Tighten fasteners to proper specifications | Essential for balanced blade installation |
| Heavy-duty work gloves | Protect hands from sharp blade edges | Leather or reinforced synthetic recommended |
| Replacement blades | Install new cutting edges | Must match your mower’s deck size and blade type (standard, mulching, or gator) |
| Blade balancer (optional) | Check blade balance after installation | Helps prevent vibration; many hardware stores offer this service |
| Cardboard or marker | Mark blade orientation before removal | Prevents confusion during reinstallation |
| Jack or deck lift (for zero-turn mowers) | Raise deck safely above working height | Hydraulic deck lift on mower may be sufficient; some users prefer additional support |
Step-by-Step Process for Removing Old Blades
Step 1: Prepare Your Work Area
Position your mower on a flat, level surface with adequate lighting. If your mower has a hydraulic deck, raise it to maximum height using the deck lift lever or knob. For added safety and stability, you may place a concrete block or wood wedge under the mower frame to prevent accidental lowering while you work underneath the deck.
Step 2: Locate and Inspect the Blades
Most riding mowers have two blades (standard deck) or three blades (wider decks). From underneath the deck, you’ll see each blade bolted to a spindle assembly. Note the fastener size and the direction the blade is facing. Inspect the blade condition—if it’s severely bent, cracked, or has multiple chips, it requires replacement and should not be reinstalled.
Step 3: Mark Blade Orientation
This step is critical for proper reinstallation. Using a marker or chalk, draw an arrow on the top surface of each blade pointing toward the direction the blade spins during normal mower operation. Alternatively, write "TOP" on the side that faces down during operation. This prevents the common mistake of reinstalling blades upside down or backward, which creates severe vibration and poor cutting performance.
Step 4: Losen and Remove Fasteners
Using your socket wrench, loosen the fastener(s) holding each blade to its spindle. Most mowers use a single bolt or nut, but some have two fasteners. Turn counterclockwise until the fastener is completely loose. Support the blade with your other hand to prevent it from dropping suddenly. Carefully remove the fastener and set it aside in a safe location where it won’t be lost.
Step 5: Remove the Old Blade
With the fastener removed, carefully lift the blade away from the spindle. Be cautious—blade edges are sharp even when dull. Place the old blade on a workbench or the ground away from your work area. If you’re keeping the blade for disposal or sharpening, store it safely where it won’t create a hazard.
Installing New Blades Correctly
Step 1: Verify Blade Specifications
Before installation, confirm that your replacement blades match your mower’s specifications. Check the blade length, center hole diameter, and blade type (standard, mulching, or gator blade). Installing incorrect blades can result in poor cutting, increased vibration, or even damage to the mower’s spindle bearings.
Step 2: Position the Blade on the Spindle
Align the center hole of the new blade with the spindle shaft. The blade must sit flat against the spindle surface with no gaps or tilting. The sharp edge should face downward during normal mower operation—this is why marking blade orientation on removed blades prevents installation errors. If you’re unsure which way the blade should face, consult your owner’s manual or the blade manufacturer’s instructions.
Step 3: Install and Hand-Tighten the Fastener
Insert the fastener through the blade and into the spindle shaft. Turn it clockwise by hand until it’s snug but not fully tightened. This allows you to verify the blade is seated properly before applying final torque. If the blade tilts or appears misaligned, remove the fastener and reposition the blade.
Step 4: Apply Final Torque
Using a torque wrench set to the manufacturer’s specification (typically 35-90 ft-lbs depending on your mower model), tighten the fastener firmly. Consult your owner’s manual for the exact torque specification—over-tightening can strip fasteners or damage the spindle, while under-tightening risks blade slippage or ejection during operation. Once torqued, double-check that the fastener remains tight by attempting to turn it slightly with your wrench.
Step 5: Repeat for Additional Blades
If your mower has multiple blades, repeat steps 1-4 for each blade. Ensure all blades are installed with consistent orientation and torque specifications.
Testing and Troubleshooting After Blade Installation
Reconnect Spark Plugs and Perform Initial Inspection
Once all blades are installed and fasteners are properly torqued, reconnect the spark plug wires securely. Lower the mower deck to its normal mowing height. Visually inspect under the deck to confirm no tools were left behind and all fasteners appear tight.
Run a Test Start
Start the mower in a safe area away from people, pets, or obstacles. Let it idle for 30 seconds to allow the engine to warm up. Listen for any unusual grinding, rattling, or squealing noises that might indicate improper blade installation, imbalance, or spindle bearing damage.
Test at Operating Speed
Gradually increase throttle to normal mowing speed while remaining stationary. Excessive vibration, chatering, or unusual noise suggests blade imbalance or improper installation. If vibration is severe, shut off the mower immediately, disconnect spark plugs, and inspect for installation errors.
Conduct a Mowing Test
Make a test run on a small section of grass. Observe cut quality and listen for any performance changes. Grass should be cleanly cut with a uniform height across the deck. Torn or ragged edges indicate blade orientation issues or duling. If performance seems normal after the test run, your installation was successful.
When to Seek Professional Service
If vibration persists after reinstallation or if the mower produces metal-on-metal grinding sounds, spindle bearing damage may have occurred. Attempting to operate the mower under these conditions risks further damage or blade ejection. Contact a qualified mower repair technician in these situations rather than attempting additional troubleshooting.
Frequently Asked Questions
How do you know which side of the blade faces down during installation?
The cutting edge of the blade should face downward during normal mower operation. Most blades have a slight curve or lift design that becomes apparent when examined closely. If you removed the old blade before purchasing the replacement, marking its top surface with a marker before removal prevents confusion. The blade’s packaging or manual typically includes installation diagrams showing correct orientation.
What happens if riding mower blades are installed backward or upside down?
Installing a blade backward or upside down creates severe vibration because the blade’s design assumes specific orientation for balanced cutting. This vibration strains the spindle bearings, transmission, and frame. The blade also cuts poorly, tearing grass instead of cleanly cutting it. Operating with improperly oriented blades accelerates component wear and can eventually cause spindle failure or blade detachment during mowing.
How often should riding mower blades be changed?
Blade replacement frequency depends on mowing conditions and usage. Inspect blades every 20-50 hours of operation. Replace them when they show visible duling, bending, cracking, or chipping. High-grass conditions, rocky terrain, or dense weds require more frequent blade replacement than maintained lawn mowing. Most homeowners replace blades 1-2 times per mowing season, while commercial operators may change blades weekly or more frequently.
Can you sharpen riding mower blades instead of replacing them?
Small amounts of duling can sometimes be addressed through sharpening, but bent, cracked, or heavily chipped blades should be replaced. Sharpening requires removing equal amounts of metal from both ends of the blade to maintain balance; improper sharpening creates imbalance that causes vibration. Most DIY users find replacement more practical and cost-effective than sharpening, especially since replacement blades are relatively inexpensive compared to potential damage from operating with improperly balanced blades.