Direct Answer
To start a Husqvarna lawn mower, first ensure the fuel tank contains fresh gasoline and the oil level is correct. For push mowers, engage the blade control lever against the handle, set the choke if the engine is cold, and pull the recoil starter cord firmly. For riding mowers, sit in the seat, depress the brake pedal, disengage the cutting deck (PTO), turn the key to the ‘Start’ position or press the ignition button, and release once the engine fires. Always verify safety interlocks are functioning and clear the mowing area of debris before starting.
Essential Safety Checks Before Starting Your Husqvarna Lawn Mower
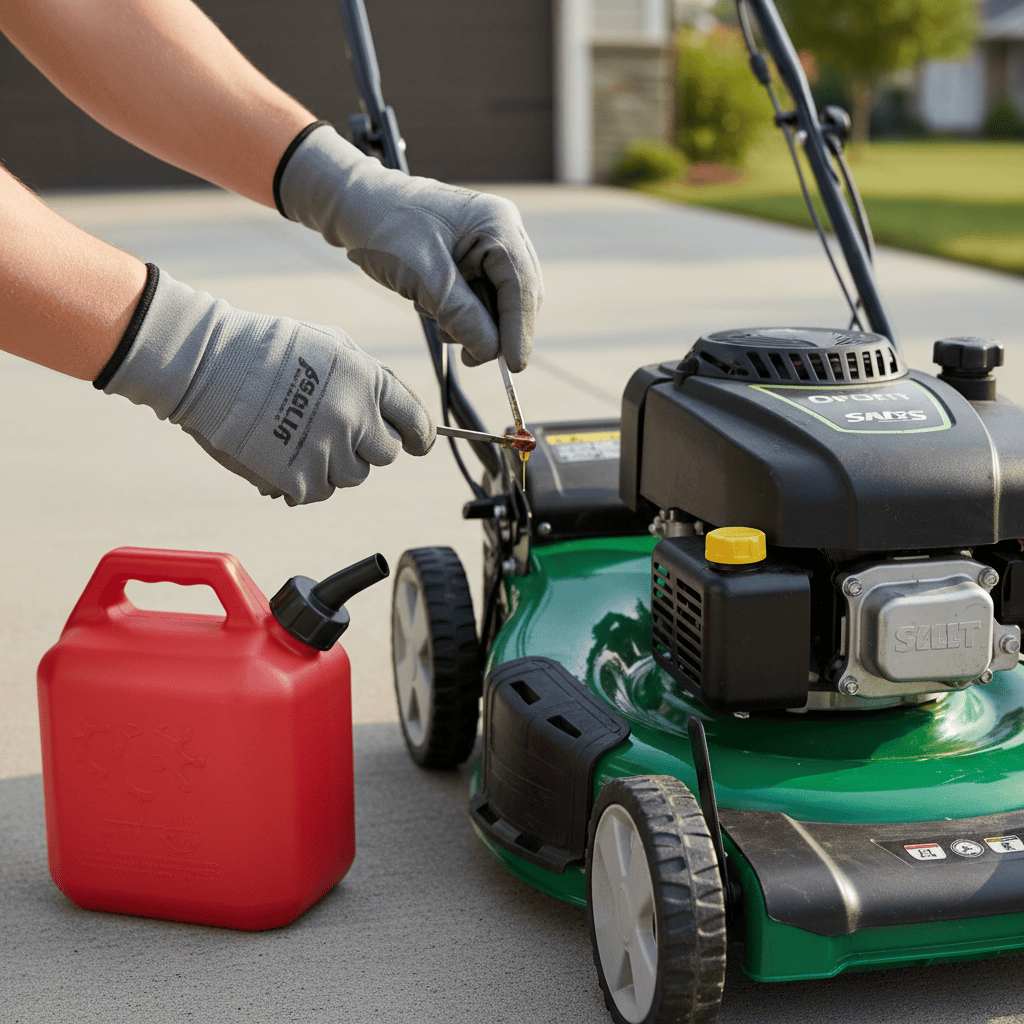
Before attempting to start any Husqvarna mower, performing a thorough pre-start inspection is essential for both your safety and the longevity of your equipment. These universal checks apply to all gas-powered Husqvarna models, whether you own a compact push mower or a heavy-duty riding mower.
Fuel and Oil Level Verification
The foundation of reliable mower starting begins with proper fuel and oil levels. Husqvarna recommends using fresh gasoline (not older than 30 days) with an octane rating of 87 or higher. Stale fuel is one of the most common reasons why mowers fail to start, as gasoline degrades and forms varnish-like deposits that clog the carburetor and fuel lines. If you’ve stored your mower for an extended period, consider draining the old fuel and refilling with fresh gasoline.
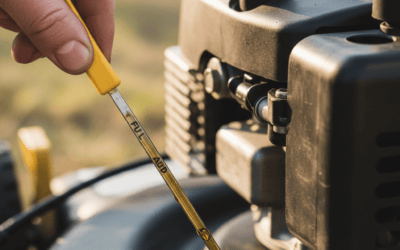
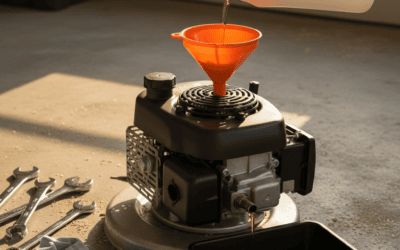
Check the oil level by positioning the mower on a level surface and removing the dipstick. The oil should reach the full mark but not overflow. Husqvarna mowers typically require 10W-30 or SAE 30 oil depending on your climate conditions. Never operate the mower without sufficient oil, as this will cause immediate engine damage.
Spark Plug Inspection
The spark plug is the heart of your mower’s ignition system. A worn or fouled spark plug can prevent starting entirely or cause poor performance. Remove the spark plug and inspect the electrode gap and ceramic insulator. The gap should typically measure between 0.028 and 0.031 inches for most Husqvarna engines. If the electrode appears worn, corroded, or if there’s excessive carbon buildup, replace the spark plug with one that meets OEM specifications.
When reinstalling, hand-tighten the spark plug first, then use a spark plug wrench to tighten an additional quarter turn. Be cautious not to over-tighten, as this can damage the cylinder head threads.
Air Filter Assessment
A clogged air filter restricts airflow to the engine, making starting difficult and reducing performance. Remove the air filter cover and inspect the filter element. For foam filters, check for tears or excessive dirt buildup. Paper filters should be replaced if they appear saturated with oil or heavily clogged. Cleaning foam filters with warm soapy water and allowing them to dry completely before reinstalling can extend their useful life.
Deck and Blade Clearance
Before starting, always clear the mowing deck of grass clippings, sticks, stones, and other debris. Foreign objects can damage the blade, discharge chute, or be thrown dangerously when the blade engages. Inspect the blade for signs of damage or excessive wear—if the blade is bent, cracked, or significantly worn, replace it before operating the mower to prevent injury or further damage to the deck.
How to Start a Husqvarna Push Mower
Husqvarna push mowers, including popular models in the LC series, feature a recoil start system that requires a specific sequence to engage properly. Understanding the role of each safety component ensures reliable starting and prevents accidental blade engagement.
Understanding the Blade Control Lever
The blade control lever, often called a “dead man’s switch” or “operator presence control,” is a critical safety feature on all Husqvarna walk-behind mowers. This lever must be engaged against the handlebar while starting and throughout operation. When released, the blade stops immediately, and the engine will eventually die. To start the mower, grip the upper handle and squeeze the blade control lever inward, holding it against the handlebar.
Some models feature a secondary bail lever that must be held in conjunction with the main blade control. Familiarize yourself with your specific model’s configuration before attempting to start.
Choke and Throttle Settings
For cold starts, proper choke usage is essential. Husqvarna mowers typically feature a primer bulb and a choke control. The choke restricts air intake, creating a richer fuel mixture that easier ignites in a cold engine. Locate the choke lever—its position varies between models, with some featuring a sliding lever near the engine and others integrating the choke into the throttle control.
If your model has a primer bulb, press it three times before starting to inject additional fuel into the carburetor. For the choke, position it in the “closed” or “full choke” position. Once the engine starts and begins to warm, gradually move the choke to the “open” position.
Pull Cord Starting Technique
With the blade control engaged and choke set, grasp the recoil starter handle firmly. Pull the cord with a controlled, brisk motion—yanking too slowly won’t generate sufficient RPM, while pulling too aggressively can damage the recoil mechanism or cause back strain.
One or two pulls should be sufficient on a properly maintained mower. If the engine doesn’t start after three pulls, check your fuel, choke settings, and spark plug. Repeated pulling on a flooded engine can flood it further, requiring you to wait several minutes before attempting again.
Warm Start Procedure
After the initial cold start, warming the engine is straightforward. Allow the mower to run for 30-60 seconds with the choke gradually opened. For subsequent starts within the same mowing session, you typically don’t need to engage the choke—simply prime once (if equipped), engage the blade control, and pull the starter cord.
How to Start a Husqvarna Riding Mower
Riding mowers from Husqvarna, including the TS and Garden Tractor series, utilize an electric start ignition system with multiple safety interlocks. These systems require proper sequencing to activate the starter motor.
Brake Pedal Engagement
The brake pedal must be fully depressed before the riding mower will start. This safety feature prevents the mower from moving during ignition and ensures the operator has control before forward or reverse motion begins. Locate the brake pedal on the right side of the footrest area and press it firmly until it locks or clicks into position.
Some models feature a parking brake that must be engaged instead of or in addition to the brake pedal. Consult your operator’s manual for model-specific requirements, as the brake interlock system varies between Husqvarna series.
Power Take-Off (PTO) Disengagement
The PTO controls the cutting deck’s blade engagement. For starting, the PTO must be in the disengaged (off) position. Locate the PTO lever or switch—typically found on the dashboard or fender—and ensure it’s moved to the disengaged position. This prevents the blades from spinning during startup and reduces the load on the battery and starter motor.
On models with an electric PTO clutch, you’ll hear a distinct click when the clutch disengages. Verify that the cutting deck belt appears slack when the PTO is off.
Seat Safety Switch Operation
Husqvarna riding mowers incorporate a seat safety switch that prevents starting when the operator is not seated. This feature stops the engine immediately if the operator leaves the seat while the mower is in motion. For starting, you must be properly seated in the operator’s chair. The seat switch is typically located beneath the seat cushion and activates when weight is applied to the seat.
If you experience difficulty starting despite following all procedures, the seat switch may be faulty or the connection may be loose. A faulty switch can prevent the ignition system from receiving the signal needed to engage the starter.
Key and Button Ignition Sequence
With the brake engaged, PTO disengaged, and operator seated, insert the key into the ignition switch if not already in place. Turn the key to the “Run” position first—this activates the electrical systems without engaging the starter. After allowing the dashboard indicators to illuminate, turn the key to the “Start” position and hold it briefly until the engine fires.
On models equipped with an ignition button, the procedure is similar. Press the brake and ensure the PTO is off, then press the ignition button. The button may require a firm, sustained press of 1-2 seconds for the starter to engage fully.
Once the engine starts, release the key or button immediately. Continuing to hold the start position can damage the starter motor. Allow the engine to idle for several minutes before engaging the PTO or attempting to drive.
Electric Start Battery Considerations
Riding mowers place significant demands on their batteries during startup. Ensure your battery is fully charged and the terminals are clean and tight. A weak battery may turn the engine over slowly or not at all. Husqvarna recommends checking battery connections monthly and maintaining proper electrolyte levels for non-sealed batteries.
Troubleshooting Common Starting Issues
Even with proper procedures, starting difficulties can occur. Understanding common issues and their solutions saves time and prevents unnecessary service calls.
Flooded Engine Diagnosis and Resolution
A flooded engine occurs when excessive fuel accumulates in the cylinder, preventing spark plug ignition. Symptoms include a strong fuel smell, wet spark plug when removed, and the engine not firing despite repeated starting attempts. To resolve a flooded engine, first, remove the spark plug and turn the mower so the cylinder faces downward, allowing excess fuel to drain.
Wipe the spark plug dry and check the gap. Allow the cylinder to air out for 10-15 minutes before reinstalling a dry spark plug and attempting to start again. When restarting, do not use the primer bulb or choke, as these add more fuel to an already-rich condition.
Stale Fuel Problems
Ethanol-blended gasoline, which is standard at most fuel stations, degrades rapidly—typically within 30 days. This degradation causes starting difficulties, rough running, and carburetor issues. If your mower has been sitting with old fuel, drain the fuel tank and carburetor bowl completely.
Replace the fuel with fresh gasoline and consider adding a fuel stabilizer for future storage periods. Husqvarna recommends stabilizing fuel if the mower will be stored for more than 30 days.
Testing Safety Interlock Switches
Modern Husqvarna mowers feature multiple safety interlock switches that can prevent starting if malfunctioning. To test these switches, consult your operator’s manual for the specific test procedure for your model. Generally, you can use a multimeter to check continuity across each switch while actuating it manually.
The most commonly tested switches include the seat switch, brake switch, and blade engagement switch. If a switch fails the continuity test, replacement is necessary. These switches are relatively inexpensive and can be replaced without specialized tools.
Carburetor and Fuel System Issues
Carburetor problems often manifest as starting difficulties, stalling, or poor running. A stuck float, clogged jets, or deteriorated diaphragm can all affect fuel delivery. Cleaning the carburetor with appropriate solvent and compressed air can resolve many issues. For persistent problems, the carburetor may require rebuilding or replacement.
Fuel line deterioration is also common in older mowers. Inspect fuel lines for cracks, hardening, or leaks. Replace any deteriorated lines and ensure all clamps are secure.
Maintenance Tips for Reliable Starting
Regular maintenance prevents most starting issues and extends the life of your Husqvarna mower. Establish a routine that includes seasonal service, pre-season preparation, and post-season storage.
Seasonal Service Schedule
At the beginning of each mowing season, perform a comprehensive service that includes oil change, spark plug replacement, air filter cleaning or replacement, blade sharpening or replacement, and a complete inspection of all safety systems. This preparation ensures reliable starting throughout the season.
Post-Season Storage Procedures
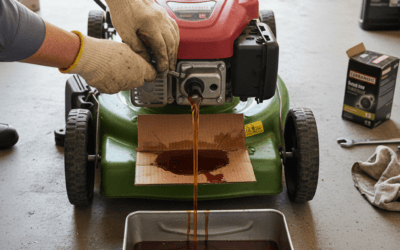
Before storing your mower for extended periods, drain or stabilize the fuel, change the oil, remove the battery (on riding mowers) and store it in a cool, dry location with periodic recharging, and clean the underdeck to prevent corrosion. Proper storage dramatically improves spring starting reliability.
Frequently Asked Questions
Why won’t my Husqvarna mower start even with a new spark plug?
While a faulty spark plug is a common cause of starting problems, other issues may be at fault. Check the fuel system—ensure fresh gasoline is reaching the carburetor by inspecting the fuel line for cracks or clogs. Verify the safety interlocks (blade control, brake, seat switch) are functioning and properly engaged. Test the ignition coil with a multimeter, as a failed coil won’t produce the spark needed for combustion.
Do I need to engage the choke every time I start my Husqvarna push mower?
The choke is primarily needed for cold starts when the engine is at ambient temperature. If you’ve recently run the mower and the engine is still warm, the choke is typically unnecessary and may cause flooding. For cold starts, engage the choke fully and gradually reduce it as the engine warms. If the engine stalls when the choke is removed, it may indicate a need for carburetor adjustment or tuning.
Can I start my Husqvarna riding mower without sitting in the seat?
No—Husqvarna riding mowers are designed with a seat safety switch that prevents starting when the operator is not seated. This is a mandatory safety feature. The only exception would be if the switch is malfunctioning or bypassed, which is dangerous and not recommended. Always sit properly in the operator’s seat before attempting to start the engine.
How often should I replace the spark plug in my Husqvarna mower?
Husqvarna recommends replacing spark plugs annually or after every 100 hours of operation, whichever comes first. Annual replacement at the start of each season ensures reliable ignition and easier starting. However, inspect the spark plug at each maintenance interval—if it appears worn, fouled, or damaged, replace it immediately regardless of hours operated.