

How to Jump-Start a Lawnmower: Quick Answer
To jump-start a lawnmower with a dead battery, connect jumper cables between the mower’s battery and an external power source (vehicle battery or portable jump starter) in this order: positive terminal to positive, then negative terminal to ground or unpainted metal surface. Start the external power source, wait 2-3 minutes, then attempt to start the lawnmower. If successful, let it run for several minutes before disconnecting the cables in reverse order (negative first, then positive).
Understanding Jump-Starting and When You Need It
Jump-starting is the process of using an external power source to provide temporary electrical current to a dead or weak battery, allowing the engine to turn over and start. Most modern lawnmowers with electric starters rely on rechargeable batteries, typically 12-volt systems, to power the ignition and starter motor.
You’ll need to jump-start your lawnmower when:
- The battery has been depleted from extended storage or infrequent use
- Cold weather has temporarily reduced battery capacity
- The mower won’t turn over despite a working charging system
- You hear a clicking sound when turning the ignition key but the engine doesn’t crank
Signs of a dead lawnmower battery include complete silence when you turn the key, dim or no dashboard lights, and a slow cranking sound that gradually fades.
Safety Precautions Before Jump-Starting
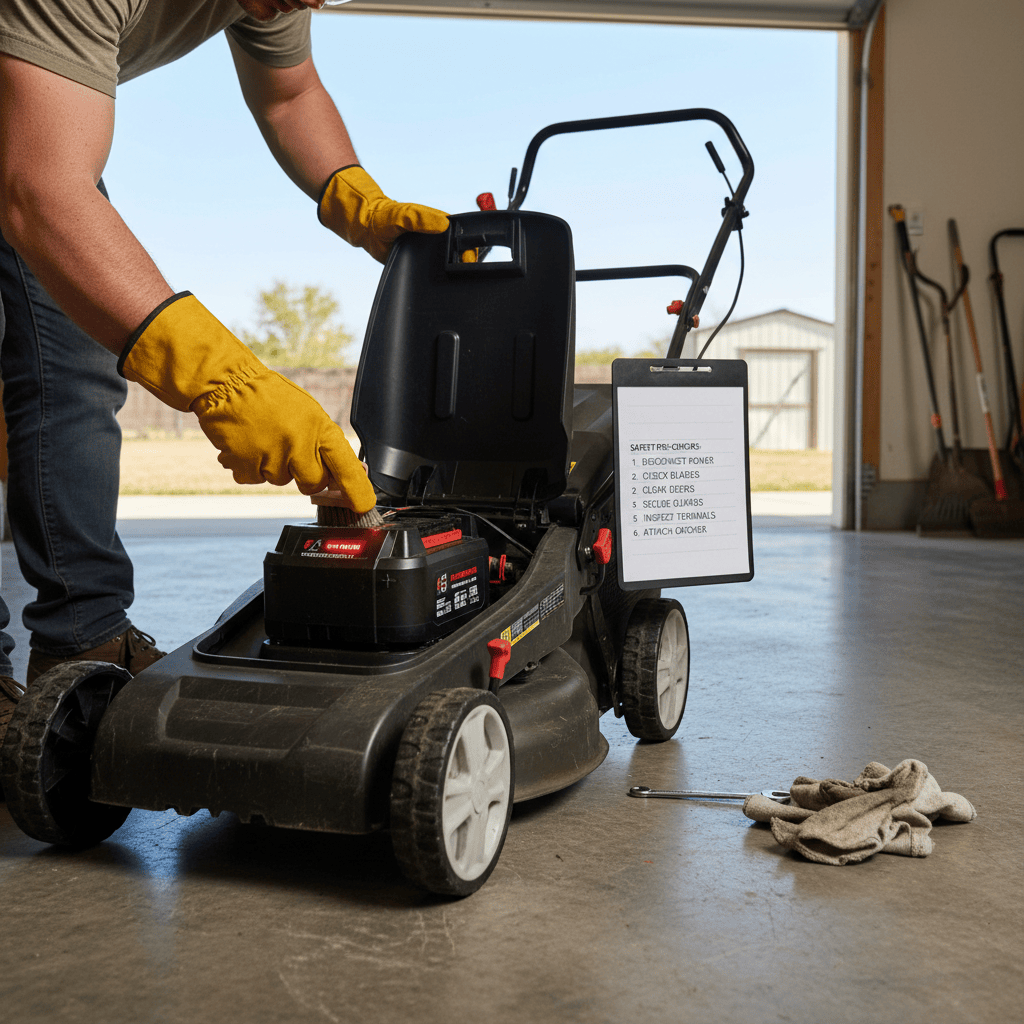
Jump-starting involves electrical systems and engine components, so safety is essential. Follow these precautions:
- Wear safety glasses and gloves to protect against battery acid and accidental contact with moving parts
- Ensure both batteries are the same voltage (typically 12V for residential mowers)
- Never jump-start in wet conditions or during rain, electricity and moisture create hazards
- Keep the mower on flat, stable ground and the engine off during cable connection
- Remove the lawnmower’s battery terminals first if the battery is removable, and inspect for visible corrosion or damage
- Never smoke or create sparks near the battery, hydrogen gas can accumulate and ignite
- Avoid touching both terminals simultaneously with metal objects, which creates a short circuit
- Keep children and pets away from the jump-starting area
Equipment and Materials You’ll Need
Before attempting to jump-start your lawnmower, gather these essential items: Users looking for related component recommendations can explore our z890 vs x870e motherboard breakdown.
- Jumper cables: Heavy-duty, insulated cables with clamps on both ends. Use 4-6 gauge cables for lawnmower batteries (thicker gauge handles current better). Ensure clamps are clean and make solid contact
- External power source: Either a vehicle battery (car or truck), another lawnmower with a charged battery, or a portable jump starter (12V automotive jump pack)
- Battery specifications: Confirm your lawnmower battery is 12 volts and at least 10-15 amp-hours. Check your owner’s manual for exact specs
- Safety gear: Work gloves, safety glasses, and a clean cloth or wire brush to remove corrosion
- Multimeter (optional): Useful for testing battery voltage before and after jumping to confirm proper operation
Important: Using a 24V or 36V power source on a 12V mower will damage the electrical system irreparably. Always verify voltage compatibility before connecting cables.
Step-by-Step Instructions for Jump-Starting Your Lawnmower
Step 1: Prepare the Mower and Power Source
- Park the lawnmower on flat, level ground away from obstacles
- Turn off the mower’s engine (if it’s running) and the ignition key
- Position the external power source (vehicle or jump starter) nearby but not touching the mower
- If using a vehicle, turn off its engine as well
- Locate the battery terminals on both the mower and power source, they’re usually marked with red (+) for positive and black (−) for negative
Step 2: Clean the Battery Terminals (If Needed)
- Inspect both batteries for corrosion (white, blue, or green crusty buildup)
- If corrosion is present, disconnect the negative terminal first, then the positive
- Use a wire brush or cloth to gently clean the terminals until shiny
- Reconnect terminals: positive first, then negative
Step 3: Connect Jumper Cables, Correct Order Is Critical
- Step 3a: Clamp the red cable to the positive terminal (+) of the lawnmower battery
- Step 3b: Clamp the other end of the red cable to the positive terminal (+) of the external power source
- Step 3c: Clamp the black cable to the negative terminal (−) of the external power source
- Step 3d: Clamp the other end of the black cable to an unpainted metal surface on the mower engine (away from the battery). A bolt on the engine block works well. Do NOT connect to the mower’s negative battery terminal directly
Why this order matters: Connecting positive terminals first establishes the correct polarity. Grounding the negative cable to unpainted metal creates a safer electrical path and reduces the risk of sparks near the battery.
Step 4: Start the External Power Source
- Start the vehicle or turn on the portable jump starter
- Let it run for 2-3 minutes to charge the lawnmower battery
- You may hear a slight humming, this is normal as current flows to the mower’s battery
Step 5: Start the Lawnmower
- Turn the lawnmower’s ignition key to the “Start” position
- Hold for 3-5 seconds. If the engine cranks but doesn’t start, wait 30 seconds and try again
- If the engine starts, proceed to Step 6. If it doesn’t start after 3-4 attempts, stop and troubleshoot (see troubleshooting section)
Step 6: Disconnect Cables in Reverse Order
- Step 6a: Remove the black cable from the mower’s engine ground
- Step 6b: Remove the black cable from the external power source’s negative terminal
- Step 6c: Remove the red cable from the external power source’s positive terminal
- Step 6d: Remove the red cable from the mower’s positive terminal
Disconnecting in reverse order prevents electrical surges and sparks.
Step 7: Let the Mower Run
- Once started, let the mower run for 5-10 minutes to recharge the battery
- This allows the alternator to rebuild the battery’s charge
- Then turn off the mower and let it rest for a few minutes
- Attempt to restart it without the jump cables to confirm the battery holds a charge
Why Proper Cable Connection Order Matters
The sequence of connecting jumper cables is the single most critical safety factor in jump-starting. Connecting positive terminals first establishes correct electrical polarity across both batteries. Grounding the negative cable to unpainted engine metal (rather than the battery’s negative terminal) serves two purposes: For troubleshooting and reliability insights, consult our in-depth bissell crosswave hydrosteam vs shark stainforce report.
- Safety: It reduces the likelihood of sparks occurring directly over the battery, where hydrogen gas may accumulate
- Reliability: It creates a more stable electrical connection through the engine block
Reversing this order, connecting negative first, for example, can cause arcing (dangerous sparks) and potentially damage both the mower’s and vehicle’s electrical systems.
Alternative Methods: Push-Starting and Bump-Starting
Not all lawnmowers have electric starters. Many manual and older models can be started mechanically without batteries.
Push-Starting a Manual Mower
- Set the throttle to the “Start” or high-speed position
- Engage the blade clutch (if equipped)
- Push the mower forward briskly. The wheels will turn the blade assembly, which turns the engine
- Once the engine catches and starts, release the clutch immediately
When to use this: Manual mowers without batteries or electric starters, or as a backup when the battery is too dead to jump-start.
Bump-Starting (Pull-Start Models)
- This involves pulling the starter cord with quick, forceful motions
- Set the choke to “Cold” if the engine is cool
- Pull the starter cord smoothly but with force
- Repeat 3-5 times or until the engine starts
Note: Bump-starting is standard for pull-start mowers and doesn’t require a battery. It’s not an alternative to jump-starting but rather the normal starting method for these mower types.
Troubleshooting: When Jump-Starting Doesn’t Work
The Mower Still Won’t Start After Jumping
If the engine cranks but doesn’t start, the problem likely isn’t the battery. Consider:
- Fuel system: Check that the fuel tank has fresh gasoline. Old or contaminated fuel prevents starting. Drain the tank and refill with new fuel
- Spark plugs: A fouled spark plug won’t ignite fuel. Remove the spark plug wire and inspect the plug. If it’s black or wet, replace it
- Air filter: A clogged air filter starves the engine of oxygen. Check and replace if dirty
- Battery charge wasn’t sufficient: Let the external power source run for 5+ minutes before attempting restart
The Mower Cranks Very Slowly or Not at All
This indicates insufficient current flowing to the starter motor:
- Verify cable clamps are making firm contact (clean corrosion if present)
- Check that the external power source is fully charged and the same voltage
- Ensure all cable connections are tight and haven’t shifted during cranking
- Try using a different external power source if available
The Battery Dies Again After a Few Days
The battery isn’t holding a charge, suggesting a deeper electrical problem:
- Faulty battery: The battery may be worn out (typical lifespan: 3-5 years). It needs replacement
- Charging system failure: The alternator or regulator may not be recharging the battery while the mower runs. Consult a professional technician
- Parasitic drain: An electrical component may be drawing current when the mower is off. Have the electrical system tested
When to Contact a Professional
If jump-starting fails after following these steps correctly, or if the battery dies repeatedly, stop attempting DIY repairs and contact:
- Your lawnmower’s manufacturer service center
- A local small-engine repair technician
- A professional mechanic familiar with outdoor power equipment
Persistent starting issues often involve fuel system, ignition, or alternator problems that require professional diagnosis and specialized tools.
Preventing Dead Lawnmower Batteries: Maintenance Tips
Charge Regularly
- Charge the battery every 30 days during storage periods, even if the mower isn’t being used
- Use a trickle charger (low-amp, constant-voltage charger) to maintain charge without overcharging
- Never let the battery sit completely dead for extended periods
Proper Storage
- Store the mower in a cool, dry location (not extreme heat or cold)
- Disconnect the battery if storing for more than a month
- Keep the battery away from moisture and corrosive materials
Winterization
- In fall, fully charge the battery before storing the mower for winter
- Clean any corrosion from battery terminals
- Consider removing the battery entirely and storing it indoors in a cool place
- Reconnect and charge the battery in spring before the mowing season
Routine Inspection
- Check battery terminals monthly for corrosion (white, blue, or green buildup)
- Clean terminals with a wire brush if corrosion appears
- Ensure all cables are tight and not corroded
Everything You Need to Know: How To Jump A Lawnmower FAQ
Can I jump-start a lawnmower with a car battery?
Yes, as long as both are 12-volt systems. Ensure the car is turned off during cable connection, then start the car and let it run for 2-3 minutes before attempting to start the mower. This method works well because vehicle batteries are typically larger and hold a stronger charge than mower batteries. Always verify voltage before connecting, some vehicles have 24V systems that will damage a 12V mower’s electrical system.
How long does a lawnmower battery typically last?
Most lawnmower batteries last 3-5 years with proper maintenance. Lifespan depends on usage frequency, charging habits, storage conditions, and climate. Regular charging during off-season storage and keeping terminals clean can extend battery life. Cold climates and infrequent use may shorten lifespan because the battery sits unused for long periods.
What if I don’t have jumper cables?
If your mower has a pull-start mechanism, use that instead, no battery required. For electric-start-only mowers without cables, options include purchasing jumper cables (inexpensive and worth keeping on hand), using a portable jump starter, or contacting a professional repair service. Some mower owners keep a battery charger and trickle charger nearby for emergencies.
Is it safe to jump-start in rain or wet conditions?
No, jump-starting in wet conditions is dangerous because water conducts electricity, increasing the risk of electrical shock. Water can also cause corrosion inside battery terminals and weaken the electrical connection. Wait for dry conditions before jump-starting. If your mower must be started immediately in wet weather, use a portable jump starter indoors before moving the mower outside, or call a professional who has appropriate equipment.
Can a completely dead battery be jump-started, or does it need replacement?
A completely dead battery can usually be jump-started if it’s still structurally sound (no cracks or leaks). However, if the battery repeatedly dies within days, or if it’s more than 5 years old, replacement may be more reliable than repeated jump-starting. A multimeter can test whether the battery holds voltage after being charged, if it drops significantly within a few days, the battery is likely failing and should be replaced.










