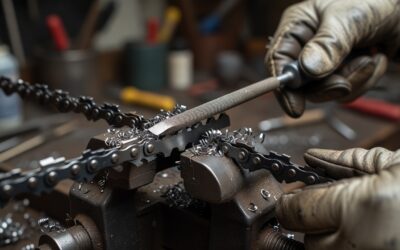
Quick Answer: How to Sharpen a Chainsaw Chain
Match your round file diameter to your chain pitch (3/8″ pitch → 7/32″ file; .325″ pitch → 3/16″ file; .404″ pitch → 7/32″ file), secure the bar in a vise, and push the file across each cutter at the manufacturer-specified side angle (25–35°) and top-plate angle (typically 10°) using consistent forward strokes. After filing all cutters, use a flat file and raker gauge to lower any depth gauges that protrude more than 0.025″ above the cutter tooth. That combination restores cutting performance and prevents dangerous kickback from an uneven chain.
How Do You Know When a Chainsaw Chain Needs Sharpening?
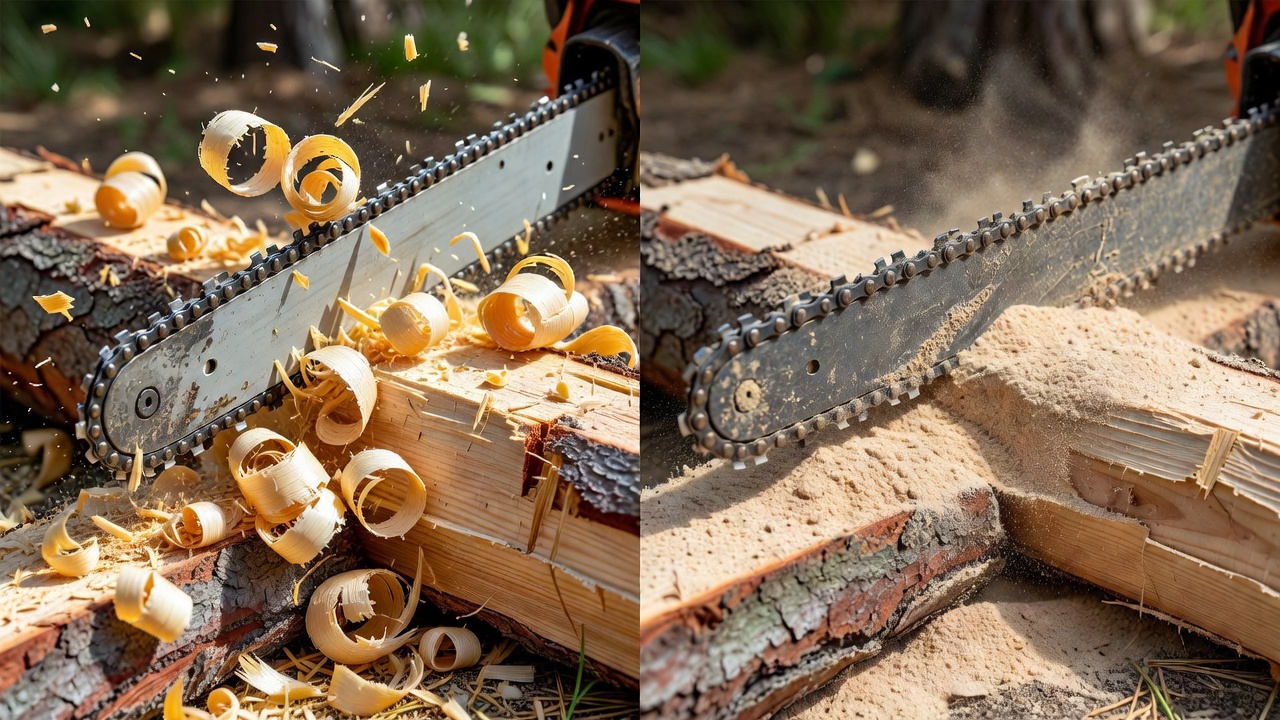
Catching a dull chain early saves the bar, the engine, and your arms. Watch for these diagnostic signs:
- Fine dust instead of chips: A sharp chain ejects chunky wood chips. A dull chain produces powdery sawdust because the cutters are scraping rather than slicing.
- Pulling or drifting: The saw veers left or right instead of tracking straight — a reliable indicator that cutters on one side are shorter or duller than the other.
- Increased feed pressure: You find yourself forcing the bar into the wood rather than letting the chain do the work.
- Excessive vibration or chatter: Uneven cutter heights cause the chain to bounce rather than bite cleanly.
- Smoke with adequate lubrication: Friction from dull cutters generates heat even when the bar oil reservoir is full.
A dull chain also stresses the drive sprocket, bar nose, and engine — accelerating wear on every downstream component. Sharpen at the first sign of dust or dragging, not after the situation worsens.
What Tools Do You Need to Sharpen a Chainsaw Chain?
- Round file (correct diameter for your pitch): The primary cutting tool. Wrong diameter = wrong cutter geometry. See the table below.
- File guide: A handle-mounted guide that registers the correct top-plate and side angles automatically. Strongly recommended for beginners; experienced filers can use a standalone handle.
- Flat file: Used exclusively on depth gauges (rakers) — never on the curved cutter face.
- Raker gauge (depth-gauge tool): A slotted template that sits across two chain links and shows whether the depth gauge protrudes above the slot. If it does, the flat file brings it flush.
- Vise or bar clamp: Immobilizes the bar so both hands control the file. A bench vise is ideal; a purpose-built bar clamp attaches directly to a workbench edge.
- Marker or paint pen: Mark the first cutter before you start so you know when you’ve completed a full revolution of the chain.
- Safety gloves: Chain teeth are sharp even when dull by filing standards. Cut-resistant gloves prevent lacerations during setup and chain rotation.
- Chainsaw chain brake (engaged): Always engage the chain brake before touching the chain.
Which File Size Matches Your Chain Pitch? (Quick-Reference Table)
Chain pitch is the distance between every other drive link divided by two — stamped on the chain box or the chain’s drive links. File diameter must match pitch precisely; an oversized file leaves a flat spot on the cutter gullet; an undersized file can’t reach the full curved face.
| Chain Pitch | Round File Diameter | Typical Application |
|---|---|---|
| .325″ | 3/16″ (4.8 mm) | Mid-range homeowner and prosumer saws |
| 3/8″ Low-Profile (Picco) | 5/32″ (4.0 mm) | Light-duty, compact consumer saws |
| 3/8″ Standard | 7/32″ (5.5 mm) | Mid- to full-size homeowner and professional saws |
| .404″ | 7/32″ (5.5 mm) | High-displacement professional and harvesting saws |
How to find your pitch: Check the chain box, the stamping on the drive links, or the chainsaw owner’s manual. Oregon, Stihl, and Husqvarna all print pitch on the chain packaging. Do not guess — .325″ and 3/8″ standard look nearly identical to the eye but require different files.
Note on chain gauge: Gauge (drive-link thickness: .050″, .058″, .063″) governs bar groove compatibility, not file size. File diameter is determined by pitch only.
What Filing Angles Do You Need for Your Chain Type?
Filing angle is the most consequential variable in sharpening. File at the wrong angle and the cutter will grab aggressively, cut crooked, or dull faster than before.
Full-Chisel Chain
Full-chisel cutters have a square-cornered tooth designed for fast, aggressive cutting in clean softwood. Standard angles:
- Top-plate angle: 30–35° (measured from a line perpendicular to the chain)
- Side-plate (filing) angle: 90° (file held perfectly level, perpendicular to the chain side)
Semi-Chisel Chain
Semi-chisel cutters have a rounded corner between the top plate and side plate, trading peak speed for durability in dirty wood, frozen wood, and hardwoods. Standard angles:
- Top-plate angle: 25–30°
- Side-plate angle: 90° (same level file position as full-chisel)
Low-Profile Chain
Low-profile (narrow-kerf) chains are found on compact consumer saws. They use a shallower cutter geometry for reduced kickback. Standard angles:
- Top-plate angle: 25–30°
- Side-plate angle: 60° (file tilted downward 30° from horizontal, not held level)
Where to confirm your exact angles: Oregon publishes a free chain-filing guide on their website indexed by chain number. Stihl and Husqvarna include angle specifications in the saw’s owner’s manual and on their respective chain packaging inserts. When in doubt, use the file guide packaged with an Oregon, Stihl, or Husqvarna sharpening kit — it is pre-set to the correct angle for the matching chain type.
How to Sharpen a Chainsaw Chain by Hand (Step-by-Step)
- Engage the chain brake and let the saw cool completely. Never sharpen a hot chain or a running saw. Engage the front hand guard (chain brake) before touching the chain.
- Secure the bar in a vise. Clamp the bar flat, close to the front of the bar, leaving the chain free to move. Tighten just enough to hold — over-clamping deforms the bar rails.
- Mark the starting cutter. Use a paint pen or marker on the first cutter you’ll file. This prevents double-filing one tooth and skipping another.
- Mount the round file in the file guide. Set the guide’s depth-line markers so the file sits 20% above the top plate of the cutter (the standard rule for most chains). Confirm the guide’s angle setting matches your chain type.
- Position the file on the first cutter. Place the guide flat on the chain so the file rests in the cutter’s gullet (the curved interior face). The file should contact the full curved face of the cutter, not just the top or just the inside.
- File with smooth forward strokes only. Push the file forward across the cutter face with even pressure. Lift the file on the return stroke — dragging backward dulls the file and rounds the cutter edge. Use 3–5 consistent strokes per tooth as a starting baseline. Adjust if one tooth requires more material removal due to damage.
- Maintain consistent stroke count across all teeth on one side. Cutter length must be uniform across the chain. More strokes on one tooth than another creates uneven cutters, which causes the saw to pull left or right.
- File all cutters on one side first. Work through every right-hand or every left-hand cutter before switching sides. Rotate the chain forward by hand (gloves on, brake engaged) to advance each cutter into position.
- Switch sides and repeat. Reverse your body position relative to the bar (or rotate the saw in the vise) so the file angle mirrors the other side. File all cutters on the second side with the same stroke count.
- Inspect the edge. A properly sharpened cutter has a bright, clean edge with no gray, flat, or reflective spot on the cutting face. A bright spot means the cutter is still blunt in that area — add one or two more strokes.
Common Beginner Mistakes to Avoid
- Tilting the file up or down instead of holding it level (or at the specified angle for low-profile chains) — produces a cutter that grabs or skips.
- Filing with inconsistent pressure, making front teeth shorter than rear teeth on the same side.
- Skipping the depth-gauge step after filing — the most common reason a freshly filed chain still won’t bite.
- Using a worn or loaded (clogged) round file — a dull file burnishes rather than cuts the cutter face.
How to Check and Adjust Depth Gauges (Rakers)
The depth gauge (raker) is the small forward-facing ramp ahead of each cutter tooth. It controls how deep the cutter bites into the wood per pass. Every time you file the cutter face, the cutter gets slightly shorter — bringing it closer to the depth gauge. If the depth gauge now protrudes too high relative to the cutter, the chain can’t bite at all. If it’s too low, the chain bites too aggressively and kicks back.
The standard depth-gauge clearance for most consumer and prosumer chains is 0.025″, though some professional chains specify 0.030″. Always verify against your chain’s documentation.
Step-by-Step Depth-Gauge Adjustment
- Place the raker gauge (depth-gauge tool) across the chain so it straddles one drive link and sits flat on the two cutter teeth flanking the depth gauge you’re checking.
- If the depth gauge protrudes through the slot in the raker gauge, it is too high and must be filed down.
- Hold the flat file level and draw it across the top of the depth gauge, removing material until it is flush with the top of the raker gauge slot.
- Advance to the next depth gauge and repeat across the full chain.
- After filing, use a small round file or the raker gauge’s rounding notch (if present) to restore the rounded front profile of the depth gauge — a sharp, square-filed depth gauge can catch on wood grain and cause kickback.
Check depth gauges every second or third sharpening, or any time the chain has been filed more than 3–4 times since the last depth-gauge check.
Can You Sharpen a Chainsaw Chain with an Electric Sharpener or Dremel?
Electric Bench Grinder Sharpeners
Electric chain sharpeners (Oregon 410-120, Stihl USG, and similar) mount to a bench and use a small grinding wheel that swings down onto each cutter at a pre-set angle. They’re faster than hand filing for worn chains and produce highly consistent cutter lengths. Tradeoffs:
- Remove more material per pass than hand filing — shortens overall chain life faster.
- Risk of overheating the cutter (bluing the steel) if the wheel is worn or the operator lingers too long on one tooth.
- Initial cost ($50–$200) makes them practical only for users who sharpen frequently or manage multiple saws.
- Best suited for full-chisel chains where angle consistency matters most; semi-chisel chains tolerate hand filing well.
Dremel / Rotary Tool Attachments
Dremel sells a chainsaw sharpening attachment (Dremel 1453) that uses a small grinding stone in place of a round file. It works for touch-up sharpening between full hand-file sessions, particularly for users who find maintaining manual file angle difficult. Limitations:
- Grinding stones wear quickly and must be replaced to maintain correct diameter — an undersized stone changes cutter geometry.
- Depth-gauge adjustment still requires a flat file and raker gauge; the Dremel attachment does not address rakers.
- Access to inside cutters on a long bar can be awkward compared to hand filing.
Bottom line: Hand filing with a file guide is the most practical and chain-preserving method for the majority of users. Electric bench sharpeners suit high-volume professional users. Dremel attachments suit occasional users who want a middle ground.
How Often Should You Sharpen a Chainsaw Chain?
There is no fixed hour or tank-count rule — sharpening frequency depends on wood species, wood condition, and operator technique. Use behavior as the trigger, not a calendar:
- Sharpen when the saw produces dust instead of chips.
- Sharpen after any contact with soil, rocks, or embedded metal (fence wire, nails) — even one strike on dirt dulls a chain more than an hour of clean cutting.
- Cutting dry hardwood (oak, hickory) dulls a chain 3–5× faster than cutting green softwood (pine, fir).
- Many professional fellers touch up the chain with 2–3 file strokes per tooth every time they refuel — roughly every 30–45 minutes of active cutting. This light maintenance approach extends time between full sharpenings and keeps cutter length loss minimal.
When to Replace Rather Than Sharpen
A chain reaches end-of-life when:
- The cutter teeth are filed so short that the depth gauge now protrudes above the top plate even after maximum depth-gauge filing — no filing angle can restore the correct geometry.
- Drive links are visibly stretched, cracked, or bent.
- The chain has stretched beyond the bar’s tensioning range.
- Any tie strap or drive link shows a crack.
Oregon and Husqvarna documentation indicates most chains can be sharpened 8–10 times before cutter length is too short for safe operation, though this varies by how aggressively the chain was filed each session. Light touch-up filing (2–3 strokes) preserves chain life significantly longer than heavy corrective filing (6+ strokes per tooth).
Frequently Asked Questions
What happens if I use the wrong file diameter for my chain pitch?
An oversized file sits too high in the gullet and files a flat rather than curved face onto the cutter, destroying the hook angle that creates cutting aggression. An undersized file doesn’t reach the full cutter face and leaves an unsharpened flat zone. Both produce a chain that cuts poorly even after significant effort. Always verify pitch before buying a file.
Can I sharpen a chainsaw chain without a vise?
A vise is strongly recommended but not strictly required. Some experienced filers clamp the saw between their knees or brace the bar against a log. The risk is inconsistent file angle from bar movement during strokes — beginners almost always produce more consistent results with the bar immobilized. A purpose-built bar clamp costs under $15 and eliminates the issue.
Why does my chain still cut poorly after sharpening?
The most common cause is depth gauges left too high after filing the cutters shorter. File the cutters, skip the raker step, and the chain simply can’t bite regardless of cutter sharpness. The second most common cause is inconsistent stroke count, which leaves some cutters shorter than others — the short cutters carry no load and the chain tracks crooked. Check depth gauges first, then inspect cutter length uniformity.
Is there a difference between sharpening an Oregon, Stihl, and Husqvarna chain?
The physical sharpening process is identical — the variables are pitch, chain type (full- vs. semi-chisel vs. low-profile), and the specific filing angles specified for that chain model. Oregon, Stihl, and Husqvarna all publish chain-specific filing angle specs. A Stihl chain with 3/8″ pitch and semi-chisel cutters is filed at the same angles as an Oregon chain with identical pitch and cutter type. Brand matters for sourcing the correct spec sheet, not for changing the technique.