Quick Answer: How to String a Weed Whacker
Turn off the trimmer and disconnect power — unplug electric models or pull the spark plug boot on gas models. Remove the spool cap by pressing the side tabs, pull out the old spool, wind 20–25 feet of correctly sized monofilament line (typically 0.065″–0.095″) in the direction shown by the arrow on the spool, thread the free ends through the exit eyelets, and snap the cap back in. Tug the line to seat it, then test at low throttle.
What You Need Before You Start (Safety & Supplies)
Skipping the power-disconnection step is the most common cause of injury during restringing. The trimmer head can spin if the motor is accidentally triggered — treat this step as non-negotiable.
Safety First: Electric vs. Gas Trimmers
- Electric (corded): Unplug the power cord from the outlet before touching the trimmer head.
- Battery (cordless): Remove the battery pack completely.
- Gas trimmer: Pull the spark plug boot off the spark plug. This physically prevents ignition while your hands are near the blade area.
Once power is isolated, let the head come to a full stop and put on cut-resistant gloves — trimmer line has sharp edges when cut and the head’s internal spring can release unexpectedly.
Supplies Checklist
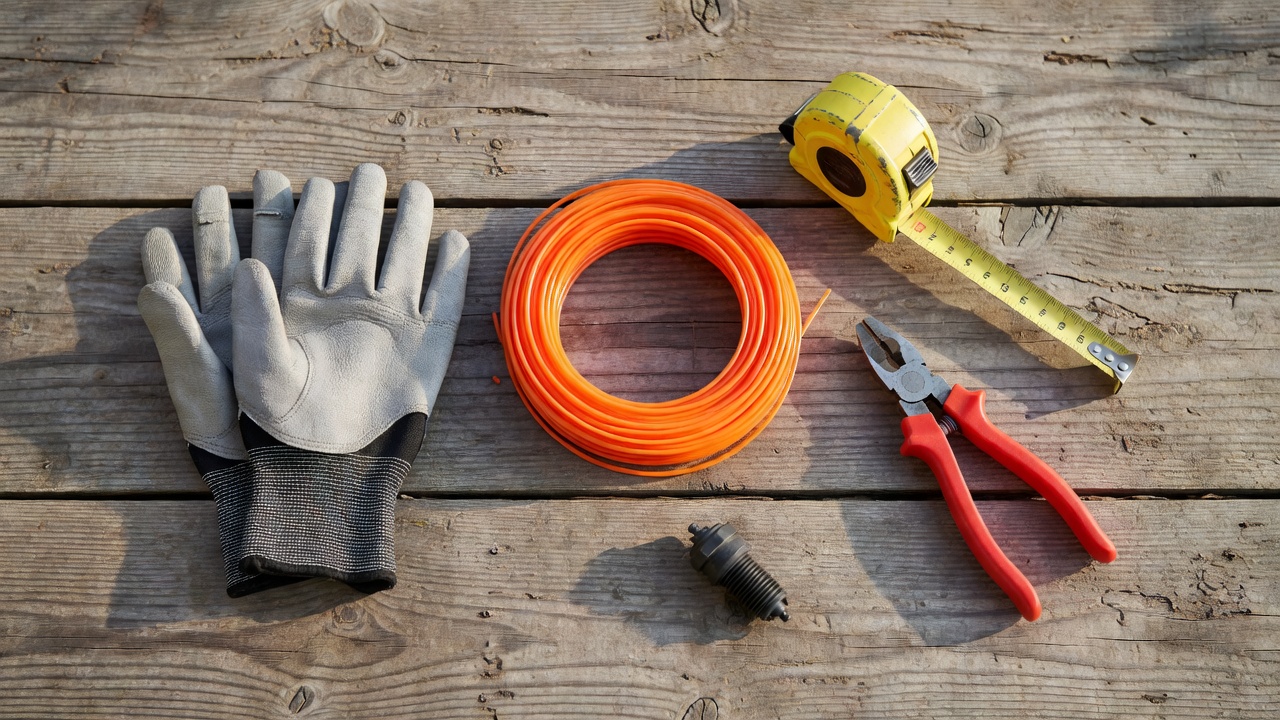
- Replacement trimmer line in the correct diameter for your model
- Tape measure or ruler
- Scissors or wire cutters
- Cut-resistant gloves
- Owner’s manual or spool cap (diameter is usually stamped on it)
What Diameter Trimmer Line Do You Need?
The correct diameter is stamped on the spool cap or listed in your owner’s manual. As a general guide:
- 0.065″ — light-duty residential electric trimmers
- 0.080″ — medium-duty residential gas or battery trimmers
- 0.095″ — heavy-duty gas trimmers for thick weeds and brush
- 0.105″ and above — commercial-grade trimmers
Using line that is too thick for your model strains the motor and prevents the spool from seating correctly. Using line that is too thin causes rapid breakage. Always match the diameter printed on the trimmer head or cap.
Brand compatibility matters for line type but not always for line brand — any quality monofilament or co-polymer trimmer line in the correct diameter will work in most heads. Co-polymer line is more flexible and resists breakage better than standard monofilament in cold weather.
How to Identify Your Trimmer Head Type Before Stringing
Stringing technique differs by head type. Using the wrong method means the line will not feed, the cap will not seat, or the line will weld inside the spool. Identify your head type first.
| Head Type | How to Identify It | Stringing Method | Common Brands | Typical Line Diameter |
|---|---|---|---|---|
| Bump-Feed | Bump knob on the bottom of the head; line advances when you tap the head on the ground while running | Manual winding onto a removable spool | Husqvarna, STIHL, Ryobi, Troy-Bilt, Craftsman | 0.065″–0.095″ |
| Auto-Feed | No bump knob; line advances automatically during operation | Pre-wound replacement spool swap (some models support manual winding) | Black+Decker, EGO (select models), Worx | 0.065″–0.080″ |
| Fixed-Line | Individual line segments inserted into the head — no spool at all | Insert pre-cut line segments into eyelets | Oregon, some STIHL commercial heads | 0.095″–0.155″ |
If you see a plastic bump knob on the underside of the head, you have a bump-feed mechanism — the most common type. If the head is smooth on the bottom and line advances on its own during use, it is auto-feed. If there is no spool and you thread individual pieces into slots, it is fixed-line.
How to String a Bump-Feed Weed Whacker (Step-by-Step)
This method covers the majority of residential and semi-professional string trimmers sold today.
- Disconnect power. Unplug, remove the battery, or pull the spark plug boot. Do not skip this step.
- Secure the trimmer. Lay it on a flat surface or hold the shaft steady. The spool cap is on the underside of the trimmer head.
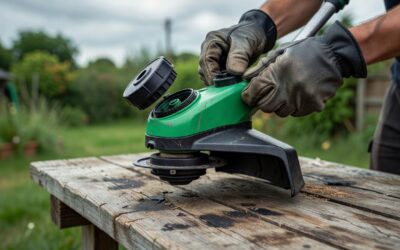
- Remove the spool cap. Press the tabs on both sides of the trimmer head simultaneously and pull the cap straight off. On some models, the cap twists off counterclockwise — check your manual. A spring may be behind the spool; set it aside so it does not get lost.
- Remove the old spool and clear debris. Pull the spool out. Remove any remaining old line from the spool and wipe out grass, dirt, or fused line fragments from inside the head housing.
- Cut your replacement line. Cut 20–25 feet of line in the correct diameter. For dual-line spools (two exit eyelets), cut two lengths of 10–15 feet each, or one length of 20–25 feet that you will fold in half.
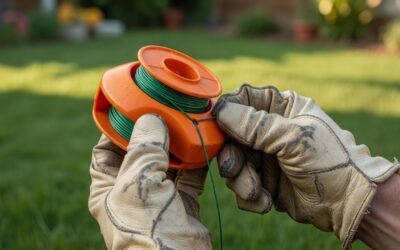
- Anchor the line in the spool. Find the small anchor slot or hole in the center of the spool. Insert one end of the line (approximately 0.5″) into this slot to lock it. On dual-line spools, thread the mid-point of a single length through the anchor notch so equal lengths extend from each side.
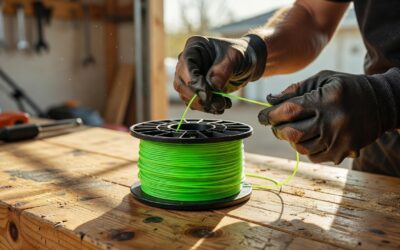
- Wind the line in the correct direction. Look for the winding direction arrow molded onto the spool — this is critical. Wind the line neatly in tight, even rows without overlapping or crossing lines. Keep tension on the line as you wind. Stop winding when the line is 0.25″ below the spool ridge — do not overfill past this ridge or the line will jam inside the head.
- Secure the free ends temporarily. Most spools have small notches on the rim. Hook each free end into a notch to keep the line from unwinding while you reinstall.
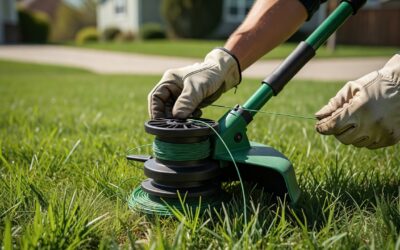
- Thread the free ends through the exit eyelets. Hold the spool above the head, align the free ends with the exit eyelets on the trimmer head, feed each end through its eyelet, then push the spool into the housing. You should feel or hear a click when it seats.
- Replace the spool cap. Align the cap tabs with the head slots and press until it clicks into place. If it does not seat, check that no line is trapped under the spool ridge or between the spool and the housing wall.
- Tug the line to confirm seating. Pull each line end firmly outward — it should resist and hold. If it pulls all the way out, the anchor slot did not engage; remove the spool and re-anchor.
- Reconnect power and test at low throttle. Run the trimmer for 5–10 seconds at low speed before full-throttle use to confirm line feeds normally.
Single-Line vs. Dual-Line Spool Winding
- Single-line spool (one exit eyelet): Anchor one end of the line in the spool slot and wind the full length in one direction onto one side of the spool.
- Dual-line spool (two exit eyelets): The spool has a dividing ridge in the center. Wind each half of the line on its own side of the ridge, both in the same arrow-indicated direction. Thread each free end through the corresponding eyelet.
How to String an Auto-Feed Weed Whacker
Auto-feed trimmer heads automatically advance line during operation without bumping. Most use pre-wound replacement spools — the process is simpler but spool compatibility is strictly brand-specific.
- Disconnect power as described above.
- Release the head. Most auto-feed heads twist off (clockwise or counterclockwise depending on brand) or press a release button. Consult your manual — forcing it the wrong direction strips the threads.
- Remove the spent spool. Pull the old pre-wound spool out of the housing.
- Insert the replacement spool. Use only the brand-specified replacement spool or a verified compatible universal spool. Forcing an incompatible pre-wound spool is the most common auto-feed mistake — an ill-fitting spool will not advance line correctly and can jam the mechanism.
- Feed the line ends through the exit eyelets and reattach the head assembly.
- Test the auto-feed mechanism at low throttle. If the line does not advance automatically after restringing, the spool may not be seated correctly, or the line ends may not be threaded through the eyelets fully.
Note on manual winding in auto-feed heads: Some auto-feed models (including select EGO and Ryobi models) accept manually wound line in addition to pre-wound spools. If your model supports this, follow the bump-feed winding steps above — the anchor slot and winding direction arrow will be present on the spool.
Trimmer Line Size & Type: Choosing the Right Replacement Line
Diameter Quick-Reference Table
| Line Diameter | Trimmer Class | Best For |
|---|---|---|
| 0.065″ | Light-duty electric / cordless | Grass trimming, lawn edging, thin weeds |
| 0.080″ | Medium-duty gas or battery | General residential use, moderate weeds |
| 0.095″ | Heavy-duty gas | Thick weeds, brush, overgrown areas |
| 0.105″+ | Commercial gas | Professional landscaping, heavy brush |
Line Shape and Material
- Round line: Most common, works in all heads, quietest during operation.
- Twisted line: Reduces wind resistance and noise; cuts slightly more aggressively than round.
- Multi-sided (square, serrated, star-shaped): More aggressive cutting edge; wears faster but handles dense brush better.
- Monofilament: Standard, widely available, affordable.
- Co-polymer: More flexible than standard monofilament, resists brittleness in cold conditions, longer service life per fill.
A standard residential spool holds approximately 20–30 feet of line depending on diameter and spool size. Larger-diameter line fills the spool faster and leaves less total line per load.
Common Stringing Mistakes and How to Fix Them
| Problem | Cause | Fix |
|---|---|---|
| Line welds or fuses inside the spool | Spool overfilled past the ridge, or line wound too loosely allowing slippage and heat buildup | Remove the spool, clear fused line, rewind stopping 0.25″ below the ridge with firm, even tension |
| Line does not advance on bump-feed | Wound in the wrong direction (opposite the arrow), or wound too tightly causing the line to bind | Rewind in the direction of the arrow with moderate, consistent tension — not so tight that the coils grip each other |
| Line breaks immediately after restringing | Line diameter too thin for the application, or the line is rubbing on a nicked or damaged exit eyelet | Check the eyelet for burrs or cracks and replace the trimmer head if damaged; confirm correct line diameter |
| Spool cap will not seat or keeps popping off | Line is trapped between the spool and the housing wall, or the line is pinched under the spool ridge | Remove the spool, clear all line from the housing channel, re-seat the spool so the free ends exit only through the eyelets |
| Auto-feed line does not advance automatically | Pre-wound spool is incompatible with the head, or line ends are not threaded through the exit eyelets | Verify spool compatibility with manufacturer’s chart; confirm both line ends are fully threaded through their eyelets before reattaching the head |
How Often Should You Restring a Weed Whacker?
There is no fixed time interval — restring based on observable indicators, not a calendar.
- Line worn to 4–6 inches or less from the trimmer head: replace before it gets shorter, as very short line strains the motor.
- Frequent bump-feeding during a single session: the current load is nearly spent.
- Visible fraying or cracking along the line length: line has degraded and will break mid-task.
- Trimmer running but not cutting efficiently despite correct throttle: check line length first before diagnosing mechanical issues.
A field-efficiency habit used by professional landscapers: cut a spare 20-foot length of line and tape it to the trimmer shaft before heading out. When the spool runs out mid-job, restringing takes under two minutes without a trip back to the garage.
Running a weed whacker with no line is not immediately damaging in a single short burst, but the trimmer head spins without load resistance, which over time can accelerate wear on the clutch in gas models. Replace line as soon as it is depleted.
Frequently Asked Questions
Do I have to remove the spark plug boot when restringing a gas trimmer?
Yes. The spark plug boot must be removed before working on any gas trimmer head. Without disconnecting it, the engine can fire if the flywheel moves — even slightly — while your hands are near the trimmer head. Pull the rubber boot straight off the spark plug tip before touching the spool.
Can I use any brand of trimmer line, or does it have to match my trimmer?
Line diameter must match your trimmer’s specification — use the diameter stamped on the spool cap or listed in your owner’s manual. Brand of line does not need to match. Any quality monofilament or co-polymer line in the correct diameter works in most heads. The exception is pre-wound auto-feed replacement spools, which are brand- and model-specific due to spool housing dimensions.
Why does my trimmer line keep breaking right after I restring it?
The three most common causes are: (1) line diameter too thin for the job or the trimmer model, (2) a nicked or cracked exit eyelet on the trimmer head that cuts the line as it feeds through, or (3) the line was wound too loosely and slipped during winding, creating uneven layers that cause binding and snapping. Inspect the exit eyelets for damage and confirm the line diameter matches the spool cap specification.
How much trimmer line should I wind onto the spool?
Wind until the line sits approximately 0.25″ below the spool’s outer ridge — never flush with or above it. Overfilling past the ridge causes line welding (fusing) inside the head from friction heat during operation, and prevents the spool cap from seating correctly. For most residential spools, this equals 20–25 feet of standard-diameter line.