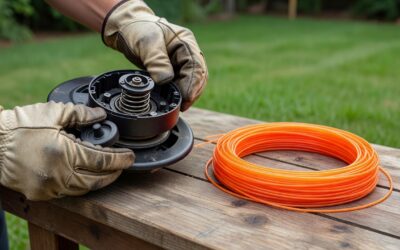
Quick Answer: How to Change a Weed Eater Head
Disconnect power first (remove spark plug on gas models, pull battery on cordless, unplug corded). Most weed eater heads use reverse-thread fasteners — turn clockwise to loosen, not counterclockwise. Hold the shaft steady with the bump knob or shaft-lock button, unscrew the retaining nut, pull off the old head, thread on the replacement, and confirm it seats firmly before testing.
Why the Reverse-Thread Warning Matters Before You Start
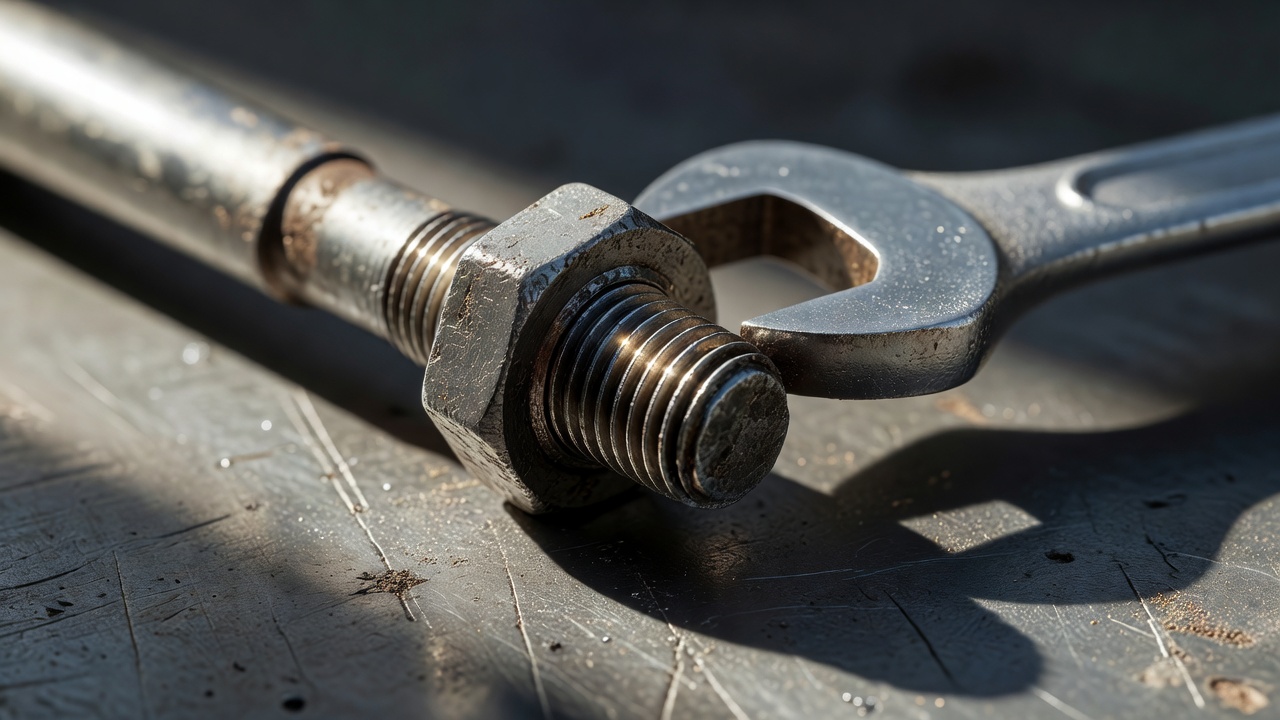
The single most common mistake when changing a weed eater head is turning the retaining nut the wrong direction. Because weed eater heads spin counterclockwise during operation, manufacturers use reverse (left-hand) threads on the retaining nut or center bolt. This means:
- To loosen: Turn clockwise (the opposite of standard bolts)
- To tighten: Turn counterclockwise
Forcing the nut counterclockwise when you intend to loosen it strips the threads, cracks the head, or damages the arbor shaft — requiring expensive repairs or replacement. Always verify the thread direction for your specific trimmer model before applying force.
Safety first: Before touching any part of the head, disconnect power completely:
- Gas models: Remove the spark plug wire to prevent accidental ignition
- Cordless models: Pull the battery completely out of the trimmer
- Corded electric: Unplug the power cord and keep it unplugged
Identify Your Head Type Before Buying a Replacement
Weed eater heads come in three main types, and identifying yours prevents purchasing an incompatible replacement:
Bump-Feed Head
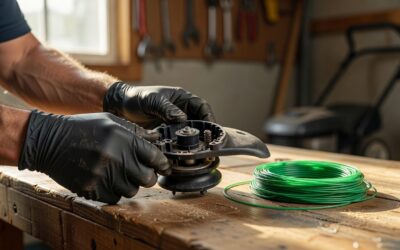
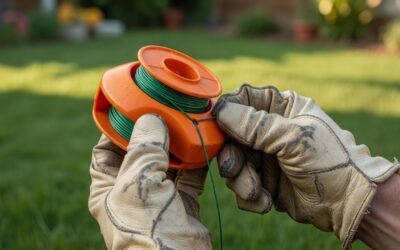
The most common type. A spring-loaded spool inside the plastic head holds coiled trimmer line. As you bump the head against the ground during operation, the bump knob at the bottom triggers a mechanism that advances fresh line automatically. The entire head assembly screws onto the drive shaft.
Fixed-Line Head
Used on some commercial and budget trimmers, this head has two or more fixed eyelets (holes) where pre-cut line segments are threaded through. There is no spool — you manually insert and replace line segments. These heads also screw onto the drive shaft but use a different retaining mechanism.
Blade Head
A metal or plastic carrier that holds a cutting blade instead of line. Blade heads are less common on residential trimmers but follow the same removal and installation process as bump-feed heads.
Compatibility note: Not all heads fit all trimmers. Before purchasing a replacement, confirm:
- Drive shaft diameter: Most common is 0.325 inches, but some models use 0.250 inches or other sizes
- Thread type and size: M10×1.25 left-hand thread is standard for most brands (Ryobi, Black+Decker, Echo), but STIHL and Husqvarna models may differ
- Head type compatibility: Consult your trimmer’s manual or contact the manufacturer — swapping a fixed-line head onto a bump-feed compatible arbor won’t work properly
How to Change a Bump-Feed Weed Eater Head: Step-by-Step
This is the most common head type and represents the primary use case for head replacement.
What You’ll Need
- Replacement bump-feed head (confirmed compatible with your trimmer)
- Adjustable wrench or socket wrench (size depends on retaining nut, typically 15mm or 17mm)
- Work gloves (optional but recommended for grip and protection)
- Shaft-lock button or bump knob (usually already part of your trimmer)
Removal Steps
Step 1: Disconnect Power
Remove the spark plug wire (gas), pull the battery (cordless), or unplug the unit (corded). Wait at least 30 seconds for the motor to stop completely.
Step 2: Locate the Retaining Nut or Center Bolt
Look at the top center of the head. You’ll see either a large hex nut or a bolt head. This is what holds the head onto the drive shaft.
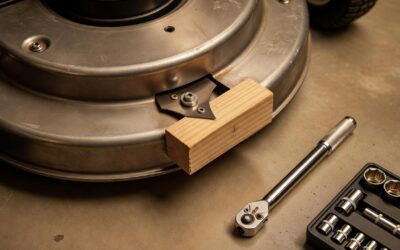
Step 3: Secure the Shaft
Hold the trimmer steady and locate the shaft-lock button (a small push-button on the side of the head or trimmer body) or grip the bump knob at the bottom of the head firmly. Pressing the shaft-lock button locks the internal arbor in place, preventing it from spinning while you unscrew the nut. If your trimmer has no shaft-lock button, hold the bump knob tightly with one hand while loosening with the other.
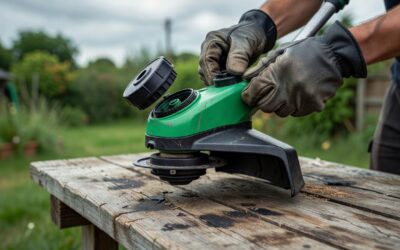
Step 4: Unscrew the Retaining Nut (Clockwise)
Position your wrench on the retaining nut. Turn clockwise — this is the reverse direction from standard bolts, so it may feel counterintuitive. Apply steady pressure; do not force. If the nut is stuck due to corrosion, apply penetrating oil (like WD-40) and wait 10–15 minutes before trying again. Once loose, unscrew by hand.
Step 5: Remove the Old Head
Grasp the head firmly and pull it straight off the arbor shaft. Some heads may require a slight twisting motion if friction is high. Set it aside.
Installation Steps
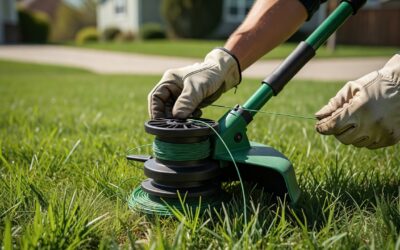
Step 6: Thread On the New Head
Align the new head’s center bore with the drive shaft. Insert the shaft into the head bore and begin threading by hand. Turn counterclockwise (standard threading direction, opposite of loosening). Thread hand-tight first — do not force.
Step 7: Secure the Retaining Nut
Once the head is hand-tight, position your wrench on the retaining nut and turn counterclockwise to tighten. Apply firm, even pressure until snug. Do not over-tighten — this can crack plastic heads or strip threads. A good checkpoint: the head should not wiggle or move when you shake it gently, but you should not need to strain the wrench.
Step 8: Confirm Secure Fit and Test
With power still disconnected, grip the head and attempt to twist it by hand. It should not budge. Reconnect power (battery, plug, or spark plug wire) and run the trimmer at low speed for 10–15 seconds with the head away from any objects. Listen and feel for vibration — a properly installed head runs smoothly without chattering or wobbling.
How to Change a Fixed-Line Weed Eater Head
Fixed-line heads are less common but follow a similar removal process with one key difference: you replace line segments, not the entire spool mechanism.
Removal: Follow Steps 1–5 above (power disconnect through old head removal). The retaining mechanism is identical.
Installation difference: When installing a new fixed-line head, ensure the eyelet holes align properly with the line guide on the trimmer body. Thread the pre-cut line segments through the eyelets before fully tightening the retaining nut. Some fixed-line heads require you to load the line before installation; consult the head’s instruction card.
Important distinction: Changing a fixed-line head is different from restringing one. If your head’s eyelets are intact and you only need to replace the line, you don’t need to remove the head — simply unthread the old line and thread in new segments. Only remove the head if the eyelets are damaged or the head itself is cracked.
How to Change a Weed Eater Head by Power Source
While the core removal and installation process is the same across all power types, the safety disconnect step varies:
Gas Weed Eater
- Disconnect: Pull the spark plug wire completely off the spark plug. This is the manufacturer-recommended lockout procedure — it ensures the engine cannot accidentally start while you work.
- Wait: Allow the engine to cool for at least 2 minutes if it was running, to prevent burns.
- Proceed: Follow the standard removal steps (shaft lock, clockwise unscrew, remove head).
Cordless (Battery-Powered) Weed Eater
- Disconnect: Fully remove the battery from the trimmer. Do not simply turn off the power switch — the battery must be physically disconnected to prevent accidental motor engagement.
- Wait: No cool-down time needed; cordless motors stop immediately.
- Proceed: Follow the standard removal steps.
Corded Electric Weed Eater
- Disconnect: Unplug the power cord from the electrical outlet. Do not simply turn off an inline switch — the cord must be unplugged.
- Coil the cord: Move the cord away from your work area to prevent tripping or accidentally stepping on it.
- Proceed: Follow the standard removal steps.
Compatibility Check: Matching the New Head to Your Drive Shaft
Purchasing the wrong replacement head wastes money and causes frustration. Before buying, verify three compatibility factors:
1. Drive Shaft Diameter
The arbor shaft on which the head mounts comes in standard sizes. The most common is 0.325 inches (8.25mm), but some models use 0.250 inches or other sizes. Measure your trimmer’s shaft with a caliper or ruler, or consult the manual. A head with the wrong bore diameter will not fit or will be dangerously loose.
2. Thread Type and Size
Most residential trimmers (Ryobi, Black+Decker, Echo, and Greenworks models) use M10×1.25 left-hand thread. However, some STIHL and Husqvarna trimmers use different thread sizes or specifications. Before purchasing, check:
- Your trimmer’s manual for the arbor thread specification
- The replacement head’s packaging, which should list compatible trimmer models
- The manufacturer’s website or customer service for a compatibility chart
3. Head Type and Mounting Mechanism
Bump-feed, fixed-line, and blade heads mount via different mechanisms. A bump-feed head cannot be directly swapped for a fixed-line head on most trimmers — the retaining systems are incompatible. Verify that the replacement head matches your original head type or is explicitly listed as a compatible universal replacement.
Troubleshooting: Common Problems and Solutions
Head Won’t Come Off (Stuck or Seized Nut)
- Cause: Corrosion, rust, or over-tightening from the factory.
- Solution: Apply penetrating oil (WD-40, PB Blaster) and let sit 15–20 minutes. Try again with the wrench, applying slow, steady pressure. If still stuck, tap the wrench handle gently with a hammer to break corrosion. Never use excessive force — this can strip or crack the nut.
Nut Spins But Won’t Come Off
- Cause: The shaft inside is also spinning; the shaft lock is not engaged, or the bump knob isn’t held firmly enough.
- Solution: Release and re-engage the shaft-lock button firmly. If there is no shaft-lock button, grip the bump knob or the head itself with a second wrench to prevent rotation while you unscrew the nut.
New Head Wobbles or Vibrates After Installation
- Cause: Head is not fully seated on the arbor, or the retaining nut is not tight enough.
- Solution: Remove the head and inspect the arbor shaft and head bore for debris or damage. Clean both surfaces. Reinstall the head, ensuring it sits flush against the shoulder of the arbor, and tighten the nut fully (counterclockwise). Test again.
Retaining Nut Keeps Coming Loose
- Cause: Vibration during operation loosens the nut over time, or it was not tightened sufficiently.
- Solution: Remove the head and re-tighten the nut firmly (counterclockwise). Some users apply a thin layer of threadlocker (e.g., Loctite medium-strength, blue formula) to the nut threads before reinstalling to prevent loosening. Consult your manual to confirm this is recommended for your model.
Threads Are Stripped (Nut Spins Freely)
- Cause: Forcing the nut in the wrong direction, or repeated over-tightening.
- Solution: The arbor shaft threads may be damaged and require replacement. Contact the manufacturer or a repair center. Do not attempt to re-thread or over-tighten — this will cause further damage.
Frequently Asked Questions
Q: Can I change a weed eater head myself, or do I need a professional?
A: You can change a weed eater head yourself in 5–10 minutes with basic tools (wrench) and the correct safety steps. The process is straightforward for most residential trimmers. However, if the head is stuck, threads are stripped, or you are unsure about your trimmer’s specific design, consult the manual or contact a repair center. Professional service typically costs $30–$60 plus parts.
Q: How often should I change my weed eater head?
A: You typically do not change the entire head unless it is damaged (cracked, worn eyelets, or broken retaining threads). Instead, you replace the trimmer line every few weeks during heavy use or when it runs out. Replace the head only if it is visibly damaged, the line eyelets are stripped, or it no longer holds line securely.
Q: What’s the difference between changing a trimmer head and restringing it?
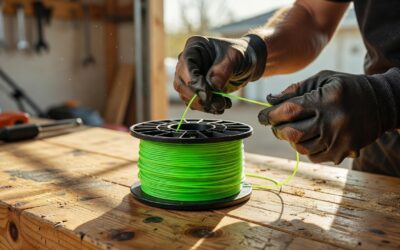
A: Restringing means replacing the line inside the existing head — you unwind old line and spool new line into the bump-feed mechanism or thread new segments into fixed-line eyelets. The head stays on the trimmer. Changing the head means removing and replacing the entire head assembly. Restringing is a routine maintenance task; changing the head is only necessary if the head itself is damaged or worn.
Q: Is a reverse-thread always used on weed eater heads?
A: Most residential trimmers (Ryobi, Black+Decker, Echo, Greenworks) use reverse-thread on the retaining nut to match the counterclockwise rotation of the head during operation. However, some professional-grade and commercial trimmers (certain STIHL and Husqvarna models) may use standard (right-hand) thread. Always consult your manual or test gently before applying full force — if it tightens when you turn clockwise, it is standard thread, and you should turn counterclockwise to loosen.