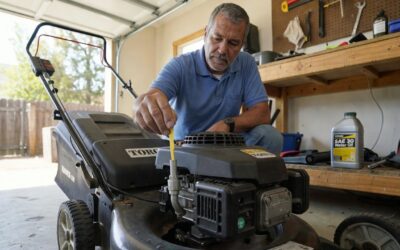
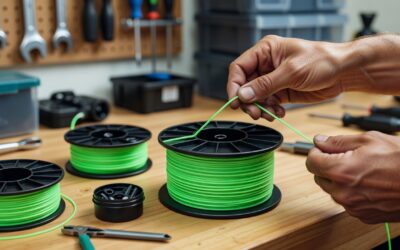
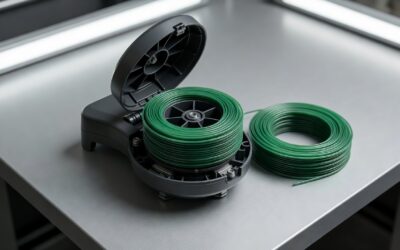
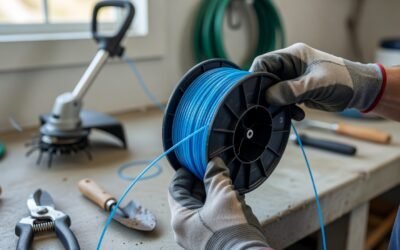
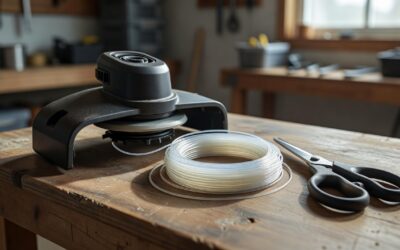
To put string in a weed eater, first disconnect the spark plug wire for safety. Remove the trimmer head by unscrewing the retaining bolt or pressing the release button depending on your model. Wind new trimmer line onto the spool in the direction indicated by arrows on the spool, then thread the line ends through the eyelets or slots. Reassemble the head, reconnect the spark plug wire, and test. Specific procedures vary by weed eater type, so consult your manufacturer’s manual for model-specific instructions.
Understanding Weed Eater String Types and Sizes
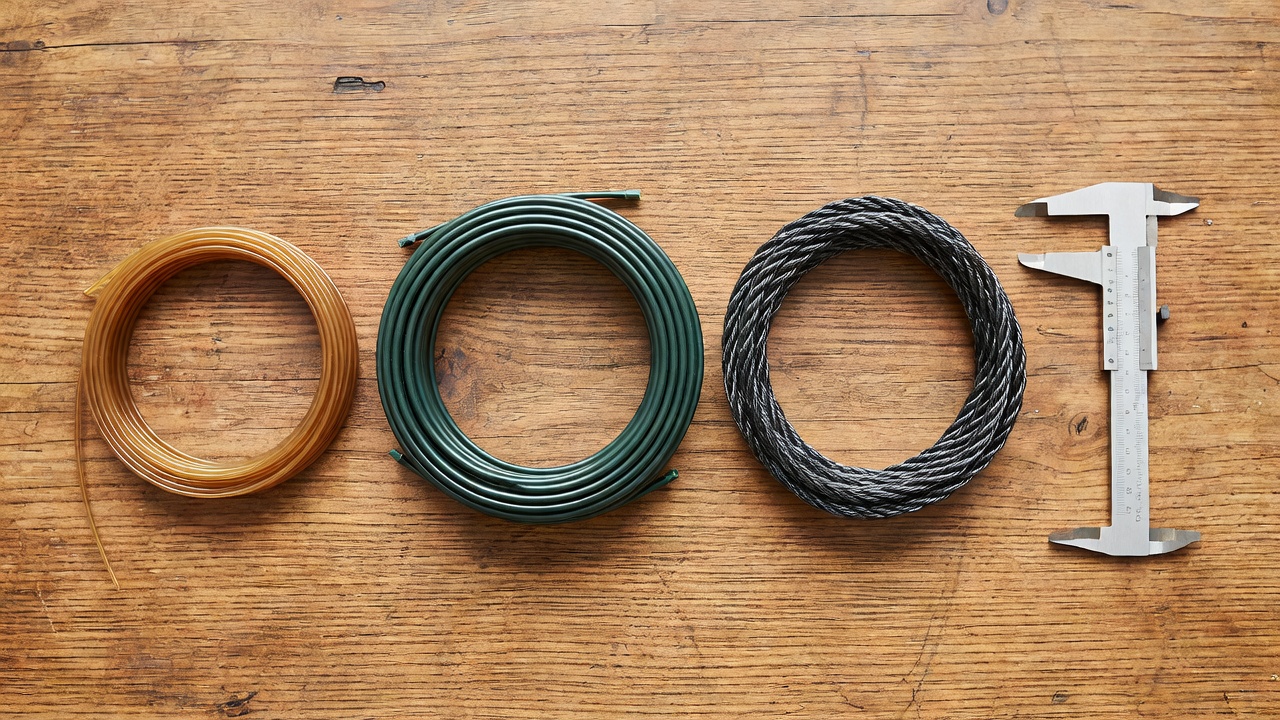
Before learning how to put string in a weed eater, selecting the correct replacement line for your specific model matters significantly. Trimmer line comes in various diameters, typically ranging from thin lines suitable for light-duty trimming to heavier options designed for thick vegetation and woody weeds. Using an incorrect diameter can lead to poor cutting performance or potential damage to your equipment.
Most residential weed eaters accept trimmer line between 0.065 and 0.095 inches in diameter, while commercial-grade equipment may require heavier lines up to 0.130 inches or more. The packaging on your current line or the documentation that came with your weed eater usually indicates the appropriate diameter. When in doubt, bringing your old spool to a hardware store can help you match the correct size.
Trimmer line also varies in shape. Round line works well for general trimming and passes through grass cleanly. Square or star-shaped line provides sharper cutting edges and works more efficiently on heavier vegetation. Twisted line reduces noise and vibration while offering improved cutting efficiency, making it popular among homeowners who use their equipment frequently. Understanding these differences helps you choose the right string when replacement time arrives.
Safety Precautions Before Replacing Trimmer String
Safety should always come first when working on any power equipment, including understanding how to put string in a weed eater properly. The primary safety step involves disconnecting the spark plug wire before beginning any maintenance work. This prevents accidental engine startup, which could cause the trimmer head to spin unexpectedly and result in serious injury.
Wear protective gloves when handling old trimmer line, as the edges can become sharp after extended use. Safety glasses provide additional protection against small debris that may fall during the replacement process. Work in a well-lit, clean area free from grass clippings and debris that could obscure the small components you are handling.
Allow the engine to cool completely if it has been running recently. Hot engine components can cause burns, and working around a warm engine increases discomfort unnecessarily. Taking these precautions ensures you can focus on the task of putting string in your weed eater without rushing through steps due to unsafe conditions.
Step-by-Step Instructions for Replacing Trimmer String
The process of putting string in a weed eater follows a general sequence that applies to most models, though specific details may vary. Understanding each phase helps you work efficiently and reduces the chance of reassembly errors.
Accessing the Trimmer Head
Begin by stabilizing the trimmer head. Some models have a hole where you can insert a small wrench or screwdriver to prevent the spool from rotating while you loosen the retaining bolt. Others feature a press-and-rotate mechanism that releases the spool without additional tools.
Remove the retaining bolt by turning it counterclockwise. Set the bolt aside in a safe place, as small hardware is easy to misplace during this process. Lift the old spool from the trimmer head housing and pull any remaining old line free from the spool.
Inspect the inside of the trimmer head for debris, grass buildup, or signs of wear. Cleaning this area now prevents issues later and gives you a chance to check the condition of other components while you have everything disassembled.
Winding the New Line
Consult the arrows or diagram on the spool, which indicate the correct winding direction. Winding in the wrong direction causes the line to feed improperly during use. Most spools have arrows printed directly on the plastic showing which way the line should wrap.
Cut two pieces of trimmer line to the recommended length, typically about 10 to 15 feet total, though your specific model may have different requirements. Insert one end of the first piece into the small hole or slot on the spool and begin winding the line in the direction shown by the arrows. Keep the line under light tension as you wind to prevent tangling.
Wind the line in neat, side-by-side layers without overlapping significantly. Leave the last few inches of line free from the winding area. Repeat the process with the second piece of line if your spool has two compartments, ensuring each line sits in its designated channel.
Threading the Line Through the Eyelets
After winding the line, you need to thread it through the eyelets or slots on the trimmer head. Locate the two small holes on opposite sides of the trimmer head where the line exits the spool and feeds through during operation. Some models have tabs that hold the line in place, while others require the line to pass through a narrow channel.
Thread one end of the wound line through the corresponding eyelet, pulling it through until you have roughly equal lengths extending from each side of the head. The amount of line extending beyond the eyelets varies by model, but generally, having about 6 to 8 inches on each side provides adequate cutting length while preventing excessive tangling.
Ensure the line moves freely through the eyelets without binding or catching. Any restriction at this point will affect how well the line feeds during operation. If the line seems too tight or catches on the eyelet edges, remove it and check for proper seating in the spool channels.
Reassembling the Trimmer Head
Reinsert the spool into the trimmer head housing, ensuring it seats properly in the center spindle. The spool should rotate smoothly without wobbling or catching. Align the spool with any guide notches or tabs that position it correctly within the housing.
Reinstall the retaining bolt by turning it clockwise. If your model has a stabilizing hole, use the appropriate tool to hold the spool steady while you tighten the bolt snugly. Avoid overtightening, as this can strip the threads or make future removal difficult.
Push the line ends outward to their operating positions, making sure they remain in the eyelets and do not slip back inside the housing. Some models have small retaining tabs that click into place to hold the line during reassembly and initial startup.
Variations by Weed Eater Type: Bump Feed vs. Automatic
Weed eaters generally fall into two categories regarding how line feeds during operation, and understanding these differences affects how you approach putting string in your specific model. Both types use similar winding techniques but differ in how the line is retained and released.
Bump Feed Models
Bump feed weed eaters require the user to tap the trimmer head against the ground to release additional line during operation. The mechanism inside the head pushes against a spring-loaded plate when you bump it, allowing a preset amount of line to extend from the spool.
When putting string in a bump feed weed eater, pay special attention to the center bump knob and how it attaches. Some models have a separate cap that must be removed to access the spool, while others integrate the bump mechanism directly into the spool design. Take note of how these components fit together during disassembly to ensure proper reassembly.
Line length on bump feed models should be trimmed to the manufacturer’s specification. Excessively long line creates excessive drag and reduces cutting efficiency, while line that is too short requires frequent bumping and may not provide adequate coverage for effective trimming.
Automatic Feed Models
Automatic feed weed eaters advance line continuously as the trimmer head rotates, without requiring manual bumping. The centrifugal force from the spinning head pulls line out from the spool at a controlled rate determined by the internal mechanism.
These models typically use slightly longer pre-wound line since the automatic mechanism controls feed rate. When installing string in an automatic feed weed eater, ensure the spool seats properly in the housing with all retention clips engaged before reassembly.
Some automatic feed models feature a quick-load system that allows you to insert line without winding. In these cases, simply insert the ends through the eyelets and wind any excess line onto the spool before reassembly. Other automatic models still require traditional winding, so identify which system your equipment uses before beginning the replacement process.
Troubleshooting Common String Installation Issues
After putting string in your weed eater, you may encounter issues during initial testing. Understanding common problems and their solutions helps you correct issues quickly without unnecessary frustration or repeated disassembly.
Line Not Feeding Properly
If the line fails to advance when you operate the trimmer, first check that you wound it in the correct direction as indicated by arrows on the spool. Winding backward causes the line to wrap tighter during operation rather than releasing properly. Remove the spool and rewind in the opposite direction if needed.
Inspect the eyelets for debris or damage that might block line movement. Grass, dirt, or plastic burrs from manufacturing can obstruct the path and prevent proper feeding. Clean the eyelets with a small tool or replace the trimmer head housing if damage is visible.
Ensure the line length is within the manufacturer’s recommendations. Excessively long line can tangle and bind, while line that is too short may not have enough mass to feed properly under centrifugal force. Both situations result in poor or nonexistent line advancement.
Line Keeps Breaking
Frequent line breakage during operation indicates several potential issues. Check that you are using the correct diameter and type of line for your specific model. Using line that is too thin for your equipment’s power output causes it to break when contacting vegetation.
Inspect the edge of the trimmer head housing for sharp edges or nicks that could cut the line. Repeated contact with damaged housing edges will cause line to fray and break prematurely. Sand any rough spots smooth or consider replacing the housing if damage is significant.
Evaluate your trimming technique. Bumping too aggressively, cutting near fences or walls, or repeatedly hitting solid objects accelerates line wear. Adjusting your approach to let the line cut at its own pace rather than forcing contact with hard surfaces extends line life significantly.
Excessive Vibration or Noise
Newly installed line that causes excessive vibration usually indicates uneven winding on the spool. Remove the line and rewind it carefully, keeping tension consistent and layers organized. An unbalanced spool creates vibration that affects cutting quality and can damage equipment over time.
Check that the spool seats properly on the center spindle without any debris caught beneath it. Even small particles can cause enough misalignment to create noticeable vibration during operation. Clean the spindle area thoroughly before reinstalling the spool.
When to Consult Your Manufacturer’s Manual
While the general principles of putting string in a weed eater apply across most models, manufacturer documentation provides the most accurate guidance for your specific equipment. Differences in spool design, retention mechanisms, and recommended line specifications make the manual invaluable for achieving optimal results.
Your owner’s manual includes diagrams showing the correct winding direction specific to your model. Some spools wind clockwise, others counterclockwise, and the wrong direction causes immediate feeding problems. The arrows on the spool provide guidance, but the manual confirms the intended orientation.
Recommended line diameter and maximum length specifications appear in the documentation. Using line outside these parameters may void your warranty or cause damage not covered under normal operation. Keep your manual accessible for reference whenever performing maintenance on your equipment.
Safety warnings and model-specific warnings appear in manufacturer documentation that may not be covered in general guides. These warnings address particular hazards or procedures relevant to your specific design. Reading this information before beginning maintenance ensures you understand any unique requirements your equipment has.
Frequently Asked Questions
How often should I replace the trimmer line in my weed eater?
Replace trimmer line whenever it becomes worn to less than half its original diameter, frayed significantly, or when you notice decreased cutting performance. Frequent use in sandy or abrasive conditions accelerates wear, while occasional light trimming may allow the same line to last an entire season.
Can I use any brand of trimmer line with my weed eater?
Most trimmer line is compatible across brands as long as you match the correct diameter and choose an appropriate shape for your trimming needs. Universal compatibility makes finding replacement line convenient, but quality varies between manufacturers, so choosing a reputable brand often provides better durability.
Why does my trimmer line melt or fuse together?
Line fusion typically occurs from excessive heat caused by prolonged operation, running the engine at full throttle continuously, or winding the line too tightly. Allow the equipment to cool between extended sessions and ensure proper winding technique to prevent this issue.
What should I do if the spool won’t come out of the trimmer head?
If the spool resists removal, check for a locking mechanism you may have overlooked. Some models require pressing a button while turning the retaining bolt. If the spool still resists, applying a penetrating lubricant around the spindle and waiting several minutes can help loosen corrosion or debris that may be causing the binding.
Is it normal for new trimmer line to be stiff and difficult to bend?
New trimmer line often feels stiffer than old line that has been through several feeding cycles. The line softens with use and exposure to heat during operation. If stiffness persists and affects feeding, verify you purchased the correct diameter and that the line is appropriate for your specific model.