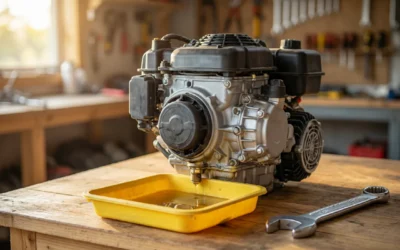
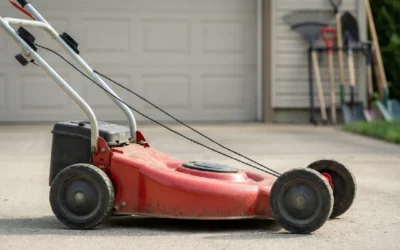
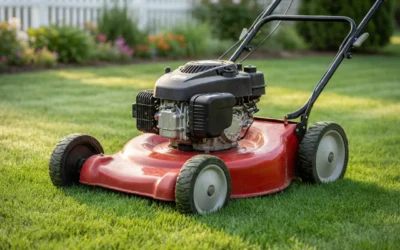
To change the oil on a Honda lawn mower, run the engine briefly to warm the oil, then turn it off and disconnect the spark plug. Place a drain pan under the drain plug (located under the deck for walk-behinds or on the engine block for riders), remove the plug, and allow the oil to fully drain. Replace the drain plug, then refill with the recommended Honda oil type (typically SAE 10W-30 or Honda 10W-30, but check your engine series) to the correct capacity (usually 0.58–0.69 quarts for GCV engines, more for GXV or riding models). Check the dipstick, run the engine briefly, recheck, and dispose of used oil properly.
Preparation and Safety
Before starting, gather the tools and supplies you will need: a socket or wrench set for the drain plug, an oil drain pan, a funnel, a clean rag, and a new oil filter if your engine is equipped with one. You will also need the correct engine oil, which depends on your Honda engine series. Most Honda lawn mower engines use SAE 10W-30, but some models specify a different viscosity, so check your owner’s manual before purchasing oil.
Identifying your engine series is important because it determines the oil type, capacity, and whether an oil filter is present. Honda lawn mower engines are commonly from the GCV series (such as GCV160 and GCV190) or the GXV series (such as GXV160 and GXV120). The engine model is typically printed on a label or stamped on the engine block. Knowing your series helps you follow the correct procedure and use the right oil.
Safety precautions are essential. Perform the oil change on a flat, level surface with the engine cool or only slightly warm. Running the engine for a few minutes warms the oil so it drains more easily, but never work on a hot engine. Disconnect the spark plug wire to prevent accidental starting, and wear gloves to protect your hands from hot oil and sharp edges. Keep the work area clear of children and pets.
Draining the Old Oil
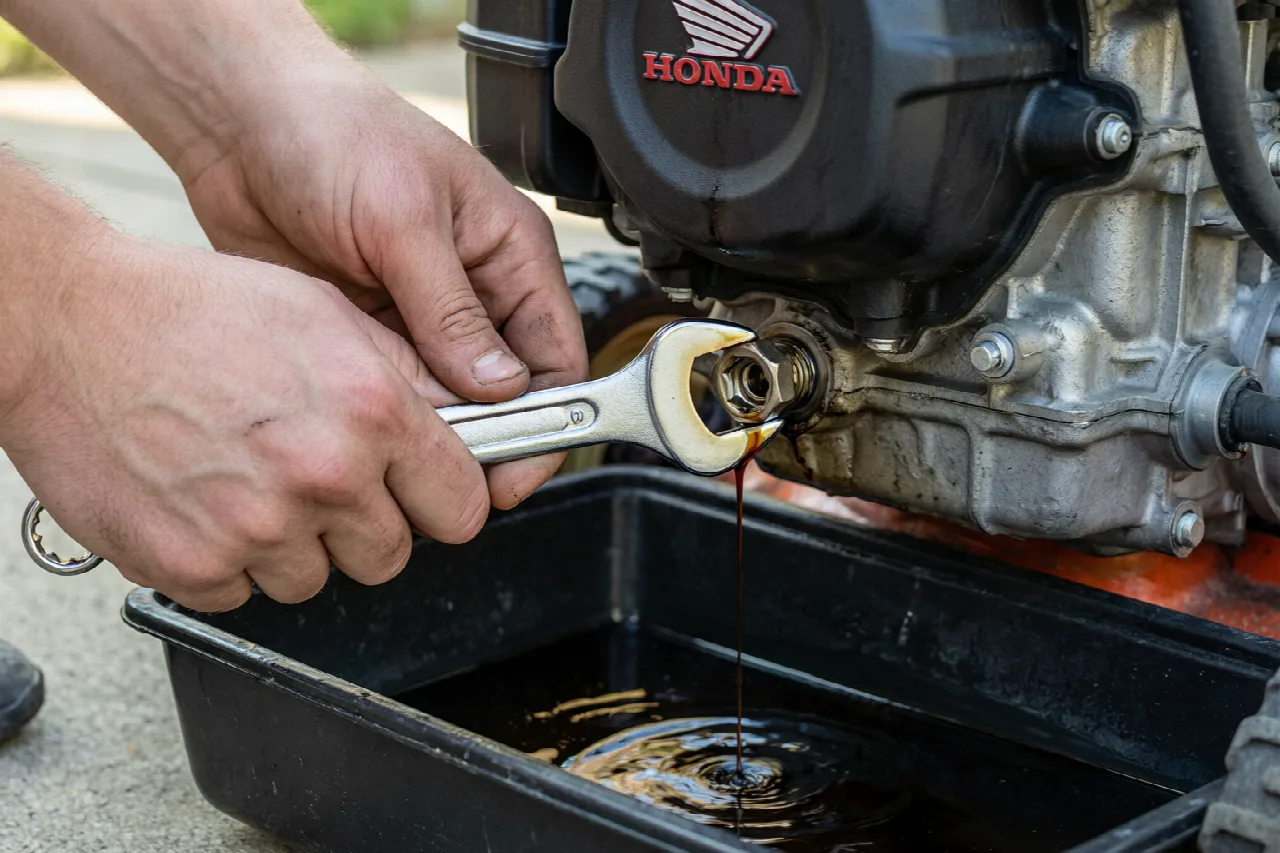
The drain plug location varies by mower type. On Honda walk-behind mowers, the drain plug is typically located on the bottom of the engine block, underneath the deck. To access it, you may need to tilt the mower onto its side. Before tilting, drain the fuel tank or close the fuel shutoff valve to prevent fuel from leaking into the air filter or carburetor. Always tilt the mower with the air filter and carburetor facing upward.
Once you have access, place the drain pan beneath the plug, remove the plug with a wrench, and allow the oil to flow out completely. If your walk-behind model does not have a drain plug, you will need to tilt the mower over the drain pan to pour the oil out through the fill opening. This method works but can be messy, so position the pan carefully and take your time.
On Honda riding lawn mowers, the drain plug is usually located on the side or bottom of the engine block, which is easier to access. Some models have a drain hose or valve for cleaner draining. If your rider has a drain hose, route it into the pan, open the valve, and let the oil drain. Otherwise, remove the drain plug with a wrench and allow the oil to flow into the pan.
Allow the oil to drain for several minutes until the flow slows to a drip. Inspect the old oil for metal shavings or a milky appearance, which can indicate engine wear or water contamination. If you notice either, have the engine inspected by a professional before refilling.
Replacing the Oil Filter (If Equipped)
Not all Honda lawn mower engines have an oil filter. Many small GCV engines rely on the oil itself to trap contaminants and do not include a replaceable filter. Larger GXV engines and riding mower engines are more likely to be equipped with an oil filter. Check your owner’s manual or inspect the engine for a cylindrical canister near the oil drain to determine whether your model has one.
If your engine has an oil filter, replace it each time you change the oil. To remove the old filter, place the drain pan beneath it, then use an oil filter wrench to loosen it. Turn the filter counterclockwise and remove it by hand once it is loose. Be prepared for a small amount of oil to spill from the filter.
Before installing the new filter, apply a thin coat of fresh oil to the rubber gasket on the top of the filter. This helps create a proper seal and makes the filter easier to remove next time. Screw the new filter on by hand in a clockwise direction until the gasket makes contact, then tighten it an additional three-quarters of a turn. Do not overtighten, as this can damage the gasket and cause leaks.
Refilling with the Correct Oil
Choosing the right oil is critical for the health of your Honda engine. Honda recommends using a high-quality detergent oil with an API service classification of SJ or later. For most GCV and GXV engines, SAE 10W-30 is recommended for general use across a wide temperature range. Honda also offers its own branded 10W-30 oil, but any comparable high-quality oil meeting the specification is suitable. Always check your owner’s manual for the exact recommendation for your engine series.
The oil capacity varies by engine. GCV160 and GCV190 engines typically hold approximately 0.58 to 0.69 quarts of oil, while GXV engines may hold slightly more. Riding mower engines often require a larger capacity, sometimes one quart or more. Consult your owner’s manual for the precise capacity, as overfilling can cause engine damage and underfilling can lead to inadequate lubrication.
To refill, insert a funnel into the oil fill opening and pour in the recommended amount slowly. Avoid adding the entire capacity at once; instead, pour most of it, then check the level. Use the dipstick to verify the oil level. On most models, the dipstick is located near the fill cap. Wipe the dipstick clean, insert it fully, and remove it to read the level. The oil should fall between the minimum and maximum marks.
After checking, run the engine for one to two minutes to circulate the oil, then turn it off and wait a few minutes for the oil to settle. Recheck the dipstick and add more oil if necessary. Be careful not to overfill, as excess oil can cause the engine to smoke or leak.
Final Steps and Disposal
After refilling and checking the oil level, reconnect the spark plug wire and ensure the oil fill cap is securely tightened. Run the engine briefly and check for any leaks around the drain plug and oil filter. If you notice a leak, tighten the components as needed. Wipe up any spilled oil and clean the work area.
Used engine oil is hazardous waste and should never be poured down the drain, onto the ground, or into the trash. Instead, pour the used oil into a sealed, leak-proof container, such as the original oil bottle or a dedicated oil jug. Many auto parts stores, service stations, and recycling centers accept used motor oil for free. Some municipalities offer curbside collection or designated drop-off locations. Check with your local waste management authority for the options available in your area.
Keep a record of your oil changes, noting the date and the type and amount of oil used. Honda recommends changing the oil after the first month or 20 hours of use on a new engine, then every 50 hours of operation or annually, whichever comes first. If you mow frequently or in dusty conditions, you may need to change the oil more often. Always refer to your owner’s manual for the specific interval for your model.