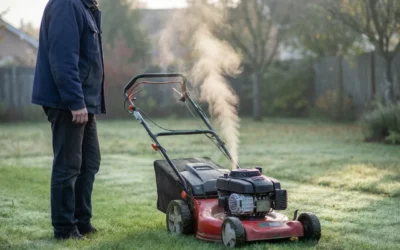
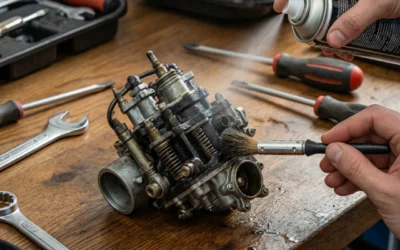
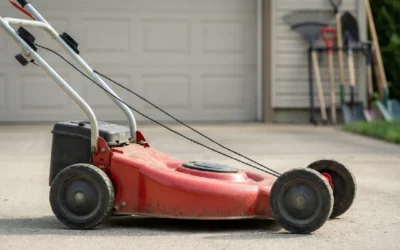
Cleaning a lawn mower gas tank involves draining old fuel, removing the tank from the mower if needed, rinsing it with a cleaning solution such as fresh fuel or a dedicated tank cleaner, and flushing out debris and residue before reinstalling it. For heavy contamination, the tank may need to be removed, scrubbed, and thoroughly dried before reassembly.
When and Why to Clean the Gas Tank
Over time, a lawn mower’s fuel tank can accumulate a surprising amount of contamination. The most common culprits are debris, varnish, and water, each of which enters the tank through different pathways and causes distinct problems.
Debris typically finds its way into the tank through the fuel filler opening. Dust, grass clippings, and small particles can be introduced when you remove the cap to refuel, especially if the area around the opening is dirty. Even tiny amounts of grit can eventually make their way into the fuel line and carburetor, where they can clog jets and restrict fuel flow.
Varnish is a sticky, amber-colored residue that forms when gasoline evaporates and oxidizes. This is most likely to happen when fuel is left sitting in the tank for long periods, particularly during the off-season. As the volatile compounds in the gasoline evaporate, heavier components are left behind, gradually building up into a gummy film on the walls of the tank. Over time, this varnish can flake off and travel into the fuel system.
Water is another common contaminant. It can enter the tank through condensation, which is more likely when the tank is partially full and temperatures fluctuate, or through a loose or damaged fuel cap. Because water is denser than gasoline, it settles at the bottom of the tank, where it can be drawn into the fuel line and cause sputtering, stalling, or hard starting.
Knowing when cleaning is necessary versus when a simple fuel replacement will suffice is important. If you catch the problem early and the tank is merely holding stale fuel, draining it and refilling with fresh gasoline may be enough. However, if you can see visible debris, varnish deposits, or water at the bottom of the tank, or if the mower has been running poorly despite fresh fuel and a clean filter, a thorough tank cleaning is likely required.
As a general rule of thumb, if you can see contamination inside the tank or if the mower exhibits fuel-related performance issues that persist after replacing the fuel, cleaning the tank is the appropriate next step. Regular inspection of the tank interior during routine maintenance can help you catch problems before they become severe.
Safety Precautions Before Cleaning
Working with gasoline demands respect and careful attention to safety. Before you begin any cleaning procedure, take the time to prepare both your workspace and yourself to avoid accidents.
First and foremost, work in a well-ventilated area. Gasoline fumes are flammable and can be harmful to inhale, so an outdoor location or a garage with the doors fully open is essential. Avoid working near open flames, pilot lights, or any source of ignition, and never smoke while handling fuel.
Before cleaning, disconnect the spark plug wire and ground it away from the spark plug. This prevents the engine from accidentally starting while you are working on the fuel system. It is a simple step that eliminates a significant risk.
Draining the fuel is a required safety step before any cleaning. Attempting to clean a tank that still contains gasoline is both dangerous and ineffective, as the cleaning solution will simply mix with the remaining fuel. Drain the old fuel into an approved, clearly labeled container that is designed for gasoline storage. Never drain fuel onto the ground, into a drain, or into an unapproved container.
Wear appropriate personal protective equipment. Nitrile or chemical-resistant gloves will protect your hands from fuel and cleaning solvents, and safety glasses will shield your eyes from splashes. Consider wearing old clothing that you do not mind getting stained, as gasoline and cleaning solutions can damage fabrics.
Keep a fire extinguisher rated for flammable liquid fires within reach, and have a container of absorbent material, such as kitty litter or a commercial spill kit, on hand in case of spills. If you do spill fuel, clean it up immediately and allow the area to air out before continuing.
Finally, be mindful of static electricity. When transferring fuel, keep containers on the ground and avoid creating sparks. Grounding the tank or container during draining can reduce the risk of static discharge, though this is rarely necessary for the small volumes involved in lawn mower maintenance.
Step-by-Step Cleaning Process
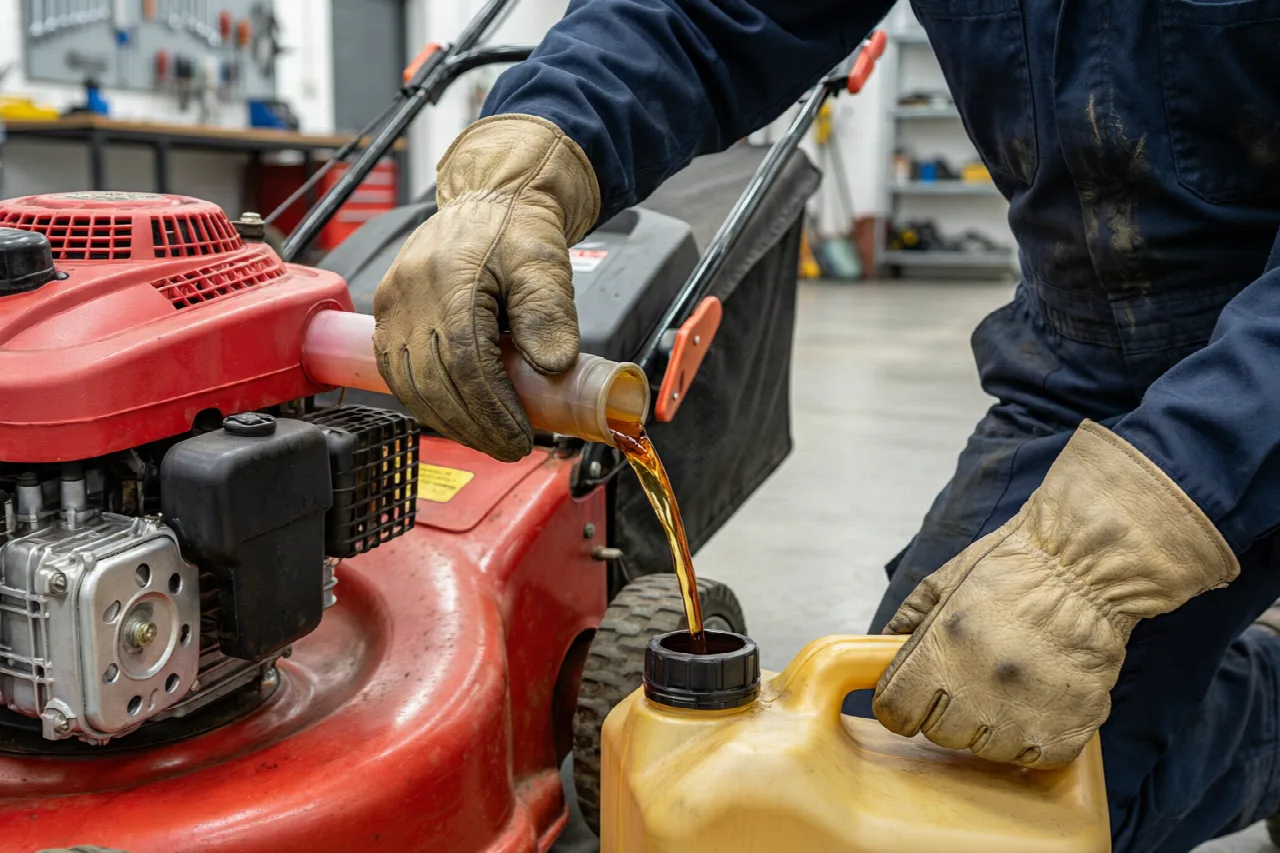
With safety measures in place, you can proceed with the cleaning process. The steps below cover draining, removing, cleaning, and reinstalling the gas tank, and they address whether tank removal is required for your situation.
Draining the Fuel
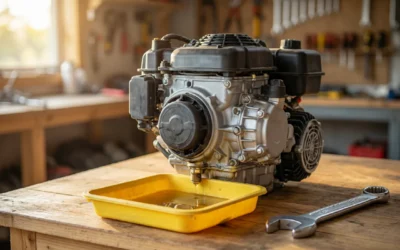
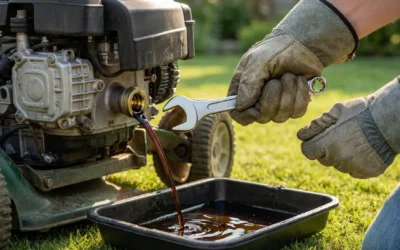
Begin by draining the fuel from the tank. Locate the fuel line where it connects to the carburetor and disconnect it, or use the fuel shutoff valve if your mower is equipped with one. Place your approved container beneath the fuel line or tank outlet and allow the fuel to drain completely. If the tank has a removable cap, removing it can help the fuel flow more freely by allowing air to enter.
For tanks with significant debris or varnish, draining alone will not remove the contamination. You will need to proceed with a more thorough cleaning, which may require removing the tank from the mower.
Deciding Whether to Remove the Tank
Whether you need to remove the gas tank depends on the level of contamination and the design of your mower. For light contamination, such as a small amount of water or a few particles of debris, you may be able to clean the tank in place by rinsing it with fresh fuel or a cleaning solution and draining it out.
For heavy contamination, including visible varnish buildup or a significant amount of debris, removing the tank is the more effective approach. Tank removal gives you full access to the interior, allowing you to inspect it thoroughly and scrub away stubborn deposits. On most walk-behind mowers, the tank is held in place by a few bolts or brackets and is relatively easy to remove. On riding mowers, access may be more involved, and you may need to consult your owner’s manual for specific instructions.
If you are unsure whether removal is necessary, start with an in-place rinse. If the tank does not come clean after one or two rinses, or if you can still see contamination, remove the tank for a more thorough cleaning.
Choosing a Cleaning Solution
Several cleaning solutions can be effective for a lawn mower gas tank. Fresh gasoline is the simplest option and works well for removing light debris and water. Pour a small amount of fresh fuel into the tank, swish it around to dislodge loose particles, and drain it out. Repeat until the drained fuel appears clean.
For varnish and more stubborn residue, a dedicated fuel tank cleaner is often more effective. These products are formulated to dissolve varnish and gum deposits and are available at most auto parts and hardware stores. Follow the manufacturer’s instructions for the correct amount and soak time. Some tank cleaners are designed to be added to fuel and run through the engine, while others are meant for direct application to a drained tank.
For heavy contamination, you may need to physically scrub the interior. After applying a cleaning solution, use a soft brush or a cloth attached to a flexible rod to reach into the tank and scrub away deposits. Avoid using abrasive materials that could scratch the tank’s interior surface, as scratches can create places for future debris to collect.
After cleaning, rinse the tank thoroughly with fresh fuel or clean water, depending on the cleaner you used. If you used a water-based cleaner, ensure the tank is completely dry before reinstalling it, as any remaining water will contaminate the fresh fuel. Allow the tank to air dry fully, or use a clean, lint-free cloth to dry the interior.
Reassembly and Refueling
Once the tank is clean and dry, you can reinstall it and prepare the mower for use. Proper reassembly is essential to prevent leaks and ensure the fuel system functions correctly.
Position the tank back in its mounting location and secure it with the bolts or brackets you removed earlier. Tighten the fasteners to the manufacturer’s specifications, but avoid over-tightening, which can crack the tank or strip the threads.
Reconnect the fuel line to the tank outlet or carburetor, depending on how you disconnected it. Ensure the connection is snug and that any clamps are properly seated. A loose fuel line connection is a common cause of fuel leaks after maintenance.
If your mower has a fuel filter, this is a good time to inspect it. A clogged or dirty fuel filter can undo the benefits of a clean tank by allowing contamination to pass through or by restricting fuel flow. Replace the filter if it appears dirty or if it has been in service for a long time.
Before refueling, double-check that all connections are secure and that the tank is properly mounted. Then, fill the tank with fresh gasoline. Use fuel that is appropriate for your mower’s engine, typically regular unleaded gasoline with an octane rating of 87 or higher. Avoid using fuel that contains more than 10 percent ethanol, as higher ethanol blends can attract moisture and contribute to future contamination.
After refueling, check for leaks. Look around the fuel line connections, the tank outlet, and the tank itself for any signs of fuel seepage. Wipe the area dry and then run the engine briefly, inspecting again for leaks while the engine is running and the fuel system is under pressure. If you notice any leaks, shut off the engine and address the issue before using the mower.
Finally, run the mower for a few minutes to confirm that it starts and runs smoothly. If the mower was previously running poorly due to a dirty tank, it should now run more reliably. If problems persist, there may be additional contamination in the fuel line or carburetor that requires attention.
Common Troubleshooting Questions
Even after a thorough cleaning, you may encounter issues or have questions about preventing future problems. The following points address some of the most common concerns.
Can a Dirty Gas Tank Cause Starting Problems?
Yes, a dirty gas tank can absolutely cause starting problems. Debris, varnish, and water in the tank can be drawn into the fuel line and carburetor, where they can clog jets, block passages, and disrupt the fuel-air mixture. This can result in hard starting, rough idling, stalling, or a complete failure to start. Cleaning the tank removes these contaminants and restores proper fuel flow, which often resolves these issues.
How Do You Prevent Debris from Getting Into the Gas Tank?
Preventing debris from entering the gas tank is largely a matter of good habits and simple maintenance. Always clean the area around the fuel filler opening before removing the cap, so dirt and grass clippings do not fall into the tank. Keep the cap tightly sealed when the mower is not in use. Store the mower in a clean, dry location, and consider covering the fuel tank opening if the mower will be stored for an extended period.
Using a fuel filter is another effective preventive measure. A fuel filter traps debris and contaminants before they can reach the carburetor, protecting the engine from damage. Inspect and replace the fuel filter regularly as part of your maintenance routine.
To prevent varnish buildup, avoid leaving fuel in the tank for long periods. If you will not be using the mower for more than a month or two, drain the tank or add a fuel stabilizer to the gasoline. Fuel stabilizers slow the oxidation process that leads to varnish formation, keeping the fuel fresh for longer.
To minimize water contamination, keep the tank as full as possible during storage. A full tank leaves less room for air, which reduces condensation and the moisture it introduces. Ensure the fuel cap is in good condition and seals properly to keep water out.
Regular maintenance is the best defense against a dirty gas tank. Periodically inspect the tank interior, check the fuel filter, and replace stale fuel promptly. By staying ahead of contamination, you can keep your lawn mower running reliably and avoid the need for frequent, intensive cleanings.