What Is USB BIOS Flashback and Why It Matters
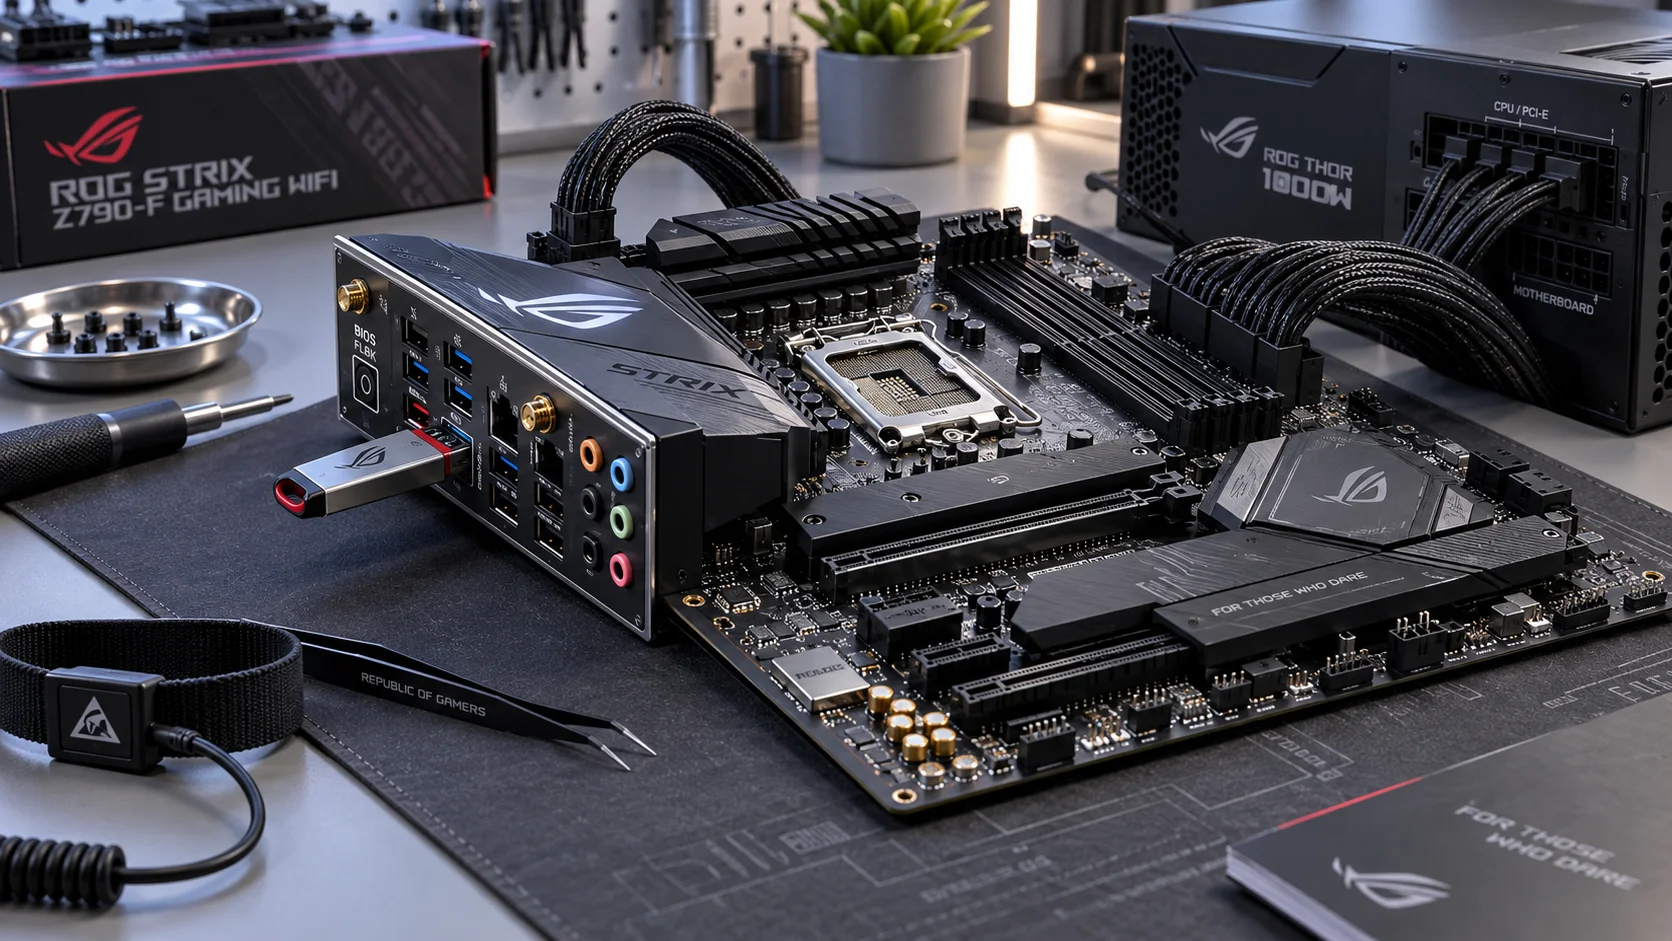
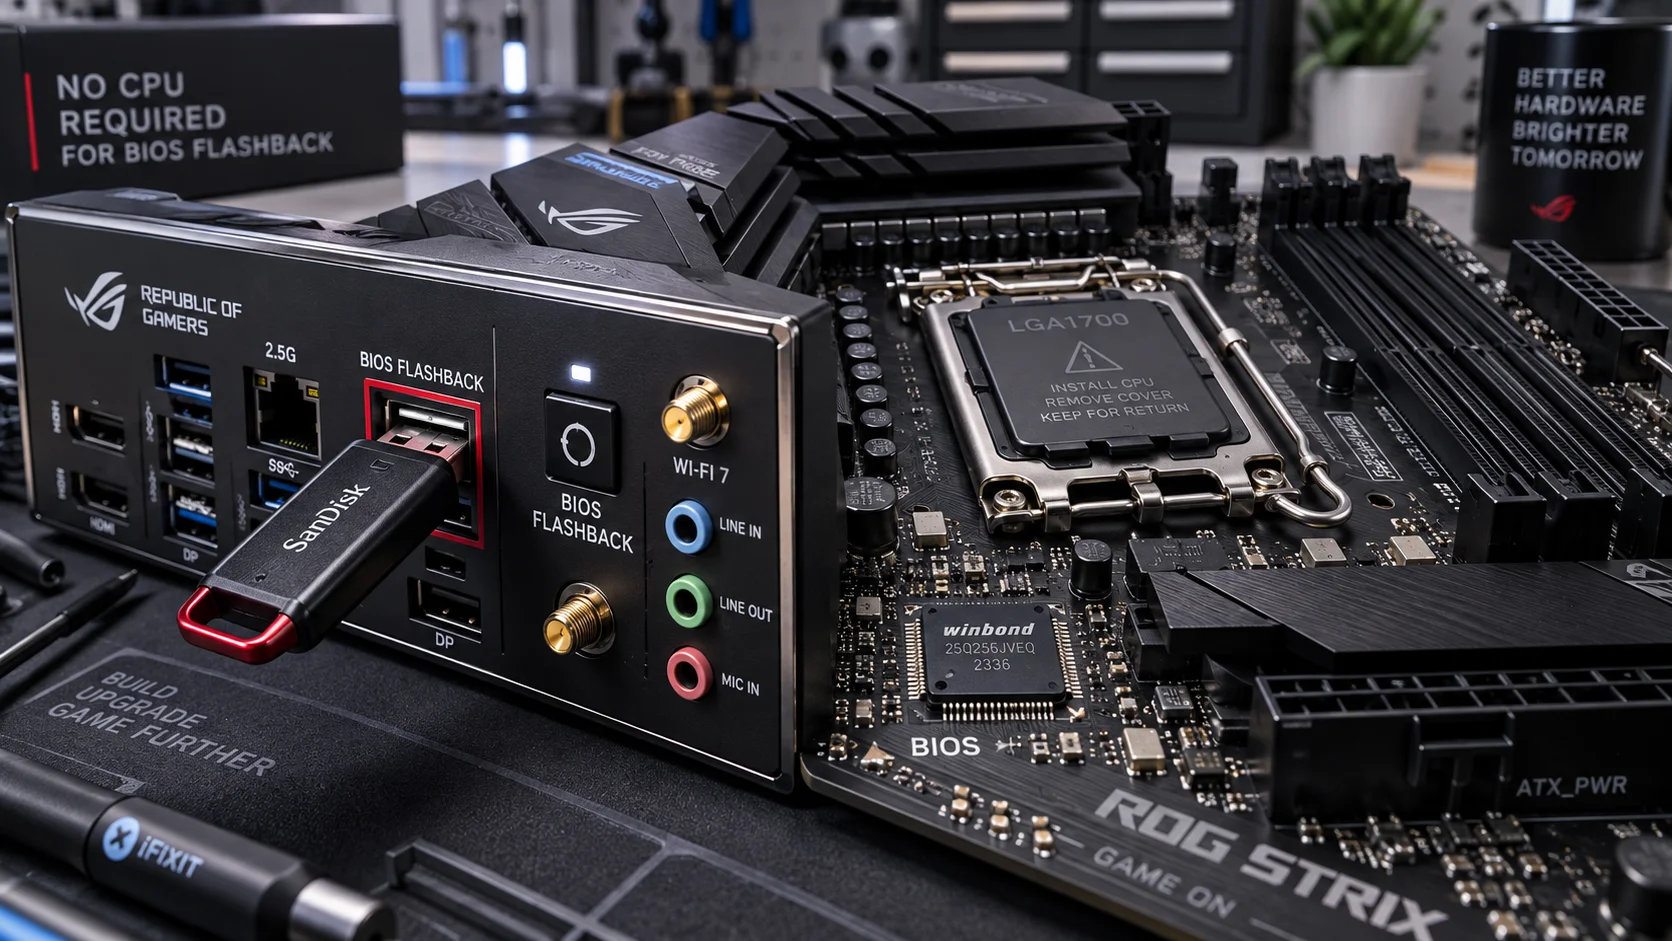
USB BIOS Flashback is an out-of-band firmware update mechanism built into select motherboards from ASUS (BIOS FlashBack), MSI (Flash BIOS Button), Gigabyte (Q-Flash Plus), and ASRock (BIOS Flashback). It uses a dedicated USB controller — powered directly by the 24-pin ATX standby rail — to read a BIOS image from a USB drive and write it to the firmware chip without requiring any other system components to be functional. The CPU socket can be empty, no RAM sticks needed, no discrete GPU required. The board self-programs its own SPI flash chip.
This capability is critical in two real-world scenarios. First, AMD’s AM5 platform and Intel’s LGA 1700/1851 platforms periodically release CPU generations whose microcode is not present in the BIOS shipped with boards manufactured months earlier. A Ryzen 7000-series or 9000-series processor will simply not POST on a board carrying a day-one BIOS. Second, a failed or corrupt BIOS update can leave a board in a state where conventional reflashing through the OS or UEFI shell is impossible. Flashback resolves both without a boot-capable system.
Understanding when and how to use this feature correctly is essential before committing to any high-end platform build, particularly when pairing a new-generation CPU with existing motherboard stock. For related platform compatibility context, see our guide on PCIe 5.0 compatibility — new CPUs and motherboards bring slot-level changes that also require BIOS awareness.
Motherboard Flashback Feature Comparison by Manufacturer
| Feature | ASUS FlashBack | MSI Flash BIOS Button | Gigabyte Q-Flash Plus | ASRock BIOS Flashback |
|---|---|---|---|---|
| CPU Required | No | No | No | No |
| RAM Required | No | No | No | No |
| GPU Required | No | No | No | No |
| Dedicated USB Port | Yes (labeled, rear I/O) | Yes (labeled, rear I/O) | Yes (labeled, rear I/O) | Yes (labeled, rear I/O) |
| Required File Name | Board-specific (e.g., XXXXX.CAP) |
MSI.ROM |
GIGABYTE.bin |
Board-specific .ROM |
| USB Format Required | FAT32 | FAT32 | FAT32 | FAT32 |
| Trigger Mechanism | Dedicated button (rear I/O) | Dedicated button (rear I/O) | Dedicated button (rear I/O) | Dedicated button (rear I/O) |
| Flash Progress Indicator | Blinking LED | Blinking LED | Blinking LED | Blinking LED |
| Approximate Flash Time | 3–8 minutes | 3–8 minutes | 4–10 minutes | 3–8 minutes |
| Dual BIOS Chip Support | Select models only | Select models only | Yes (most boards) | Select models only |
Prerequisites Before You Begin
Executing a BIOS Flashback incorrectly can render the board unbootable, particularly if power is interrupted mid-flash. Gather everything below before touching hardware.
- Correct BIOS file: Download from the official manufacturer support page for your exact board model and revision. Board revision numbers (v1.0, v1.1, v2.0) matter — the wrong file for the wrong PCB revision can brick the board.
- USB drive, 16 GB or smaller: Some boards do not recognize drives larger than 32 GB. Use a drive no larger than 32 GB. Avoid USB 3.2 Gen 2 or USB4 drives — compatibility is most reliable with USB 2.0 or USB 3.2 Gen 1 sticks.
- FAT32 formatting: Format the drive as FAT32 with 4096-byte allocation units. Do not use exFAT or NTFS — the board’s embedded controller cannot address these file systems.
- Stable 24-pin power supply connection: The PSU must be plugged into the board and switched on at the wall. The Flashback process runs on the +5VSB standby rail. No need to press the power button.
- Uninterruptible power recommended: If mains power is unreliable, connect the PSU to a UPS. A power drop during the SPI write cycle produces a corrupt flash that may not be recoverable without a chip programmer.
- Manufacturer’s file-naming documentation: Consult the board’s manual — PDF available on the support page — to confirm the exact required filename and file extension before copying the file to the USB drive.
Step-by-Step: How to Update Motherboard BIOS with USB BIOS Flashback
Step 1 — Identify Your Exact Board Model and Required BIOS Version
Navigate to your motherboard manufacturer’s official support page. Enter the full board model name including revision. Cross-reference the CPU support list (CPU QVL or CPU compatibility list) to confirm which BIOS version adds support for your target processor. AMD publishes processor launch schedules and compatible firmware version numbers via the AMD support portal — verify the minimum BIOS version required for your specific Ryzen SKU there before downloading any file.
Step 2 — Download the Correct BIOS File
From the board’s support page, download the BIOS update package to a working computer. Extract the archive — manufacturers typically ship the BIOS image inside a ZIP or RAR container. Locate the raw firmware file: it will carry an extension such as .CAP, .ROM, .BIN, or a numeric extension depending on the vendor. Do not rename the file yet.
Step 3 — Format the USB Drive as FAT32
On Windows, open Disk Management or use the command prompt. Right-click the USB volume and select Format. Choose FAT32 and set allocation unit size to 4096 bytes. On Linux, run:
sudo mkfs.vfat -F 32 -s 8 /dev/sdX
Substitute /dev/sdX with the correct device node. Confirm with lsblk before executing. On macOS, use Disk Utility, select MS-DOS (FAT) as the format, and GUID Partition Map as the scheme.
Step 4 — Rename the BIOS File Per Board Requirements
This step is non-negotiable. The embedded Flashback controller searches the USB root directory for a file with a specific, hardcoded name. Common required filenames by vendor:
- ASUS: The required filename is printed in the board manual and on the ASUS support page — it is typically the board model number followed by
.CAP, e.g.,PROART-X670E-CREATOR.CAP. ASUS also provides a BIOSRenamer utility that automates this step. - MSI: Rename to
MSI.ROMexactly, all caps, no variation. - Gigabyte: Rename to
GIGABYTE.bin(lowercase.bin). - ASRock: Consult the manual — the filename is typically the board model name with a
.ROMextension.
Copy the renamed file to the root directory of the FAT32 USB drive. Do not place it inside any folder.
Step 5 — Connect Power and Insert the USB Drive
Ensure the 24-pin ATX power connector is seated on the motherboard and the PSU is switched on at the rear. Do not press the system power button. Locate the dedicated Flashback USB port on the rear I/O panel — it is physically labeled “BIOS,” “FlashBack,” or “Flash BIOS” depending on the manufacturer, and is often highlighted in a different color (white or orange) from standard USB ports. Insert the USB drive into that port exclusively. Inserting the drive into any other port will produce no result.
Step 6 — Initiate the Flashback Process
Locate the Flashback button on the rear I/O panel. Press and hold it for approximately three seconds until the indicator LED begins to blink. On ASUS boards the LED blinks at a steady rate; on MSI boards it may blink in a different pattern. The blink confirms the controller has detected the BIOS file and has begun the erase-and-write cycle.
Do not touch the board, USB drive, or PSU switch during flashing. Do not remove the USB drive. Do not cycle power.
Step 7 — Confirm Completion and Verify
When the flash is complete, the LED either stops blinking and goes dark, or turns to a solid state, depending on the board. The process typically completes within 3 to 10 minutes. After the LED stops blinking, switch off the PSU, install your CPU, RAM, GPU, and storage. Power on and enter the UEFI setup (typically by pressing Delete or F2 at POST). Navigate to the version or system information section to confirm the BIOS version string matches the version you flashed.
Once inside the UEFI, load optimized defaults before proceeding. New BIOS versions frequently alter memory training algorithms, AGESA versions, and power delivery tables. Carrying over old settings — particularly if XMP/EXPO profiles were active — can cause instability. After enabling XMP or EXPO, validate stability with a memory stress test. For a full explanation of how memory speed and latency interact post-BIOS, read our detailed guide on RAM speed and timings.
Common Failure Points and How to Diagnose Them
LED Does Not Blink After Holding the Button
The three most common causes are an incorrectly named file, the file placed in a subfolder instead of the USB root, or the drive formatted as exFAT/NTFS. Reformat, rename, and retry. If the LED still does not respond, try a different, smaller-capacity USB drive — drives above 32 GB are frequently rejected.
LED Blinks Then Stops Prematurely
This indicates the controller read the file but encountered a validation failure — typically a checksum mismatch caused by a corrupted download or the wrong BIOS file for the board revision. Re-download the BIOS file and verify its MD5 or SHA256 hash against the value published on the support page before retrying.
System Does Not POST After Successful Flash
Load UEFI optimized defaults before attempting to boot into the OS. A BIOS update can alter CPU power limits, memory compatibility tables, and PCIe link speed negotiation. If you are also installing a new CPU, confirm that the newly flashed BIOS version appears in the board’s CPU support list. Equally, confirm CPU cooler seating — new AGESA versions sometimes change peak power excursion behavior at boot, which can cause thermal shutdowns if the cooler mount has shifted. Review thermal paste application technique and re-seat the cooler if temperatures spike at POST. Once stable, monitor sustained operating temperatures against the limits described in our CPU temperature limits guide.
OS Instability After BIOS Update
GPU driver stacks are sensitive to BIOS-level changes in PCIe link configuration and power delivery. If the system crashes or exhibits graphical artifacts after a BIOS update, perform a clean GPU driver reinstall using DDU. The full procedure is covered in our GPU driver clean install guide.
When Not to Use BIOS Flashback
Flashback is the right tool when the CPU is incompatible with the current BIOS, when the BIOS is corrupt, or when no functional system exists to perform an in-OS update. It is not the right tool when a system is otherwise functional and the BIOS update provides no meaningful benefit for your hardware configuration. Every firmware update carries a non-zero brick risk. Unless the release notes document a fix for an issue you are actively experiencing — CPU compatibility, memory training regression, security patch, critical bug — running the current stable BIOS is the lower-risk posture. BIOS updates do not improve performance in the majority of cases; they address specific silicon errata, microcode revisions, and compatibility gaps.
Platform-Specific Notes for Intel and AMD Systems
On Intel LGA 1700 and LGA 1851 platforms, BIOS Flashback is present on Z690, Z790, Z890, and select B-series boards. Intel’s Evo and vPro platform specifications document minimum firmware requirements for feature sets including Thunderbolt and Intel ME firmware versions. Cross-check the board manual against Intel’s platform documentation when updating for security-related reasons.
On AMD AM4 and AM5, BIOS Flashback is particularly important because AMD’s multi-generational socket strategy — AM4 supported four CPU generations — means boards manufactured during the Zen 2 era require a BIOS update to support Zen 3 or Zen 3D cache processors. AM5 is projected to carry forward through Zen 5 and beyond, making Flashback an ongoing operational requirement for builders using existing board stock with new CPUs.
Gigabyte’s Q-Flash Plus additionally supports updating the Intel ME firmware and EC firmware on select boards, making it a more comprehensive out-of-band tool than competitors’ implementations on certain platforms. Verify board-specific capabilities in the product manual before relying on this extended functionality.
Summary
USB BIOS Flashback is a deterministic, hardware-level mechanism that eliminates the CPU and OS dependency from the BIOS update process. Executed correctly — correct file, correct name, FAT32 drive, dedicated port, uninterrupted power — it is reliable and repeatable. The failure modes are almost entirely procedural: wrong filename, wrong port, wrong file format, or wrong board revision. Resolve those variables before initiating the flash and the process is straightforward. It is one of the most valuable features on a modern motherboard and should be a non-negotiable selection criterion when building a platform that will span multiple CPU generations.