

Direct Answer: Sharpen Every 20–25 Hours of Use
Sharpen mower blades every 20–25 hours of use, or at a minimum once per mowing season before the first cut. If the blade strikes a rock, root, or hard debris at any point, inspect and sharpen immediately — a single hard impact can nick a blade enough to compromise cut quality regardless of how recently it was sharpened.

Pros
- Large-size design named in product title
- Sharpening and balancing functions listed
- Listed as a new upgraded version

Pros
- Adjustable 15-to-45-degree range in title
- Sharpening and balancing functions listed

Pros
- Sharpener and balancer functions in title
- 15-to-45-degree adjustable setting listed
- Built for lawn mower blade maintenance
Pros
- Includes replacement gaskets and a 98079-55846 spark plug
- Matches Honda HRR216 and HRS216 lawn mower models
- Designed around the 16100-Z8B-901 carburetor specification
Cons
- Restricted to select Honda GCV160 mower applications
- Installation requires basic mechanical tools and skills
The Universal Rule: Every 20–25 Hours of Use
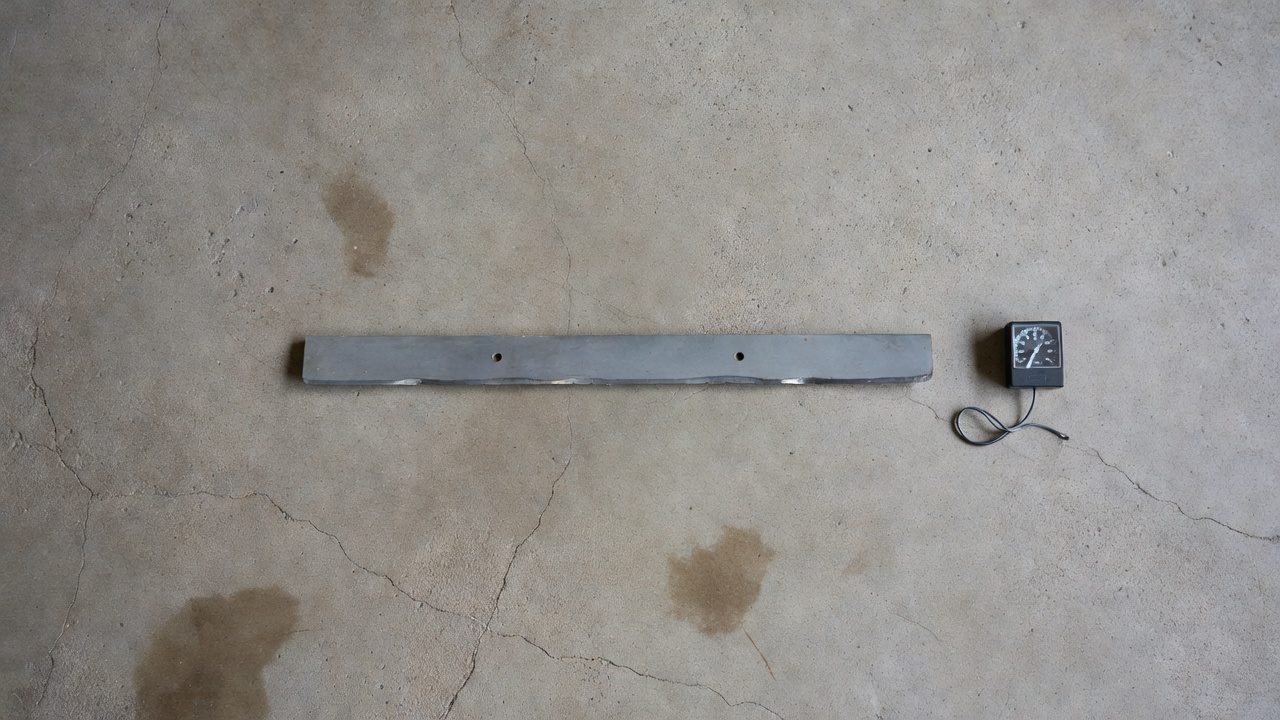
Most mower manufacturers and cooperative extension services align on the same baseline: 20–25 hours of runtime between sharpenings. For a homeowner mowing a typical residential lot once per week for 45 minutes, that translates to roughly every 25–30 mowing sessions — or approximately once per season for small yards and two to three times per season for larger properties.
The hour-based rule exists because blade wear is a function of time under load, not calendar days. A blade run for 20 hours over two weeks dulls at the same rate as one run for 20 hours over two months. Tracking actual runtime with a hourmeter — available as a low-cost add-on for most walk-behind and riding mowers — removes guesswork from the maintenance schedule entirely. To compare alternative configurations, check our hands-on review of jbl partybox club 120 vs sony srs xv500.
- Small yards (under 5,000 sq ft): Once per season typically meets the 20–25 hour threshold.
- Medium yards (5,000–10,000 sq ft): Once mid-season plus once at season start covers most cases.
- Large yards (over 10,000 sq ft or 0.25 acre+): Two to three times per season is standard.
How Mower Type Changes the Sharpening Frequency
Mower design affects both how quickly blades dull and how sharpening is performed. The 20–25 hour rule applies most directly to rotary mowers — the most common residential type — but reel and zero-turn mowers operate under different parameters. To compare alternative configurations, check our hands-on review of jbl partybox club 120 vs sony srs xv500.
Rotary Mowers
Rotary mowers spin a single horizontal blade at high speed, relying on impact force to sever grass. That mechanism generates significant edge wear. The 20–25 hour interval is the accepted standard for rotary blades under normal conditions (University of Minnesota Extension, lawn mower maintenance guidelines). Any nick from debris shortens that interval immediately.
Reel Mowers
Reel mowers use a scissor-cutting action between a rotating cylinder of blades and a fixed bedknife. Because precision contact between the reel and bedknife drives cut quality, reel blades require more frequent attention than rotary blades — professional turf managers sharpen reel mowers as often as daily to weekly on golf courses, while residential reel mower owners typically need sharpening (backlapping or full regrind) every 1–3 seasons depending on use intensity. Manufacturer specifications from brands such as Fiskars and McLane recommend inspecting reel-to-bedknife contact at the start of every season. Users looking for related component recommendations can explore our z890 vs x870e motherboard breakdown.
Zero-Turn Mowers
Zero-turn mowers use rotary blade decks — often twin or triple blades — covering larger cutting widths and accumulating runtime faster than walk-behind units. A homeowner running a zero-turn on a one-acre property may reach 20–25 hours of blade time within four to six weeks during peak mowing season. Sharpening frequency should be tracked by hourmeter, not by season. Blade tip speed on zero-turns is also higher, which can accelerate edge dulling on abrasive terrain.
Factors That Make You Sharpen More — or Less — Often
The 20–25 hour baseline assumes clean, established turf on obstacle-free, loamy soil. Several real-world conditions push that interval shorter — and a few allow it to stretch slightly longer. Before finalizing equipment decisions, refer to our comprehensive marshall stanmore iii vs harman kardon onyx studio 8 comparison.
Rocky or Root-Dense Terrain
Rocks, exposed roots, and gravel paths are the fastest blade-dullers in residential mowing. Each strike removes metal from the cutting edge and can introduce nicks or gouges that create an uneven cut across the full blade width. On rocky terrain, inspect blades every 10–15 hours rather than waiting for the full 25-hour mark.
Sandy or Gritty Soil
Sandy soil particles function as a mild abrasive against the blade edge during every pass. Lawns on sandy coastal soils or in arid regions with gritty topsoil experience measurably faster edge wear than lawns on dense clay or loam. Lawn equipment maintenance authorities note that sandy conditions can cut effective blade life by 30–40%, pushing the practical sharpening interval down to 15–18 hours. For broader ecosystem context, read through our operational guide on dyson v8 cyclone vs bissell featherweight stick.
Lawn Size and Mowing Frequency
Larger lawns accumulate hours faster. A property requiring 90 minutes per mow hits 20 hours in roughly 13 sessions. A property requiring 30 minutes per mow reaches the same threshold after 40 sessions — potentially an entire season for weekly mowing schedules. Calibrate expectations to actual runtime, not session count.
Grass Type
Coarse-bladed grasses such as St. Augustine and Zoysia create more resistance against the blade than fine-bladed varieties like creeping fescue. High-resistance grass species contribute to faster edge dulling, particularly during summer months when grass is growing densely. For troubleshooting and reliability insights, consult our in-depth bissell crosswave hydrosteam vs shark stainforce report.
Conditions That Allow a Longer Interval
- Established turf on clean, loamy soil with no obstacles
- Fine-bladed, low-density grass species
- Infrequent mowing (every 10–14 days) that limits total runtime
- Newly sharpened high-quality blades (hardened steel holds an edge longer than economy blades)
Visual Signs Your Mower Blade Is Dull Right Now
Most homeowners do not track mowing hours. Recognizing the visible signs of a dull blade allows sharpening decisions based on observed lawn condition — a reliable proxy for the hour-based rule. Inspect the lawn within 24 hours of mowing for these indicators.
Torn or Ragged Grass Tips
A sharp blade severs grass cleanly. A dull blade tears it. Torn grass tips are the most consistent visual indicator of a dull cutting edge. Get close to the lawn surface and examine individual grass blades — frayed, fibrous tips rather than clean transverse cuts confirm the blade needs sharpening. According to turfgrass science research from Purdue University Extension, torn grass tips create open wounds that increase susceptibility to fungal diseases including brown patch and dollar spot, making this a lawn health issue, not merely an aesthetic one.
Brown Lawn Edges After Mowing
Torn grass tips desiccate and brown within 24–48 hours of mowing. A lawn that looks brown or straw-colored across the top layer the day after cutting — not just at the mowing height transition — indicates widespread tearing from a dull blade. This symptom is commonly misdiagnosed as drought stress or disease.
Uneven or Streaky Cut Height
Nicks and gouges along the blade edge create zones where grass is missed entirely or cut at different heights than the rest of the pass. Visible streaks of taller grass running parallel to the mowing direction are a reliable sign of a nicked or unevenly worn blade.
Mower Working Harder Than Usual
A dull blade requires more engine effort to move through grass. If a walk-behind mower loses forward momentum in normal-height grass, or a riding mower shows a noticeable RPM drop when entering dense sections it previously handled easily, blade condition is the first item to inspect before diagnosing engine or drive issues.
Quick Dullness Checklist
- Ragged, frayed grass tips visible on close inspection
- Lawn surface looks brown or straw-colored 24 hours after mowing
- Uneven cut with visible streaks of taller grass
- Engine straining in grass it previously cut easily
- Visible nicks, gouges, or a rolled edge on the blade itself
When to Sharpen Immediately (The Impact Inspection Rule)
Any contact between a mower blade and a hard object — rock, root, curb, buried irrigation head, fence post — triggers mandatory inspection before the next mowing session. This rule is non-negotiable regardless of when the blade was last sharpened.
A rotary blade spinning at 3,000 RPM carries significant kinetic energy. A single strike against a solid object can introduce a nick deep enough to create vibration, alter blade balance, and produce a poor cut across the entire blade width. More critically, a structurally compromised blade carries a safety risk: stress fractures from impact can cause catastrophic blade failure during subsequent use. Mower manufacturer safety documentation (including Husqvarna and Toro operator manuals) universally instructs operators to stop, disengage the blade, and inspect after any contact with hard objects.
Post-Impact Inspection Steps
- Disconnect the spark plug wire (or remove the battery on electric mowers) before touching the blade.
- Tilt the mower safely per manufacturer instructions and inspect the full blade length.
- Look for visible nicks deeper than 1–2 mm, bent sections, or a rolled cutting edge.
- Check that the blade is still straight — a warped blade causes vibration that damages spindle bearings over time. Equipment safety guidance from mower manufacturers notes that a bent or unbalanced blade can cause premature bearing failure and excessive deck vibration.
- If any damage is found: sharpen (if minor nicks), balance after sharpening, or replace if bent or cracked.
DIY Sharpening vs. Professional Sharpening: Which Should You Choose?
Both approaches produce a sharp blade when executed correctly. The decision depends on available tools, comfort with power equipment, and how much time is worth the cost savings.
DIY Sharpening
DIY blade sharpening is a viable option for most homeowners. The minimum equipment needed is a file or angle grinder with a grinding disc, a blade removal tool or breaker bar, and a blade balancer (a cone-shaped or magnetic tool costing under $10). The process takes 15–30 minutes per blade once familiar with it.
The critical step that DIY sharpeners most often skip is blade balancing. An unbalanced blade vibrates at high speed, transferring stress directly to the spindle bearings. According to mower manufacturer guidance, even moderate imbalance accelerates bearing wear and can damage the spindle housing over multiple mowing seasons. After grinding, always check balance on a balancer before reinstalling.
DIY sharpening is best suited to blades with minor dulling and no structural damage. Severely nicked, bent, or thinned blades (from repeated sharpening) should be replaced rather than ground further.
Professional Sharpening
Professional sharpening at a small-engine shop or hardware store typically costs $5–$15 per blade. The service usually includes grinding to the correct bevel angle, balancing, and a basic inspection for cracks or structural issues. For reel mowers, professional backlapping or regrinding is strongly recommended because achieving the precise reel-to-bedknife contact alignment at home requires specialized equipment.
Professional sharpening is worth the cost if: the blade is heavily nicked (requiring significant material removal), the operator is uncomfortable removing or handling the blade, or the mower runs multiple blades (zero-turn triple-deck) where balancing consistency across all blades matters for vibration management.
When to Replace Instead of Sharpen
- Blade is bent or warped — sharpening does not correct geometry
- Visible cracks anywhere on the blade — a safety risk; replace immediately
- Blade has been sharpened to the point where the cutting edge is thinner than the manufacturer’s minimum thickness (check operator manual)
- Significant chunks of metal missing from a hard impact that grinding cannot fully restore
Building a Seasonal Blade Sharpening Schedule
Readers who think in seasons rather than hours can map the 20–25 hour interval onto a reliable three-point annual schedule. The two framings are compatible — the seasonal schedule is simply a practical approximation of the hour-based rule for typical residential use patterns.
| Schedule Point | When | Action |
|---|---|---|
| Start of Season | Before first mow of the year | Sharpen, balance, and inspect for winter storage damage. Replace if bent or cracked. |
| Mid-Season | After 10–12 weeks of regular mowing (or at visible dullness signs) | Sharpen if runtime exceeds 20 hours or lawn shows torn-tip symptoms. Mandatory if blade struck any hard object. |
| End of Season | After final mow before winter storage | Optional but recommended — storing a sharp blade prevents rust pitting on the edge and simplifies spring preparation. |
For large properties or mowers with high weekly runtime, add a second mid-season sharpening at week 6–7 to maintain consistency across the full mowing season. The start-of-season sharpening is the single most impactful maintenance step for homeowners who currently do nothing — a sharp blade on the first cut sets a healthier trajectory for the entire season’s lawn condition.
Frequently Asked Questions About How Often Should You Sharpen Mower Blades
Is sharpening mower blades once per season enough?
For small yards (under 5,000 sq ft) mowed once per week with no rocky terrain, once per season often meets the 20–25 hour threshold. Larger yards, sandy soil, or obstacle-dense lawns require two to three sharpenings per season. Use visible lawn symptoms — torn tips, brown edges, uneven cut — as a reliable check between scheduled sharpenings.
How do I know if my mower blade is dull without tracking hours?
Inspect the lawn surface 24 hours after mowing. Ragged or frayed grass tips (not a clean transverse cut), a brown or straw-colored lawn surface, and streaky uneven cut height are the three most consistent visual indicators of a dull blade. Confirmed by close-up inspection of individual grass blades near the mowing height.
Should I sharpen my mower blade after hitting a rock?
Yes — inspect immediately and sharpen if any nick, rolled edge, or surface damage is found. Disconnect the spark plug wire first, then examine the full blade length for nicks deeper than 1–2 mm, warping, or cracks. A bent or cracked blade must be replaced, not sharpened. Do not mow again before completing this inspection.
How much does it cost to have a mower blade professionally sharpened?
Most small-engine shops and hardware stores charge $5–$15 per blade, including grinding to the correct bevel angle and balancing. Reel mower sharpening (backlapping or full regrind) costs more — typically $20–$50 — due to the precision required to set reel-to-bedknife contact correctly. Blade replacement, when needed, runs $15–$40 for standard rotary blades depending on mower model.
For more hands-on benchmarks and buying recommendations, consult our guides on residential zero-turn lawn mower guide, as well as high-CFM commercial leaf blower guide, as well as automated robotic lawn mower guide.
Mechanical safety standards, operational tolerances, and protective gear guidelines align with benchmark specifications established by the American National Standards Institute (ANSI).









