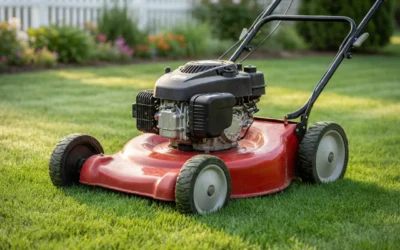
A clean fuel tank is essential for reliable lawn mower operation. Over time, old gasoline breaks down into varnish and sediment, fuel residue accumulates, and metal tanks develop rust—all of which can clog the carburetor, restrict fuel flow, and prevent the engine from starting or running smoothly. Learning to clean your lawn mower fuel tank safely restores performance and extends the life of your equipment. This guide walks you through the complete process, from draining old fuel to drying and reinstalling the tank.
Safety Precautions Before You Start
Before touching your fuel tank, establish a safe working environment. Gasoline is highly flammable, and old fuel vapors can ignite if exposed to heat, sparks, or an open flame. Work outdoors or in a well-ventilated garage with all doors open. Turn off any pilot lights, heaters, or ignition sources, and avoid using power tools that generate sparks nearby.
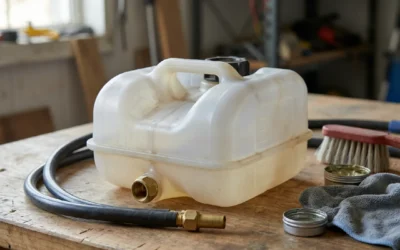
Drain old fuel into a metal container approved for gasoline storage. Never pour gasoline down a drain, into soil, or into storm drains—it contaminates water supplies and is illegal in most areas. Contact your local waste disposal facility or gas station to learn where to dispose of old fuel safely. Many stations accept used gasoline at no charge.
Wear nitrile gloves to protect your skin from fuel and cleaning agents. If you have respiratory sensitivity, wear a dust mask or respirator rated for organic vapors. Keep a fire extinguisher rated for flammable liquid fires (Class B) nearby, and never work alone when handling fuel.
Step-by-Step Cleaning Procedure
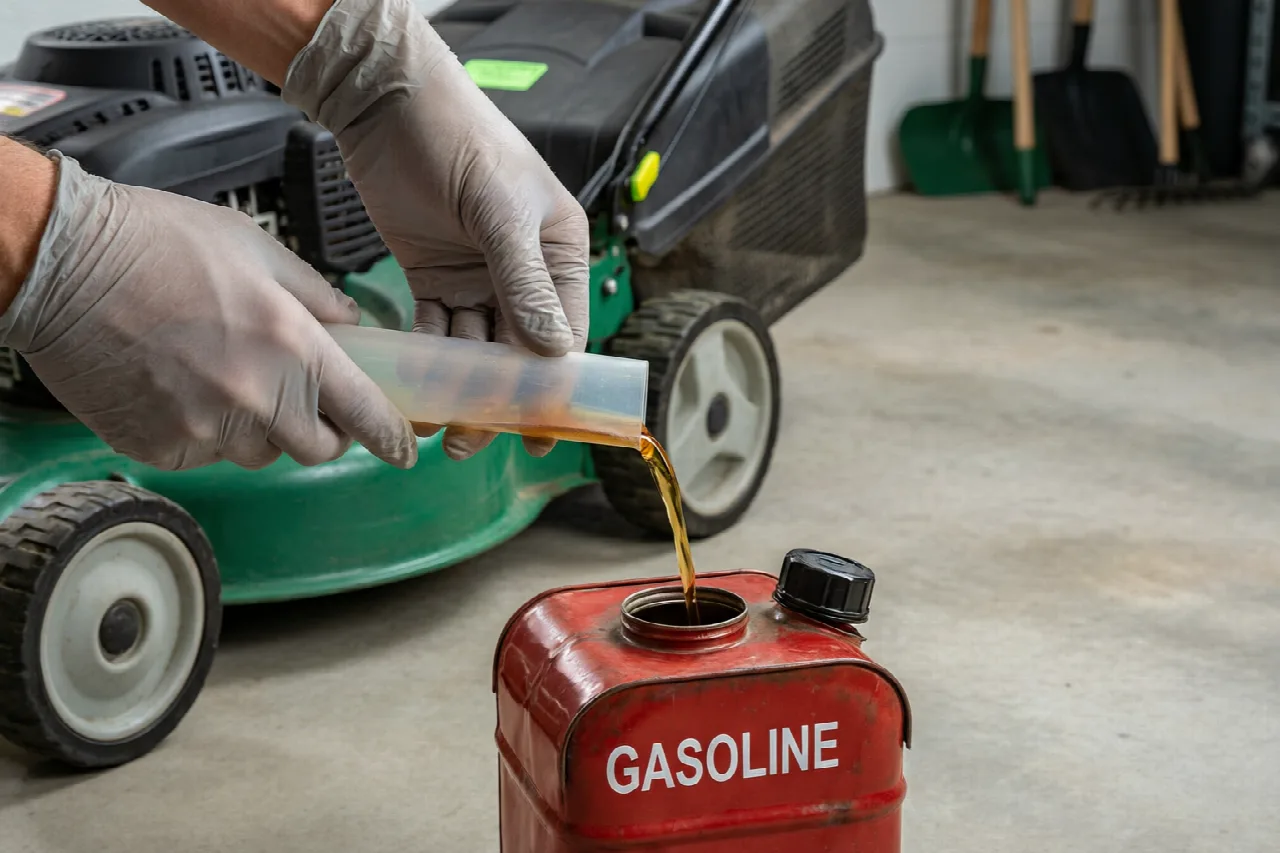
Begin by locating the fuel drain plug or shutoff valve on your mower’s fuel line. Consult your mower’s manual for the exact location, as it varies by model. Place your metal container beneath the drain point, open the valve or remove the plug, and allow all old fuel to drain completely. This step may take several minutes. Once drainage stops, reinstall the plug or close the valve to prevent air from entering the tank during cleaning.
If your tank is removable, disconnect the fuel line by loosening the hose clamp with a wrench or screwdriver, then lift the tank clear of the mower. For fixed tanks, you can still clean them in place, though removal gives you better access and control. If removal requires disconnecting electrical components or complex fuel lines, refer to your manual to avoid damaging sensors or carburetors.
Fill the tank one-third full with your chosen cleaning agent. For plastic tanks and general fuel residue, warm soapy water works effectively—use a few drops of dish soap mixed with warm water. For metal tanks with visible rust or stubborn varnish, white vinegar or a commercial rust-removal product designed for fuel tanks penetrates corrosion more effectively than soap alone. Some users prefer specialized fuel-tank cleaning products available at auto-parts stores, which are formulated to dissolve varnish without harming tank materials.
Add a handful of small, clean pebbles or gravel to the tank. The agitation created by moving these stones physically dislodges deposits, rust flakes, and sediment from the tank walls and bottom. With the tank sealed (either in your hands or reinstalled), shake vigorously for 3–5 minutes. If the tank is portable, hold it horizontally and rotate it in all directions to ensure the stones reach every surface. The combination of chemical cleaning and mechanical agitation is far more effective than either method alone.
Drain the dirty mixture into your metal container. Repeat the agitation process two or three times with fresh cleaning agent until the water or vinegar drains clear and no visible debris remains. This ensures all rust particles, varnish, and sediment are removed.
Drying and Reinstallation
After the final rinse, the most critical step is complete drying. Any water or moisture left inside the tank will cause carburetor clogging, fuel-line corrosion, and engine performance problems. If your tank is removable, tilt it to drain any pooled water from the lowest point. Stand the tank upright in a warm, well-ventilated location and let it air-dry for at least 24 hours. You can accelerate the process by using a hair dryer on low heat, directing warm air into the filler opening and fuel line ports for 10–15 minutes. Ensure all moisture evaporates completely—if droplets are still visible inside after air-drying, continue drying before reinstalling.
Once the tank is completely dry, reinstall it by reversing your removal steps. Reconnect the fuel line and tighten the hose clamp securely to prevent leaks. If your mower has a fuel shutoff valve, open it. Refill the tank with fresh gasoline appropriate for your mower’s engine—typically regular unleaded. Check all connections for leaks by running the mower briefly over a concrete surface and inspecting for drips.
Plastic vs. Metal Tank Considerations
Plastic fuel tanks require gentler cleaning methods than metal tanks. Avoid abrasive scrubbing or harsh solvents that can crack or weaken plastic. Warm soapy water or mild vinegar solutions are safe for plastic. Never use steel wool, wire brushes, or scouring pads on the inside of a plastic tank. If your plastic tank shows hairline cracks or leaks, it may need replacement rather than cleaning, as plastic tanks are not easily repaired.
Metal tanks tolerate more aggressive cleaning. White vinegar is safe and effective for dissolving rust without harming the metal. For stubborn rust, a commercial rust-removal solution or a mixture of white vinegar and baking soda creates a paste that adheres to corroded areas. Allow the paste to sit for 30–60 minutes before agitating with stones and rinsing thoroughly. Some metal tanks develop small rust spots that do not penetrate the wall; these are cosmetic and do not require replacement. However, if rust has created holes or large pit areas, the tank should be replaced to prevent fuel leaks.
Preventive Maintenance Tips
Preventing fuel tank buildup is easier than cleaning after damage occurs. If your mower sits unused for more than a month, drain the fuel tank or add a fuel stabilizer to the existing gasoline. Fuel stabilizer slows the breakdown of gasoline and prevents varnish from forming during storage. Pour the recommended amount into the tank, run the mower for 10 minutes to circulate the stabilizer through the fuel system, then store the mower in a dry location.
For mowers stored over winter or during extended off-seasons, consider draining the tank entirely rather than relying on stabilizer alone. An empty tank avoids all varnish buildup and corrosion. Before storing, run the mower until the fuel line is empty, then store it in a cool, dry place. This approach requires refilling with fresh fuel before the next season, but many users find it the most reliable way to avoid fuel-related starting problems in spring.
Use fresh gasoline every season. Gasoline older than 30 days begins breaking down; fuel older than 90 days develops significant varnish. If you buy more fuel than your mower consumes in a season, store the excess in an approved fuel container with a tight-fitting lid, kept in a cool location away from sunlight. Sunlight accelerates fuel degradation and increases evaporation loss.