Quick Answer: How to Test a Lawn Mower Spark Plug
Remove the spark plug from the engine using a spark plug socket wrench, then inspect it visually for cracks, carbon buildup, or electrode damage. Check the electrode gap with a feeler gauge — most lawn mower engines require a gap between 0.020 and 0.030 inches (0.5–0.76 mm). Finally, perform a spark test by reconnecting the plug to its wire, grounding the plug body against the engine block, and pulling the starter cord: a strong blue spark indicates a functional plug; a weak orange spark or no spark means the plug needs cleaning or replacement.
Why Test Your Lawn Mower Spark Plug?
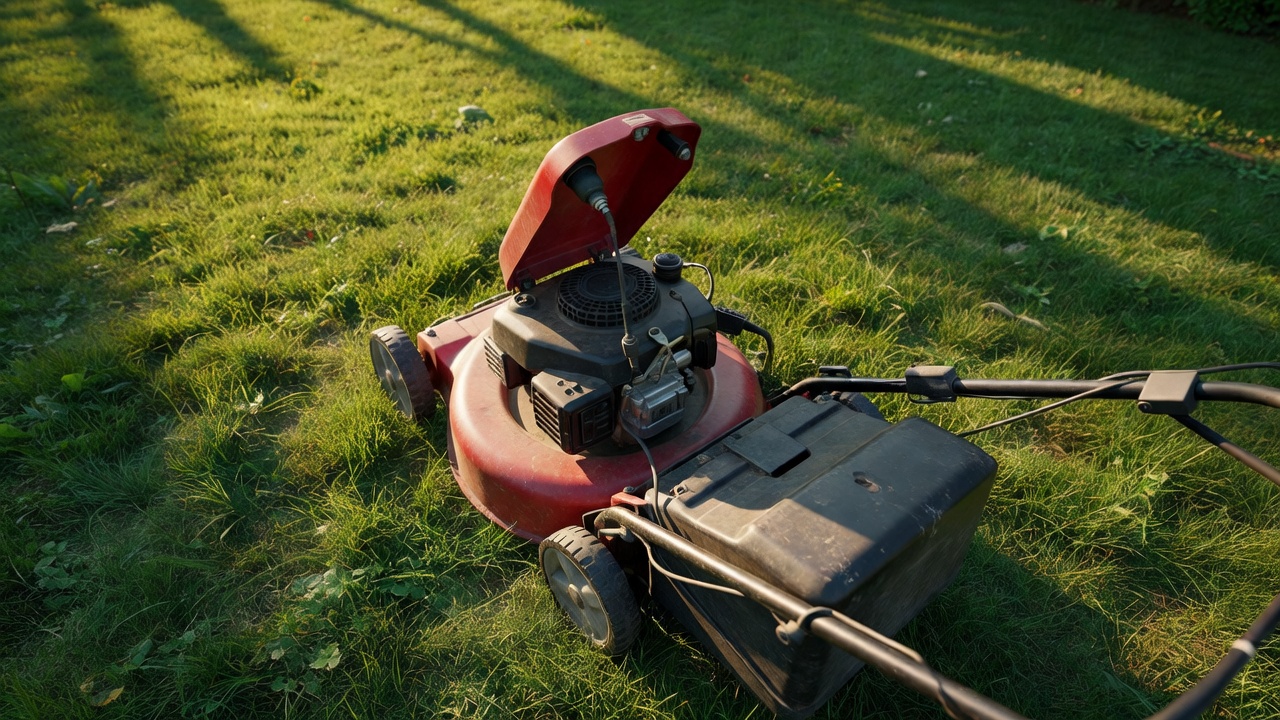
The spark plug is the ignition source inside a gas-powered lawn mower engine. It delivers a precisely timed electrical spark into the combustion chamber, igniting the air-fuel mixture that drives the piston and powers the blade. Without a functioning spark plug, the engine will not start or will run poorly.
What Does a Spark Plug Do in a Lawn Mower?
Every time the engine cycles, the spark plug fires thousands of times per minute. It must withstand extreme heat, pressure, and chemical exposure from combustion byproducts. Over time, this degrades the electrode, widens the gap, and fouls the plug with carbon or oil deposits — all of which reduce spark quality and engine efficiency.
Common Symptoms of a Failing Spark Plug
Test your spark plug if you notice any of the following:
- Engine won’t start — most common indicator of spark plug failure
- Hard starting or requires multiple pulls — weak spark reduces reliable ignition
- Engine misfires or runs rough — inconsistent combustion from a fouled electrode
- Loss of power during mowing — incomplete combustion reduces torque
- Excessive fuel consumption — a misfiring plug wastes unburned fuel
- Black smoke from the exhaust — sign of a rich, misfiring combustion cycle
How Often Should You Test a Spark Plug?
Most small-engine manufacturers recommend inspecting the spark plug at the start of every mowing season and replacing it annually or every 100 hours of operation, whichever comes first. If you store the mower over winter without a fuel stabilizer or fresh plug, test it before the first spring start.
Safety Precautions Before Testing
Spark plug testing involves working near fuel, electrical components, and a potentially rotating blade. Follow these precautions before touching any part of the ignition system.
Safety Equipment You Need
- Safety glasses — protect against fuel spray or carbon debris during removal
- Work gloves — the engine and plug may be hot after recent use; allow 30 minutes of cooling
- Non-flammable work surface — perform the spark test away from fuel cans or dry grass
Steps to Prevent Accidental Engine Start
- Place the mower on a flat, stable surface.
- Engage the parking brake if the mower has one.
- Turn the fuel valve to the OFF position if your mower has a shutoff valve.
- Disconnect the spark plug wire before any inspection or removal — this is the single most important step, as it eliminates any chance of accidental ignition.
- Wait at least 30 minutes after the last engine run before touching the plug — ceramic insulators and metal threads retain significant heat.
Important: Never perform a spark test indoors or in an enclosed garage. The test requires pulling the starter cord, which cranks the engine and can spray unburned fuel vapors. Work outdoors in a well-ventilated area.
Tools You Need to Test a Lawn Mower Spark Plug
| Tool | Purpose |
|---|---|
| Spark plug socket wrench (5/8″ or 13/16″) | Remove and reinstall the spark plug without cracking the ceramic insulator |
| Ratchet handle and extension | Reach plugs recessed in the engine block |
| Feeler gauge | Measure electrode gap precisely |
| Wire brush or spark plug cleaner | Clean carbon deposits from electrode and threads |
| Gap adjustment tool | Bend the ground electrode to correct gap width |
| Safety glasses and gloves | Personal protection during removal and testing |
A spark plug socket is purpose-built with a rubber insert that grips the ceramic insulator during removal, preventing cracks. Do not substitute with an open-end wrench.
How to Remove and Visually Inspect Your Spark Plug
Step 1 — Locate the Spark Plug
On most walk-behind mowers, the spark plug sits at the front of the engine, covered by a rubber or metal boot connected to the spark plug wire. On riding mowers, it may be on the side of the engine block. Consult your owner’s manual if the location is unclear.
Step 2 — Disconnect the Spark Plug Wire
Grip the rubber boot firmly and pull it straight off the spark plug terminal. Do not yank the wire itself — pulling the boot prevents damaging the internal wire connection. Set the wire aside so it cannot accidentally contact the terminal during removal.
Step 3 — Remove the Spark Plug
Fit the spark plug socket over the plug and turn counterclockwise. Apply steady pressure — a plug that has never been removed may be seized with corrosion. If resistance is extreme, apply a small amount of penetrating oil to the base threads, wait 10 minutes, then retry. Once loose, remove it by hand to avoid cross-threading on reinstallation.
Step 4 — Visually Inspect the Spark Plug
Examine the removed plug under good light. Use this table to interpret what you see:
| Appearance | Meaning | Action |
|---|---|---|
| Light tan or gray deposit on electrode | Normal combustion — plug is healthy | Clean, check gap, reinstall |
| Heavy black, sooty carbon buildup | Fouled spark plug — rich fuel mixture or oil burning | Clean thoroughly or replace |
| Wet, oily residue on electrode | Oil fouling — engine may be burning oil | Replace plug; investigate engine oil consumption |
| White or chalky deposits | Overheating — lean fuel mixture or incorrect plug heat range | Replace with correct-spec plug |
| Cracked ceramic insulator | Physical damage — plug is unsafe to use | Replace immediately |
| Worn, rounded, or eroded electrode | End of service life | Replace immediately |
How to Clean a Spark Plug
If the plug shows carbon buildup but no physical damage, clean it before testing. Use a wire brush to scrub the electrode and the area around the ground strap. A dedicated spark plug cleaner spray accelerates carbon removal. Do not use sandpaper on the electrode — abrasive material embeds particles that disrupt spark quality. After cleaning, wipe with a dry cloth before proceeding to gap measurement.
Testing Methods: Electrode Gap Check and Spark Test
Method 1 — Measuring the Electrode Gap with a Feeler Gauge
What Is the Electrode Gap and Why Does It Matter?
The electrode gap is the measured distance between the center electrode (the tip protruding from the ceramic insulator) and the ground electrode (the curved metal arm that hooks over it). The spark jumps this gap to ignite combustion. If the gap is too small, the spark is weak and ignition is unreliable. If the gap is too wide, the ignition coil cannot generate enough voltage to bridge it, and the engine misfires or fails to start.
For most residential lawn mower engines — including common Briggs & Stratton, Kohler, and Kawasaki small engines — the correct electrode gap is 0.030 inches (0.76 mm). Always verify the specification in your mower’s owner’s manual or on the engine decal, as it varies by model.
How to Measure and Adjust the Gap
- Select the feeler gauge blade that matches your target gap specification (e.g., 0.030″).
- Slide the blade between the center electrode and the ground electrode. It should pass through with light resistance — not loose, not requiring force.
- If the blade slides through too easily, the gap is too wide. Use the gap adjustment tool to gently bend the ground electrode downward toward the center electrode in small increments.
- If the blade won’t pass through, the gap is too narrow. Use the tool to carefully lever the ground electrode upward.
- Re-measure after each adjustment. Repeat until the correct blade fits with the right resistance.
- Never bend the center electrode — it is brittle and will break.
Method 2 — Performing a Visible Spark Test
What You Are Testing
The spark test confirms that the ignition coil is delivering sufficient voltage to the plug and that the plug can conduct it across the electrode gap. It is the most definitive functional test available without specialized diagnostic equipment.
Step-by-Step Spark Test Procedure
- Reconnect the spark plug wire boot firmly onto the spark plug terminal — you should feel or hear it click into place.
- Hold the threaded metal body of the spark plug against a bare metal part of the engine block. This grounds the plug. Use insulated pliers or heavy work gloves to hold the plug — do not hold the plug body with bare fingers during this step, as you will receive a shock if spark discharges through your hand.
- Ensure the area is clear of fuel spills or vapor. Have a second person present if possible — one person holds the plug against the engine block, the other pulls the starter cord.
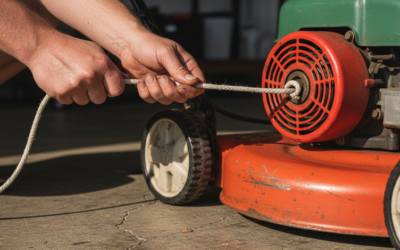
- Pull the starter cord briskly as you would to start the engine.
- Observe the electrode gap closely for a spark.
What to Look For
- Strong, consistent blue spark — the plug and ignition system are functioning correctly. The blue color indicates high voltage and temperature, sufficient for reliable combustion ignition.
- Weak, intermittent, or orange/yellow spark — the plug is partially fouled or worn, or the ignition coil is losing output. Clean or replace the plug and retest; if the weak spark persists with a new plug, the ignition coil requires inspection.
- No spark — the plug is failed, the ignition coil is faulty, or the kill switch circuit has an issue. Test with a known-good spark plug first to isolate the cause.
Understanding Test Results and Next Steps
When to Reinstall the Existing Plug
Reinstall the cleaned plug if it meets all of the following criteria:
- No cracks in the ceramic insulator
- No severe electrode erosion or rounding
- Electrode gap adjusted to specification
- Strong blue spark during the spark test
Apply a small amount of anti-seize compound to the threads before reinstalling if the plug is going back into an aluminum engine block. Torque to the manufacturer’s specification — typically 15 ft-lb for 14mm plugs in small engines — or tighten by hand until snug, then 1/2 turn further with the socket wrench.
When to Replace the Spark Plug
Replace the spark plug immediately if any of these conditions are present:
- Cracked or chipped ceramic insulator
- Heavily eroded, flat, or missing center electrode
- Oil fouling that returns after cleaning
- No spark during the spark test even after cleaning
- The plug has reached 100 hours of use or one full season, regardless of appearance
Spark plugs for residential lawn mowers cost between $3 and $10 and are widely available at hardware stores. Given this low cost versus the labor involved in repeated testing, replacement is the economical choice whenever a plug is in doubt.
What If a New Plug Also Shows No Spark?
If a brand-new, correctly gapped plug produces no spark during the test, the fault is upstream in the ignition system — most likely the ignition coil (also called the armature). The coil-to-flywheel air gap may also be misset. This requires a multimeter to test coil resistance or a trip to a small-engine repair shop. Do not continue operating the mower until the ignition system fault is diagnosed.
Frequently Asked Questions
How do I know if my lawn mower spark plug is bad without special tools?
Perform the visual inspection described above — no tools required beyond the socket wrench to remove it. A cracked insulator, heavy black soot, oily residue, or a visibly worn electrode are all indicators of a bad plug that can be confirmed with the naked eye. The spark test requires no special tools, only the mower’s own starter cord to generate the test voltage.
What is the correct spark plug gap for a lawn mower?
The most common specification for residential gas lawn mower engines is 0.030 inches (0.76 mm), particularly for Briggs & Stratton engines, which power a large share of the market. Kohler and Kawasaki engines may specify 0.020–0.025 inches. Always verify against your specific engine model’s owner’s manual or the sticker on the engine shroud — using the wrong gap can prevent starting or cause misfires.
Can I clean a spark plug instead of replacing it?
Yes, cleaning is appropriate for a lightly fouled plug with no physical damage. Use a wire brush to remove carbon deposits and a plug cleaner spray for stubborn buildup. However, cleaning is a short-term measure. A plug that fouls repeatedly signals a deeper engine issue (burning oil, incorrect carburetor mixture), and a plug that is physically worn or has a cracked insulator must be replaced regardless of cleaning.
How often should a lawn mower spark plug be replaced?
Replace the spark plug every season or every 100 hours of operation, whichever comes first — this is the standard recommendation from small-engine manufacturers including Briggs & Stratton and Kohler. For most homeowners mowing a typical residential lawn, one season of use equals roughly 25–40 hours, so an annual replacement schedule at the start of spring is practical and cost-effective preventive maintenance.