Safety First: Essential Precautions Before You Start
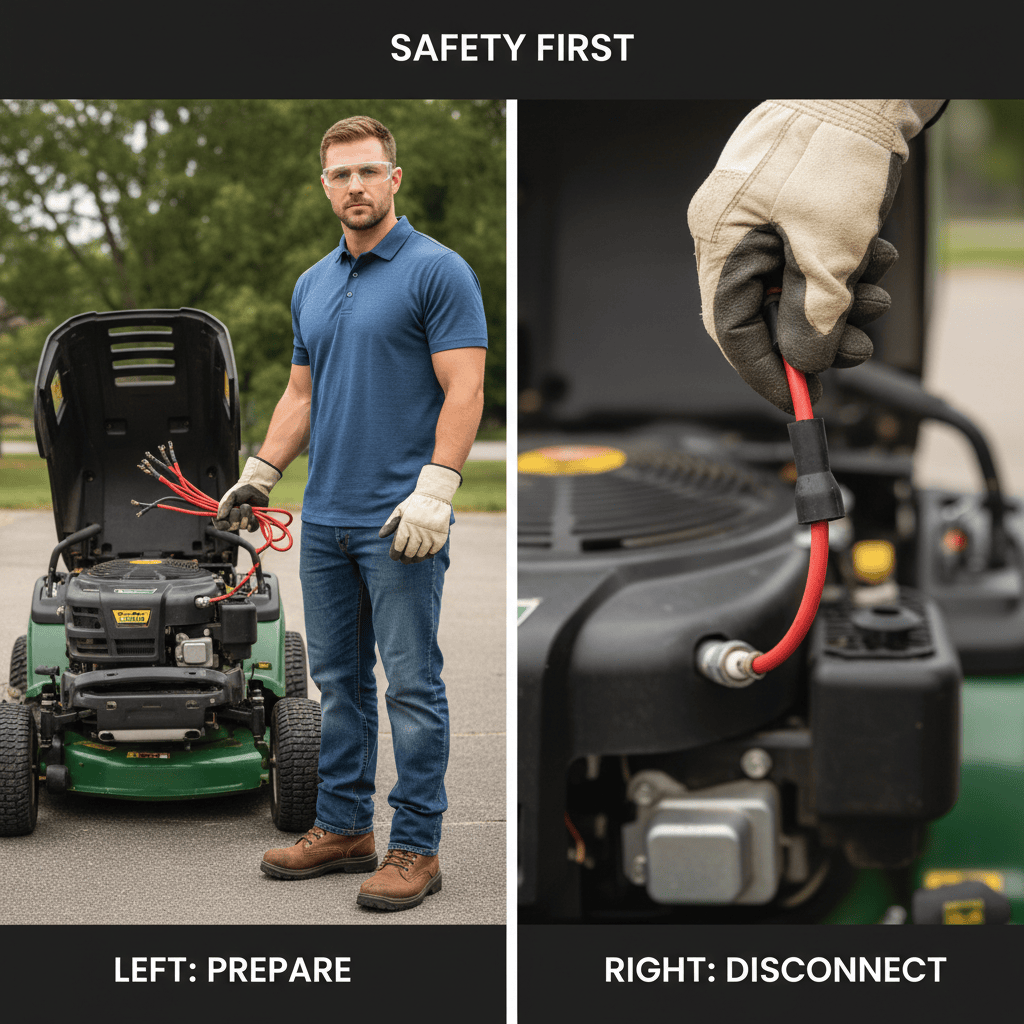
Working on a riding mower blade requires strict safety discipline. Lawn mower blades rotate at high speeds—up to 3,600 RPM—and can cause severe injuries if the engine starts unexpectedly.
- Disconnect the spark plug wires: This is the single most important step. Pull both spark plug wires off their plugs to prevent accidental engine start. Do not rely on the ignition switch alone.
- Engage the parking brake: Set the brake to prevent the mower from rolling.
- Allow the engine to cool: Wait at least 15 minutes after running the mower before working on the blades. Hot components can cause burns.
- Wear protective equipment: Use work gloves, safety glasses, and closed-toe shoes. The blade edges are sharp and can cut skin.
- Work on a level surface: Place the mower on flat, stable ground. Never work under a mower supported only by a jack without proper safety blocks.
Tools and Materials You’ll Need
Gather these items before starting to avoid mid-task interruptions:
| Tool/Material | Purpose | Notes |
|---|---|---|
| Wrench set (adjustable or socket) | Remove spindle bolt | Size varies by mower; typically 9/16″ to 3/4″ |
| Torque wrench (0–100 ft-lbs range) | Reinstall bolt to proper tension | Critical for blade balance and safety |
| Replacement blade(s) | New cutting surface | Must match mower deck specifications |
| Wooden block or blade holder | Prevent blade rotation | Keeps blade still while loosening bolt |
| Deck lift or ramps | Access mower deck from below | Some mowers tilt; others have removable decks |
| Work gloves and safety glasses | Personal protection | Non-negotiable |
| Owner’s manual | Model-specific torque specs and procedures | Essential reference document |
Understanding Your Mower’s Blade Configuration
How Many Blades Does Your Mower Have?
Most riding mowers have either 2 or 3 blades, depending on deck width:
- 42-inch decks: Typically 2 blades
- 48-inch to 60-inch decks: Usually 3 blades
- Zero-turn mowers: May have 3–4 blades arranged in a straight line
While you can replace a single blade, experts recommend replacing all blades at the same time. Unmatched blade wear causes imbalance, which vibrates the deck and can damage bearings and spindles over time.
Identifying Blade Direction
Blades have a marked side that must face downward. Most blades are stamped with “This side down” or have an arrow. Installing a blade upside down will not cut properly and may damage the blade. Check your new blade’s label before installation.
Blade Types: Standard vs. High-Lift vs. Mulching
- Standard blades: Lift grass upward for a clean cut; create less suction, reducing deck clogging.
- High-lift blades: More aggressive lift; better for thick, wet grass but increase fuel consumption.
- Mulching blades: Curved design; cut and re-cut grass into fine particles for mulch. Not interchangeable with standard blades.
Always replace with the same blade type your mower originally used. Mixing blade types causes uneven cutting and imbalance.
Step-by-Step Blade Replacement Process
Step 1: Prepare the Mower
- Park the mower on level ground in a well-lit work area.
- Turn off the engine and let it cool for 15 minutes.
- Disconnect both spark plug wires by twisting and pulling gently.
- Engage the parking brake and place chocks or blocks behind the rear wheels to prevent rolling.
Step 2: Access the Mower Deck
Deck access varies by mower design:
- Tilt-up decks: Some mowers tilt forward to expose the underside. Consult your manual for the proper lift points and maximum tilt angle.
- Fixed decks: Use a deck lift, ramps, or a floor jack with safety blocks to raise the mower 18–24 inches off the ground. Never work under an unsupported mower.
- Removable decks: A few mower models allow the entire deck to be unbolted and removed. This gives the most access but requires reassembly alignment.
Important: Check your owner’s manual for the recommended lifting method. Incorrect lifting can damage the mower frame.
Step 3: Locate and Secure the Spindle Bolt
- Look directly under the mower deck for the blade. You will see a large bolt (spindle bolt) holding the blade to the spindle shaft.
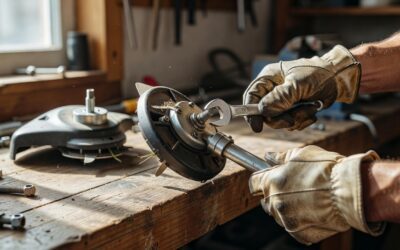
- Place a wooden block under the blade on one side to prevent it from rotating.
- Use a wrench to loosen the spindle bolt. Most bolts turn counterclockwise. The block will hold the blade in place while you apply torque to the wrench.
Step 4: Remove the Old Blade
- Once loose, unscrew the bolt by hand or with the wrench. Set the bolt aside in a safe location.
- Carefully slide the old blade off the spindle shaft. Be cautious—the blade edges are sharp.
- Inspect the spindle shaft and bolt for damage, cracks, or excessive wear. If the spindle is bent or the bolt is damaged, replace it before installing the new blade.
Step 5: Install the New Blade
- Check the new blade’s stamped direction marking. Ensure “This side down” or the arrow faces downward.
- Slide the blade onto the spindle shaft. It should fit snugly but slide freely by hand.
- Insert the spindle bolt through the blade center and into the spindle shaft thread.
- Hand-tighten the bolt first to ensure it threads evenly and the blade sits flat against the spindle collar.
Step 6: Torque the Spindle Bolt to Specification
This is critical for safety and proper blade performance.
- Refer to your owner’s manual for the exact torque specification. Most riding mowers specify 35–90 ft-lbs, depending on the mower model and bolt size.
- Place the wooden block under the blade again to prevent rotation.
- Use a torque wrench set to the manufacturer’s specification. Tighten the bolt slowly and steadily until you feel the wrench click, signaling that the target torque has been reached.
- Do not over-torque. Excessive force can strip threads or bend the spindle.
Step 7: Repeat for Additional Blades
If your mower has 3 blades, move to the next blade and repeat steps 3–6. Ensure all blades are replaced and torqued to the same specification for balance.
Step 8: Lower the Mower and Reconnect Spark Plugs
- Carefully lower the mower back to the ground using the same method you used to lift it.
- Remove any chocks or safety blocks.
- Reconnect both spark plug wires firmly until you hear or feel them seat.
- Do a final visual inspection to ensure no tools or parts are left under the deck.
Common Variations by Mower Type
Zero-Turn Mowers
Zero-turn radius mowers typically have 3–4 blades arranged in a straight line across the deck. The replacement process is identical, but you’ll need to access multiple spindles. Some zero-turn models have the deck mounted higher, making access easier with ramps. Always consult the specific manual, as blade bolt sizes may vary across the deck.
Mulching Mowers
Mulching decks have thicker side panels and sometimes blade guards. The spindle bolt location is the same, but you may need to remove deck covers to access all blades. Never replace a mulching blade with a standard blade—the deck design depends on the blade’s curved cutting pattern for proper mulching.
Deck Height Considerations
Mowers with very low-profile decks (close to the ground) may require more careful lifting and access. Use ramps or a low-profile jack to avoid pinching hoses or electrical lines. Refer to your manual for recommended lifting points.
Post-Replacement Verification and Maintenance
Checking Blade Balance
After installation, an imbalanced blade causes vibration and deck damage. To check balance:
- Manually rotate the blade (with spark plugs still disconnected) and feel for drag or resistance.
- The blade should rotate smoothly with minimal resistance.
- If it feels uneven, the blade may not be seated properly. Remove it and reinstall, ensuring it sits flush against the spindle collar.
- If one blade is noticeably heavier than others, consider a blade balancer tool (available at hardware stores) to ensure all blades are weight-matched.
First Run After Replacement
Reconnect the spark plugs and start the mower in a safe area away from people and obstacles. Listen for unusual vibration, rattling, or grinding sounds. Run at low speed for the first 5–10 minutes. If you hear abnormal noises, shut off the engine immediately, disconnect the spark plugs, and inspect the blade installation and spindle bolt torque.
Maintenance Schedule
To extend blade life and maintain cutting quality:
- Inspect blades monthly: Look for cracks, bent edges, or significant wear.
- Sharpen or replace annually: Most residential users replace blades once per year or after 50–100 hours of use. Commercial or frequent users may need replacement 2–3 times per season.
- Clear debris: After each use, remove grass clippings and debris from the deck to prevent rust and buildup.
- Check spindle bolts quarterly: Vibration can loosen bolts over time. Periodically re-torque to specification.
Frequently Asked Questions
Q: Can I replace just one blade if the others are still sharp?
A: Technically yes, but it’s not recommended. Blades wear at different rates depending on mowing conditions, but using blades of different ages or sharpness causes imbalance. The uneven cutting and vibration can damage spindles and bearings. For the best results and longest mower life, replace all blades together.
Q: What if the spindle bolt won’t loosen?
A: Spindle bolts can seize due to rust or debris. Try these approaches: (1) Apply penetrating oil (like WD-40) around the bolt and wait 15–30 minutes. (2) Use a larger wrench or breaker bar for more leverage. (3) Gently tap the wrench with a hammer to help break the corrosion. (4) If the bolt head strips or breaks, you may need to drill it out and replace both the bolt and spindle. If you’re uncomfortable with this, take the mower to a professional.
Q: How do I know if my blade is dull vs. damaged?
A: A dull blade still cuts but leaves torn, ragged grass edges. A damaged blade has visible cracks, deep gouges, or bent edges. Dull blades can sometimes be sharpened; damaged blades must be replaced. A blade that cuts unevenly or causes the mower to vibrate is likely damaged or bent and needs replacement.
Q: Do I need to replace the spindle bolt when I replace the blade?
A: No, unless the bolt is visibly damaged, stripped, or corroded. A clean bolt in good condition can be reused. However, if you notice rust, damage to the threads, or the bolt spins without tightening, replace it at the same time as the blade.
Final Tips for Success
Blade replacement is a straightforward task when done carefully. The most common mistakes are working without disconnecting spark plugs, over-torquing the spindle bolt, and installing blades upside down. Always consult your owner’s manual for model-specific torque specifications and lifting procedures. If you’re uncomfortable working under the mower or encounter a seized bolt or damaged spindle, don’t hesitate to take the mower to a professional service center. A small service cost now is worth avoiding injury or expensive equipment damage.