Direct Answer: How to Cut Lawn with a Riding Mower
To cut your lawn with a riding mower, begin by performing essential safety checks on fuel level, blade condition, and tire pressure. Adjust the cutting deck to 2.5 to 4 inches based on your grass type, mount the mower securely, and engage the blade before driving in a systematic pattern—either overlapping passes or striping—at a steady speed. After completing your lawn, shut down the mower safely, clear debris from the deck, and perform basic maintenance checks.
Pre-Mowing Safety Checks
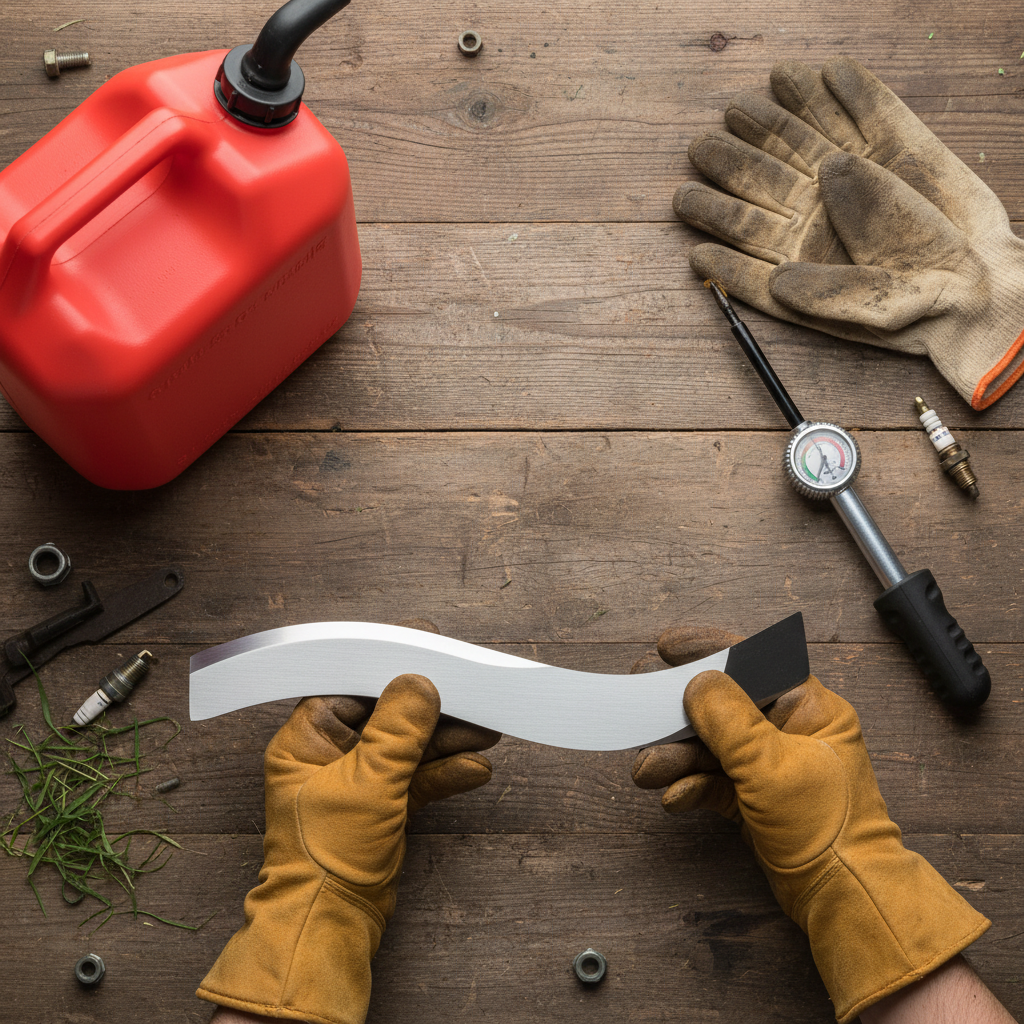
Before starting your riding mower, perform a complete safety inspection to prevent accidents and equipment damage.
Fuel and Oil
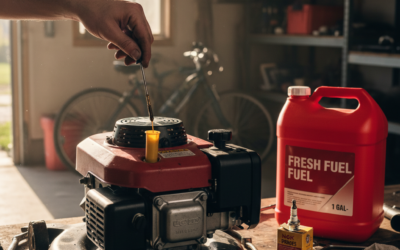
- Check the fuel tank and fill with the correct fuel type specified in your mower’s manual (typically unleaded gasoline)
- Verify the oil level using the dipstick and top up if needed—low oil can damage the engine
- Use fresh fuel if the mower has sat unused for more than 30 days; old fuel can clog the carburetor
Blade Inspection
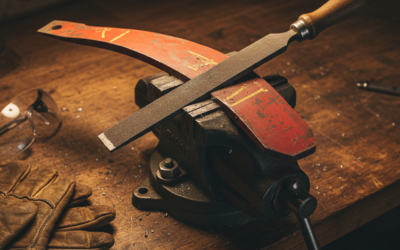
- Visually inspect the blades for damage, cracks, or bends—never operate with damaged blades
- Check for dullness by running your finger along the blade edge (wear work gloves); dull blades tear grass instead of cutting cleanly, promoting disease
- Sharp blades are essential for clean cuts and lawn health; dull blades should be professionally sharpened or replaced
Tire Pressure and Traction
- Check tire pressure according to your mower’s specifications, typically 10-14 PSI for rear tires
- Uneven tire pressure causes the mower to pull to one side and creates uneven cutting
- Inspect tires for damage or punctures before use
Safety Features
- Test the blade engagement lever or switch to ensure it operates smoothly
- Verify the seat switch functions—the engine should shut off if you leave the seat while the blades are engaged
- Check that the steering responds correctly and brakes engage smoothly
Understanding Cutting Height and Grass Type
Cutting height directly affects your lawn’s health, appearance, and ability to resist disease and weeds. Different grass types require different cutting heights.
Recommended Cutting Heights by Grass Type
| Grass Type | Cutting Height (inches) | Best Season |
|---|---|---|
| Cool-Season Grasses (fescue, bluegrass, ryegrass) | 2.5–3.5 | Spring and fall |
| Warm-Season Grasses (Bermuda, zoysia, St. Augustine) | 1.5–2.5 | Summer |
| Mixed Lawns | 3–4 | General use |
Why Cutting Height Matters
Taller grass (3–4 inches) shades the soil, reducing weed germination and moisture loss during hot weather. Shorter cutting can stress the grass, weaken the root system, and increase susceptibility to disease. The general rule is never remove more than one-third of the blade length in a single mowing.
Adjusting Your Mower’s Deck Height
- Most riding mowers have individual wheel height adjusters or a centralized deck-height lever
- Disengage the blades and park the mower on level ground before adjusting
- Raise or lower each wheel to the desired height; some mowers allow you to adjust all four wheels simultaneously
- Double-check that the deck is level side-to-side and front-to-back for even cutting
Mounting and Starting the Mower
Safe Mounting Procedure
- Face the mower and use the step and handholds to mount from the side, never from behind
- Sit firmly on the seat and ensure both feet are positioned safely on the floor or footrest
- Keep your body centered on the seat; moving side to side during operation can affect cutting evenness and safety
- Familiarize yourself with the location of all controls before starting the engine
Starting the Engine
- Set the throttle to the start position (usually marked on the control panel)
- Engage the choke if required (refer to your manual for your specific mower model)
- Insert the key and turn it to the start position; release once the engine fires
- Allow the engine to warm up for 30 seconds before beginning work
- Gradually move the throttle to full speed once warmed up
Engaging the Blade
- Once the engine is running and warmed up, disengage the blade engagement lever or switch to ensure blades are off
- Check that the path ahead is clear of obstacles, people, and pets
- Slowly engage the blade clutch—you’ll hear or feel the blades begin to spin
- Allow a few seconds for the blades to reach full speed before moving forward
Mowing Patterns and Technique
Choosing a Mowing Pattern
Overlapping Pattern: Drive in parallel rows, overlapping each pass by 6–12 inches to ensure complete coverage and prevent missed strips. This pattern is safest for beginners and works well on any terrain.
Striping Pattern: For a professional appearance, mow in straight lines back and forth across the lawn. The visual stripes result from light reflecting off grass bent in different directions, not actual color differences. This pattern requires straight driving and works best on flat, rectangular lawns.
Diagonal or Checkerboard Pattern: Change your mowing direction each week to prevent soil compaction and grass wear patterns. Alternating directions also helps grass grow upright and improves overall health.
Speed and Technique
- Maintain a steady, moderate speed—typically 4–6 mph for most residential mowers
- Slow down on slopes, rough terrain, or when mowing wet grass to maintain control and cutting quality
- Keep both hands on the steering wheel and avoid sudden turns that can leave uncut patches
- Allow the mower to do the work; forcing it through thick grass or wet conditions strains the engine and causes uneven cutting
What to Avoid
- Wet Grass: Mow only when grass is dry; wet grass clumps and clogs the deck, producing uneven cuts
- Obstacles: Clear sticks, stones, and debris before mowing to prevent blade damage and projectiles
- Steep Slopes: Avoid slopes steeper than 15 degrees; riding mowers can tip on steep terrain—use a push mower instead
- Reverse Engagement: Never engage the blades while driving in reverse; disengage before backing up
- Scalping: Don’t lower the deck so far that you cut into soil or expose the crown of the grass plant
Handling Difficult Areas
- Around trees and garden beds, reduce speed and make gentle, wide turns to avoid damage
- Use a walk-behind mower or string trimmer for tight spaces a riding mower cannot reach
- If you must back up frequently, disengage the blades each time to prevent accidents
Post-Mowing Care and Maintenance
Immediate After-Mowing Steps
- Disengage the blade clutch and allow the blades to stop completely before dismounting
- Shut off the engine and wait for it to cool slightly before leaving the mower unattended
- Never leave the mower running or unattended with the engine hot
Deck Cleaning
- Grass clippings and debris accumulate under the deck and can cause rust and reduce cutting efficiency
- Once the engine cools, use a brush or compressed air to remove clippings from the deck underside
- For stubborn buildup, use a wooden scraper (never metal, which can damage the deck)
- Clean the deck after every few uses, or weekly during heavy mowing season
Routine Maintenance Schedule
After Each Use:
- Clear debris and clippings from the deck and undercarriage
- Check fuel level and top up if needed
- Visually inspect blades for damage (from a distance, never touch spinning blades)
Weekly (or every 5 hours of use):
- Check oil level and top up as needed
- Inspect tires for damage and check pressure
- Test all controls and safety features
Monthly or Seasonally:
- Sharpen or replace dull blades (typically every 20–25 hours of mowing)
- Change the oil according to manufacturer specifications (usually every 50–100 hours)
- Replace or clean the air filter
- Inspect the battery and connections (for electric-start mowers)
End-of-Season Preparation
- Run the mower with fresh fuel and allow the carburetor to clear
- Change the oil one final time before storage
- Drain old fuel or add a fuel stabilizer if storing for winter
- Cover the mower to protect it from dust and moisture
Safety Reminders for Riding Mower Operation
- Always wear long pants, closed-toe shoes, and eye protection while operating the mower
- Never wear loose clothing, jewelry, or long hair that could get caught in moving parts
- Keep children and pets at least 50 feet away from the mowing area
- Do not mow under the influence of alcohol or medications that impair judgment
- If the engine stalls or the mower malfunctions, stop immediately and inspect the problem—never reach under the deck while the engine is running
- Never refuel the mower while the engine is hot or running
Frequently Asked Questions
How Often Should I Mow My Lawn?
Mow your lawn once per week during the active growing season (spring and summer) when grass is growing 1 inch or more per week. During slower growth periods (fall) or dormant seasons (winter), mow every 2–3 weeks or as needed. The one-third rule still applies: never remove more than one-third of the blade in a single mowing, which may require more frequent mowing if growth is rapid.
Can I Mow Wet Grass with a Riding Mower?
It is not recommended to mow wet grass. Wet grass clumps in the deck, clogs the chute, and produces uneven cuts. Wet conditions also reduce traction, making the mower prone to slipping, especially on slopes. Wait until the grass has dried—typically a few hours after rain or morning dew—before mowing for best results.
Why Are My Mower Blades Leaving Uneven Cuts?
Uneven cutting is usually caused by dull blades, improper deck leveling, uneven tire pressure, or operating on uneven terrain. Check blade sharpness first; dull blades tear grass and leave a brown, jagged appearance. Next, verify that the deck is level side-to-side and front-to-back, and ensure all tires are at the correct pressure. If the problem persists, have the mower serviced by a professional to check the deck and blade alignment.
How Do I Know When to Sharpen or Replace the Mower Blades?
Inspect blades every 5–10 hours of mowing. If the blade edges are visibly dull, chipped, or bent, they need sharpening or replacement. Dull blades produce ragged cuts that stress the grass and appear brown at the tips. Professional blade sharpening typically costs $15–$30 per blade and should be done every 20–25 hours of mowing. Always replace blades that are cracked or severely bent rather than attempting to repair them.