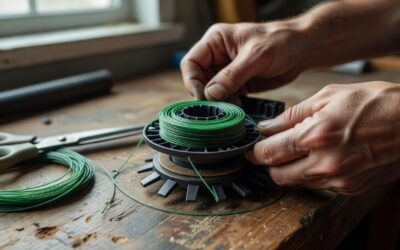
Direct Answer: A chainsaw chain is sharpened using a round file of the correct diameter for your chain’s cutter size, guided by a filing template, with each cutter filed at the manufacturer’s specified angle (typically 25–35 degrees) and depth, using 2–3 strokes per tooth while alternating sides. The depth gauges (rakers) must also be checked and adjusted to prevent the chain from pulling too hard into the wood.
Why Sharpen Your Chainsaw Chain?
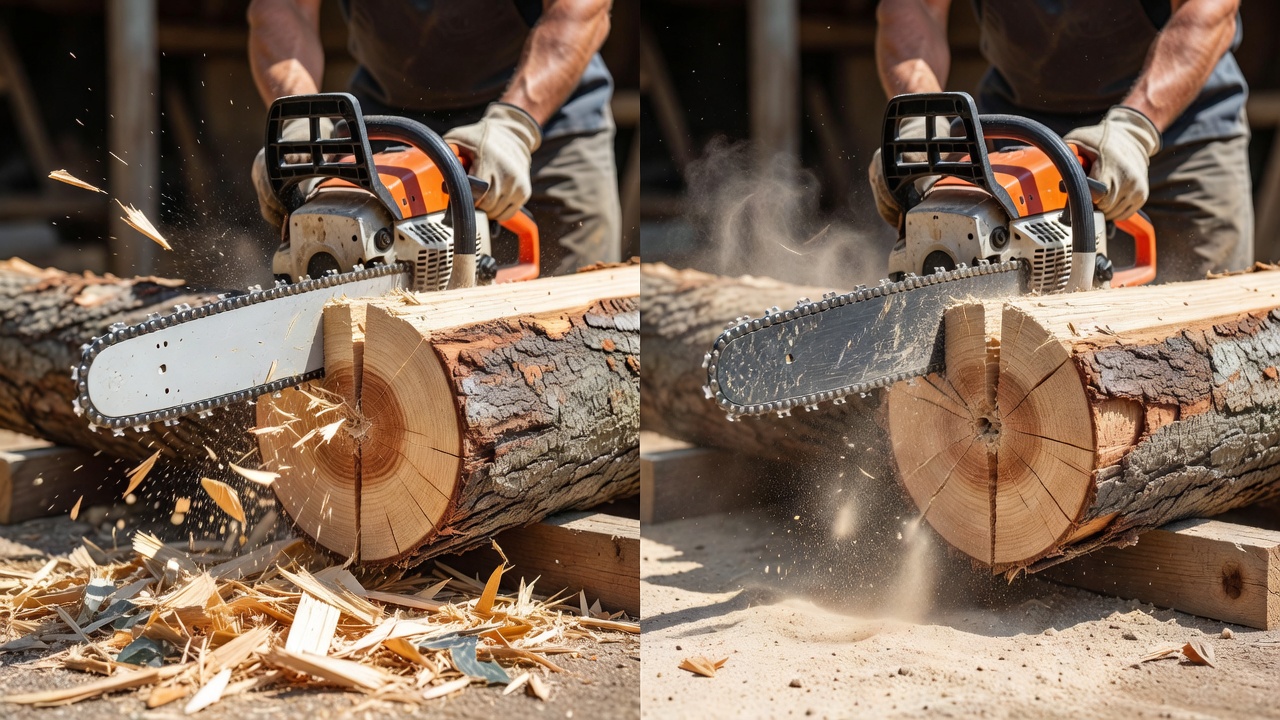
A sharp chainsaw chain is essential for safe, efficient operation. When a chain becomes dull, it requires more force to cut, increasing fatigue and the risk of kickback—a dangerous situation where the saw suddenly jerks toward the operator. A dull chain also produces fine sawdust instead of chips, generates excessive heat, and can cause the engine to work harder, reducing fuel efficiency and accelerating wear on the saw’s motor and clutch.
Signs your chain needs sharpening include pulling to one side during cuts, requiring excessive pressure to cut through wood, producing only fine dust rather than wood chips, and creating a ragged or torn cutting surface on freshly cut wood.
Tools and Materials Needed for Manual Sharpening
Before you begin, gather these essential tools:
- Round File (Chainsaw Needle File): The diameter must match your chain’s cutter size. Common sizes are 5/32-inch (for 3/8-inch pitch chains), 7/32-inch (for .325-inch pitch chains), and 1/4-inch (for smaller chains). Consult your chainsaw’s manual or the chain’s packaging to determine the correct file diameter.
- Filing Guide or Template: This device holds the file at the correct angle and height above the chain, ensuring consistent filing across all cutters. Most guides clamp directly onto the chainsaw bar.
- Depth Gauge Tool: A flat tool used to check and adjust the height of the rakers (depth gauges) that control how deep the cutters bite into the wood.
- Flat File: Used to flatten the depth gauges (rakers) after they become worn.
- Chainsaw Vise or Clamp: Secures the chainsaw firmly to a workbench so both your hands are free for filing.
- Safety Glasses: Protect your eyes from metal filings and debris.
- Work Gloves: Leather or heavy-duty gloves protect your hands from sharp chain edges and filing tools.
Step-by-Step Guide to Sharpening a Chainsaw Chain
Step 1: Secure the Chainsaw
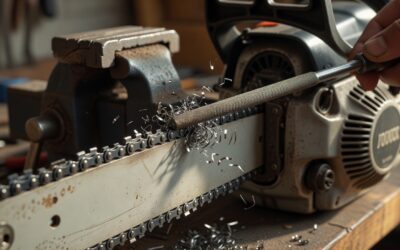
Place your chainsaw in a vise or use a chainsaw-specific clamp on a workbench, with the bar facing upward. Ensure the chain is tight enough that it doesn’t move when light pressure is applied, but not so tight that it strains the bar. If the chain is loose, it will shift during filing and produce uneven cuts.
Step 2: Identify the File Size and Filing Angle
Check your chainsaw’s manual or the markings on the chain itself to determine the correct round file diameter and the manufacturer’s recommended filing angle. Most chains use a filing angle of 25–35 degrees, but premium chains may specify different angles. Many filing guides have marks or adjustable heads to set this angle accurately.
Step 3: Position the Filing Guide
Clamp the filing guide onto the chainsaw bar so the round file sits inside one of the chain’s cutter teeth at the correct height and angle. The guide should rest against the cutter and the surrounding links, holding the file steady at the specified angle. Most guides are marked with a reference line to help you maintain consistency.
Step 4: File the Cutters
Starting at one end of the chain, apply light to moderate pressure and file straight through each cutter tooth with smooth, deliberate strokes. Typically, 2–3 strokes per tooth is sufficient for routine maintenance; heavily dulled chains may require 4–5 strokes. Draw the file forward and out of the tooth; do not push it backward through the cutter.
After filing each cutter, move the guide to the next tooth in the same direction (e.g., if you filed left-side cutters first, move along and file all left-side cutters, then return and file all right-side cutters). This ensures uniform sharpness around the chain.
Step 5: Maintain Consistent Pressure and Stroke Count
The key to an evenly sharp chain is using the same number of strokes and the same pressure on every cutter. If one tooth receives five strokes while another receives only two, the chain will pull to the duller side. Many experienced users count their strokes aloud to maintain consistency. Some filing guides feature a stroke counter or depth gauge to help track file passes.
Step 6: Check and Adjust the Depth Gauges (Rakers)
After sharpening all the cutters, examine the depth gauges (the small rounded teeth between the cutters). These control how deep the cutters penetrate the wood. If they’re too high, the cutters won’t bite deeply enough and the chain will produce fine dust; if they’re too low, the chain will pull too hard into the wood.
Use a depth gauge tool designed for your chain pitch. Place it over the depth gauge so the gauge sits inside the tool. If the gauge protrudes above the tool, it’s too high and must be filed flat using a flat file and light pressure. Refer to your chainsaw manual for the exact depth specification—common settings range from 0.025-inch to 0.035-inch below the cutter height.
Step 7: Verify Your Work
After sharpening, spin the chain by hand to check that it rotates smoothly and that no teeth are bent or misaligned. Take the saw to a scrap log and make a test cut. A properly sharpened chain will cut in a straight line without pulling to either side and will produce wood chips rather than fine sawdust.
Alternative Sharpening Methods
While manual filing is the most accessible and cost-effective method, other options exist:
- Electric Chainsaw Sharpeners: Tabletop machines with a motorized rotating file that automates the filing process. These are faster and can produce very consistent results but require electrical power and more workspace. They’re ideal for users who sharpen chains frequently or professionally.
- Bench Grinders: Powerful stationary grinders can sharpen chains quickly but require skill to avoid overheating the teeth or removing too much metal. This method is primarily used by professionals and experienced users.
- Professional Sharpening Services: Local saw shops and equipment dealers offer professional sharpening for a fee. This is convenient if you lack tools or confidence in your sharpening technique.
Tips for Maintaining a Sharp Chain
- Avoid Dirty Wood: Cutting into sand, dirt, or soil embedded in wood dulls the chain rapidly. Clean the wood surface or use a different log if possible.
- Use Proper Fueling Technique: Always use the correct fuel-to-oil ratio for your saw. Running the saw lean (too little oil) causes increased friction and dulls the chain faster.
- Check Chain Tension Regularly: A loose chain can derail and become damaged; a tight chain wears faster and increases heat. Maintain proper tension according to your saw’s manual.
- Sharpen Before the Chain Is Severely Dull: Regular light sharpening prolongs chain life. Waiting until the chain is very dull requires more aggressive filing and shortens the chain’s overall lifespan.
- Know When to Replace: If your chain has visible cracks, severely bent teeth, or has been sharpened many times and the teeth are very small, replacement is more practical than further sharpening. A well-maintained chain typically lasts 5–10 years or longer depending on use.
Frequently Asked Questions
Q: How often should I sharpen my chainsaw chain?
A: Frequency depends on use. Casual users who cut a few cords of wood per year may sharpen annually or less. Regular users should sharpen every 2–5 hours of cutting time or whenever the saw begins to pull to one side or produce fine sawdust. Professional loggers may sharpen daily.
Q: Can I use a file from a hardware store instead of a chainsaw-specific round file?
A: Chainsaw-specific round files are engineered for the exact diameter and tooth geometry required. Using an incorrect file size or type will not produce proper cutter angles and will result in an uneven, inefficient cut. Always use the manufacturer-specified file size for your chain.
Q: What is the difference between the cutter teeth and the depth gauges?
A: Cutter teeth are the large, angled teeth that do the actual cutting. Depth gauges (rakers) are the smaller, rounded teeth positioned in front of each cutter. They control the maximum depth the cutter can penetrate the wood. Both must be maintained correctly for the chain to cut straight and efficiently.
Q: Is it necessary to use a filing guide, or can I file by hand?
A: A filing guide makes consistent, accurate sharpening much easier, especially for beginners. Experienced users may freehand file, but this requires significant practice to maintain the correct angle and stroke count. For most users, a filing guide is strongly recommended to avoid uneven sharpening and potential saw damage.