Quick Answer: How to Clean a Lawn Mower Gas Tank
Drain all old fuel from the tank, disconnect and remove it from the mower, then rinse the interior with fresh gasoline or carburetor cleaner. For stubborn varnish, use the salt-and-solvent shake method; for rust in metal tanks, apply a phosphoric acid treatment. Rinse until runoff is clear, dry completely with compressed air, reinstall, and refill with fresh fuel.
Why Cleaning Your Lawn Mower Gas Tank Matters
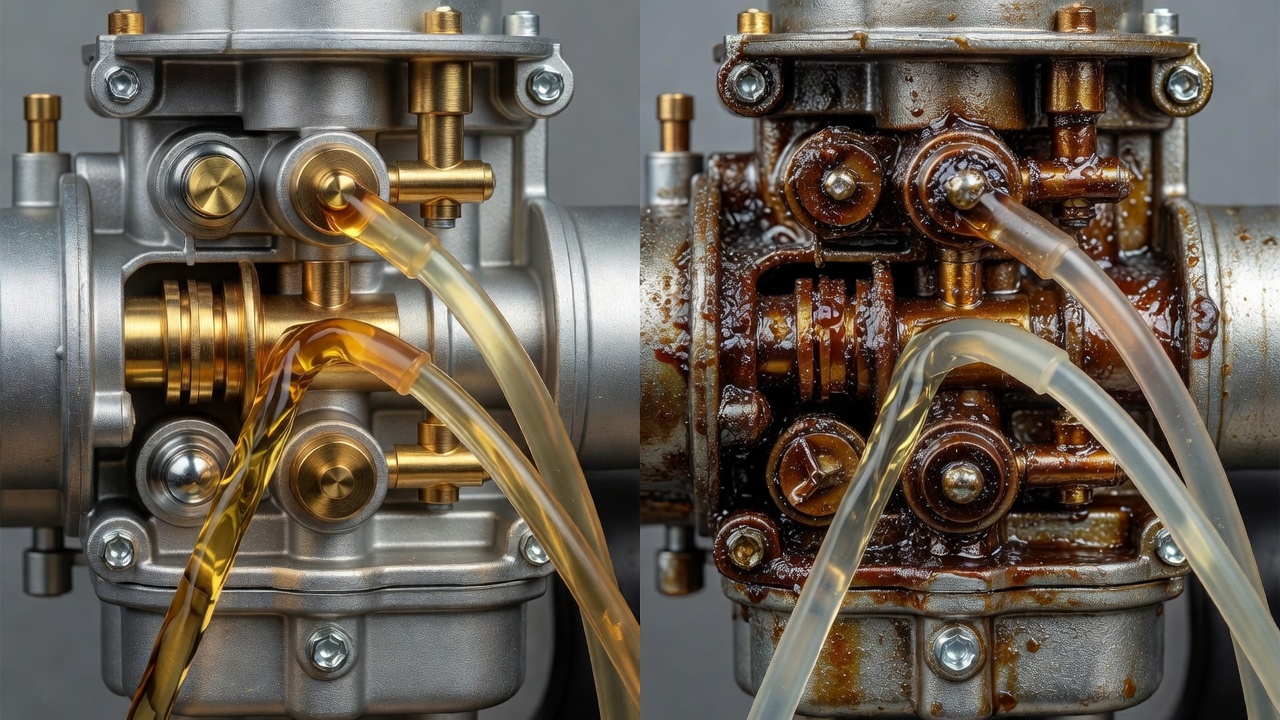
Most lawn mower problems that look like engine failures trace back to one source: degraded fuel sitting in a dirty tank. Understanding what stale gasoline does inside your fuel system makes it clear why cleaning is scheduled maintenance — not an optional fix.
What Happens When You Leave Old Gas in a Lawn Mower Tank
Gasoline begins to degrade within 30 days of refining. By 60–90 days, lighter volatile compounds evaporate and the remaining fuel oxidizes into a thick, varnish-like residue that coats tank walls, clogs the fuel line, and ultimately gums up the carburetor jets. Ethanol-blended fuels (E10 and E15) accelerate this process: ethanol absorbs moisture from the air, promoting both varnish formation in plastic tanks and rust formation in metal ones.
Signs Your Gas Tank Needs Cleaning
- Engine won’t start or starts then stalls — varnish is partially blocking fuel flow
- Dark brown or orange-tinted fuel — oxidation and rust contamination
- Visible sediment or slime in the tank — microbial growth or heavy varnish buildup
- Fuel smells sour or lacquer-like — classic sign of degraded gasoline
- Carburetor requires repeated cleaning — dirty tank is continuously recontaminating the carb
How Often to Clean a Lawn Mower Gas Tank
Clean the gas tank at minimum once per season — ideally at the start of spring and before winter storage. If you store the mower with fuel for more than 30 days without a stabilizer, inspect and clean the tank before the next use.
Tools and Materials You Need Before You Start
Gather everything before draining a single drop of fuel. Working with gasoline mid-task without the right supplies creates fire and health hazards.
Safety Equipment
- Chemical-resistant nitrile gloves
- Safety glasses or goggles
- Fire extinguisher rated for flammable liquids (Class B) within reach
- Well-ventilated outdoor workspace — never work in an enclosed garage
Mechanical Tools
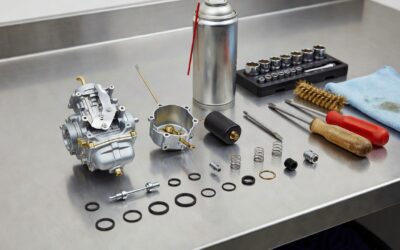
- Adjustable wrench or socket set (for tank mounting bolts)
- Flathead screwdriver (for hose clamps)
- Fuel-safe drain pan or approved gasoline container
- Turkey baster or hand siphon pump (for initial fuel removal)
- Parts cleaning brush or bottle brush
- Compressed air source
Cleaning Agents
- Fresh gasoline — best general rinse agent; chemically compatible with all tank materials
- Carburetor cleaner spray — effective for dissolving varnish; use only in well-ventilated areas
- Acetone or lacquer thinner — strong solvent for heavy varnish in metal tanks; not recommended for plastic tanks as it can cause crazing or cracking
- Coarse salt (non-iodized) — abrasive for the shake method
- Phosphoric acid tank treatment (metal tanks only) — converts and removes rust
- White vinegar — a mild acid that dissolves light rust in metal tanks; requires thorough rinsing afterward to prevent further corrosion
Can You Use Water to Clean a Lawn Mower Gas Tank?
Water alone is not safe for cleaning a gas tank. Water does not dissolve varnish or fuel residue, and any water left inside a metal tank accelerates rust. If water is used as part of a vinegar treatment on a metal tank, the tank must be dried completely with compressed air and immediately coated with a rust inhibitor or refilled with stabilized fuel.
How to Safely Drain and Remove the Gas Tank
Fuel removal and tank detachment must be done correctly before any cleaning begins. Rushing this phase is the most common cause of spills and fire risk.
Step 1: Run the Engine Down (Optional but Recommended)
If the mower still runs, operate it until it stalls from fuel exhaustion before draining. This removes most fuel from the carburetor bowl simultaneously, reducing cleanup at the carb stage.
Step 2: Disconnect the Spark Plug
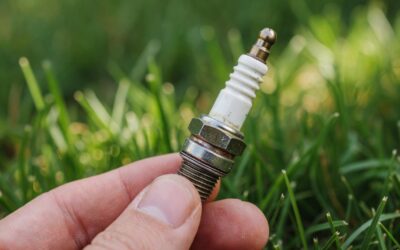
Pull the spark plug wire before doing anything else. This eliminates any accidental engine start while you work near open fuel.
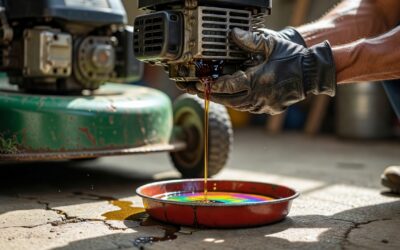
Step 3: Drain the Remaining Fuel
Place an approved gasoline container under the tank. Use a hand siphon or turkey baster to remove as much fuel as possible through the tank opening. On many walk-behind mowers, the fuel line can be unclamped at the carburetor end and directed into the drain pan — this is the fastest full-drain method. Do not use your mouth to siphon gasoline; use a bulb siphon only.
Step 4: Disconnect the Fuel Line
Slide the hose clamp back with a flathead screwdriver, then twist and pull the fuel line free from the tank fitting. If the line is brittle, cracked, or tears during removal, replace it before reinstalling — a cracked fuel line is a fire hazard. Cap or clamp the open fuel line end to prevent drips.
Step 5: Remove the Tank
Unbolt the tank mounting bracket or unclip the retaining tabs (varies by mower model). Lift the tank free and carry it to your outdoor cleaning area. Keep it upright to contain residual fuel.
How to Dispose of Old Lawn Mower Gasoline
Old gasoline is classified as hazardous waste. Legal disposal options include:
- Household hazardous waste (HHW) collection events — most municipalities hold free drop-off events; check your local government website for schedules
- Auto parts stores — chains such as AutoZone and O’Reilly Auto Parts often accept small quantities of used fuel
- Recycling centers — many accept gasoline in sealed, labeled, approved containers
Never pour old gasoline down a drain, into a storm sewer, or onto the ground. Never mix it with motor oil for disposal unless the facility explicitly accepts mixed petroleum waste.
Step-by-Step: How to Clean the Inside of a Lawn Mower Gas Tank
Step 1: Initial Rinse
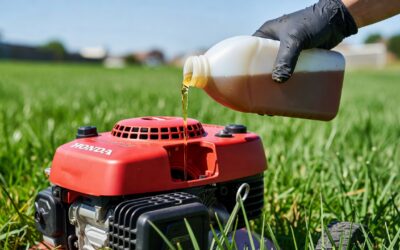
Pour approximately one cup of fresh gasoline into the tank. Swirl it vigorously for 30 seconds, then drain it into your waste container. Repeat twice. This loosens surface-level residue and removes loose sediment before deeper cleaning.
Step 2: Apply Carburetor Cleaner (for Varnish)
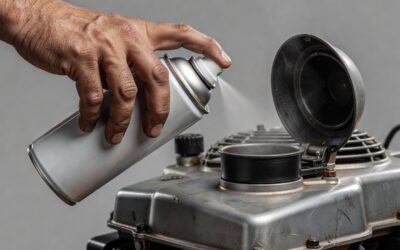
Spray carburetor cleaner liberally into the tank opening. Seal the opening with a rag and shake the tank for 60 seconds so the cleaner contacts all interior surfaces. Let it soak for 5–10 minutes to dissolve varnish deposits, then drain completely.
Step 3: The Salt-and-Solvent Shake Method (for Stubborn Buildup)
For heavy varnish that rinsing alone won’t remove, this abrasive method is effective:
- Add 2–3 tablespoons of coarse non-iodized salt to the tank.
- Add approximately half a cup of fresh gasoline or acetone (use acetone only in metal tanks).
- Seal the openings with a rag or tape.
- Shake the tank vigorously for 2–3 minutes, rotating it to reach all interior surfaces.
- Drain the slurry into your waste container.
- Rinse with fresh gasoline until the runoff comes out completely clear.
The salt acts as a mechanical abrasive, scrubbing varnish off tank walls while the solvent dissolves it. This method is safe for metal tanks. For plastic tanks, use fine-grain salt only and substitute fresh gasoline for acetone to avoid solvent damage.
Step 4: Scrub Accessible Areas
If the tank opening is large enough, insert a parts brush or bottle brush to manually scrub the interior walls. Focus on the bottom of the tank where sediment accumulates. Rinse again with fresh gasoline after scrubbing.
Step 5: Final Rinse and Inspection
Pour a final cup of fresh gasoline through the tank and drain it. Hold the tank up to a light source and visually inspect the interior. The walls should appear clean without dark staining, film, or visible particles in the draining fuel. If runoff is still discolored, repeat the salt-and-solvent step.
Step 6: Dry Completely with Compressed Air
Insert a compressed air nozzle into the tank opening and blow air through for 30–60 seconds. Rotate the tank while doing so to direct airflow across all surfaces. The tank must be completely dry — no solvent or moisture residue — before reinstalling. Even small amounts of trapped water promote rust in metal tanks and can cause the engine to misfire or stall.
Plastic vs. Metal Gas Tank: Key Cleaning Differences
| Factor | Plastic Tank | Metal Tank |
|---|---|---|
| Safe solvents | Fresh gasoline, carburetor cleaner | Fresh gasoline, carburetor cleaner, acetone, lacquer thinner |
| Abrasive shake method | Fine salt only | Coarse salt safe |
| Rust risk | None | High — especially with ethanol fuel or moisture exposure |
| Acid treatment | Never | Phosphoric acid safe for rust removal |
| Inspection method | Look for cracks, haze, or solvent crazing | Look for pitting, rust scale, or pinhole corrosion |
How to Deal with Rust Inside a Metal Gas Tank
Rust inside a metal fuel tank is a separate and more serious problem than varnish. Left untreated, rust flakes travel through the fuel line and destroy carburetor needle valves and jets.
Light Rust: White Vinegar Treatment
White vinegar contains acetic acid, which reacts with iron oxide (rust) and dissolves it. For light surface rust:
- Fill the tank with undiluted white vinegar.
- Let it soak for 12–24 hours.
- Drain completely and rinse thoroughly with fresh gasoline — not water — to remove all vinegar residue. Vinegar left in a metal tank will continue to corrode bare metal.
- Dry immediately with compressed air.
- Refill with fresh, stabilized fuel promptly to prevent flash rusting on the now-bare metal surface.
White vinegar is a viable light-rust treatment, but it is not a rust converter — it removes existing rust without leaving a protective coating, so bare metal is exposed after treatment.
Moderate to Heavy Rust: Phosphoric Acid Treatment
Phosphoric acid is the active ingredient in commercial tank prep products. Unlike vinegar, phosphoric acid converts iron oxide into iron phosphate — a stable, dark compound that acts as a mild corrosion inhibitor on the tank wall. Products such as POR-15 Metal Prep and Rust Mort use phosphoric acid as their primary active compound.
- After the initial rinse and solvent cleaning, pour the phosphoric acid solution into the tank per product instructions (typically diluted 1:3 with water for mild rust).
- Seal and agitate for several minutes; let soak for the time specified on the product label (usually 30–60 minutes).
- Drain and rinse with fresh water as directed, then immediately follow with a gasoline rinse.
- Dry with compressed air and reinstall without delay.
When to Replace Instead of Clean
Replacement is smarter than cleaning when:
- The tank has visible pinhole rust-through or structural pitting
- Scale rust is thick enough that it flakes off in large chunks after treatment
- The tank has been treated twice and rust returns within a single season
- Replacement tank cost is lower than the labor and materials for repeated treatment
For most modern walk-behind mowers, a replacement plastic or metal tank costs $15–$50 — often less than the time invested in treating a severely rusted tank.
Reinstalling the Tank and Preventing Future Contamination
Reinstalling Without Leaks
- Inspect the fuel line before reattaching — squeeze it along its length to check for cracks or brittleness. Replace if there is any doubt.
- Slide the hose clamp onto the fuel line before pushing the line onto the tank fitting.
- Push the fuel line fully onto the fitting until it seats past the barb, then position the clamp over the fitting end and tighten.
- Remount the tank using the original bolts; do not overtighten plastic tank brackets, which can crack the tank.
- Reconnect the spark plug wire.
- Add a small amount of fresh fuel and inspect all connections for drips for 2–3 minutes before starting the engine.
Replace the Fuel Filter at the Same Time
The inline fuel filter is the last line of defense between a dirty tank and the carburetor. If you cleaned the tank due to contamination, the filter has already been exposed to that contamination. Replace it during reinstallation — it is a $3–$8 part that takes five minutes to swap and prevents a repeat carburetor cleaning job.
Use Fuel Stabilizer to Prevent Future Buildup
Fuel stabilizer works by slowing oxidation of gasoline, extending its usable life to 12–24 months depending on the product. Add stabilizer to every tank of fuel if the mower sits for more than two weeks between uses — not just at the end of the season. Briggs & Stratton, Sta-Bil, and Sea Foam each manufacture fuel stabilizers validated for use in small-engine fuel systems. Follow the product’s dosing ratio; more stabilizer does not improve protection beyond the recommended amount.
Seasonal Storage: How to Keep the Tank Clean Off-Season
Two accepted methods exist — each has tradeoffs:
- Store with stabilized fuel (recommended for metal tanks): Fill the tank fully with fresh fuel mixed with stabilizer. A full tank leaves no air space for condensation to form, reducing rust risk. Run the engine for 5 minutes after adding stabilizer to circulate treated fuel through the carburetor.
- Store empty (recommended for plastic tanks): Run the engine until it stalls dry, then drain any remaining fuel with a siphon. An empty plastic tank does not rust and eliminates any risk of long-term varnish formation. Ensure the tank is fully dry before storage.
Frequently Asked Questions
How long does it take for gasoline to go bad in a lawn mower tank?
Standard gasoline begins degrading within 30 days. Ethanol-blended fuel (E10 or E15) degrades faster — its ethanol component absorbs atmospheric moisture within weeks, promoting both varnish formation and rust. Without a fuel stabilizer, fuel left in a mower tank for 60–90 days is likely to cause starting problems and should be drained before use.
Can you clean a lawn mower gas tank without removing it?
Partial cleaning is possible without removal — drain the tank via the fuel line, spray carburetor cleaner into the opening, and rinse with fresh fuel. Full cleaning, especially the salt-and-solvent shake method or any rust treatment, requires the tank to be removed so it can be agitated and fully drained from all angles.
Is carburetor cleaner safe for plastic gas tanks?
Most aerosol carburetor cleaners are safe for a brief contact application on plastic tanks — spray in, soak 5 minutes, drain. Prolonged soaking or use of strong solvents like acetone or lacquer thinner on plastic tanks risks softening, crazing, or cracking the tank material. When in doubt, use fresh gasoline as the rinse agent for plastic tanks.
Should you replace the fuel filter after cleaning the gas tank?
Yes. Any debris, varnish particles, or rust flakes that contaminated the tank have already passed through or lodged in the inline fuel filter. Installing a clean filter after a tank cleaning ensures contamination does not continue flowing to the carburetor. Fuel filters on small engines are inexpensive and straightforward to replace — there is no practical reason to reuse a filter after a contamination event.