Direct Answer: How to Replace a Lawn Mower Pull String
To replace a lawn mower pull string, disconnect the spark plug wire, remove the recoil starter housing (usually 2–4 bolts), extract the old cord, thread a new starter cord through the handle and pulley, secure it with a knot, rewind the spring mechanism by rotating the pulley 2–3 times counterclockwise, and reassemble the housing. The entire process takes 15–30 minutes for most small push mowers and requires only a socket set, replacement cord, and basic mechanical skill. Most homeowners can complete this repair without professional help.
When to Replace Your Lawn Mower Pull String
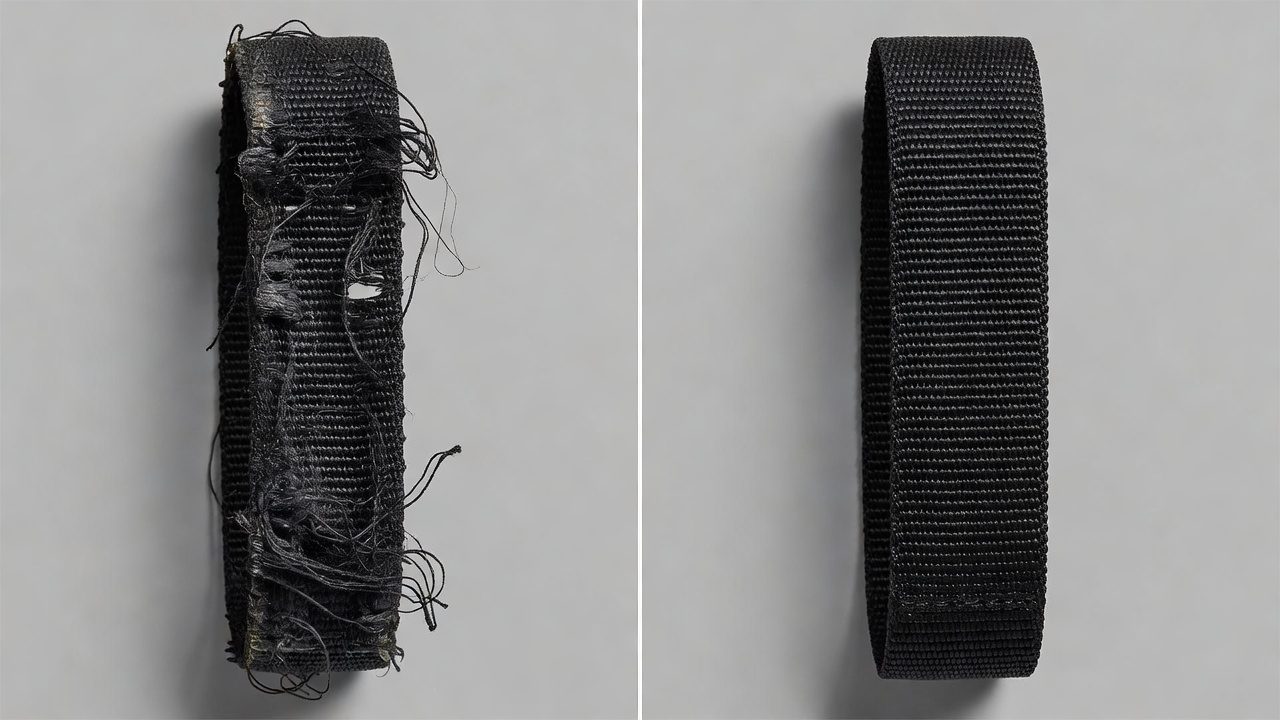
Before you begin disassembly, confirm that replacement—rather than repair or professional service—is the right choice.
Signs the pull string needs replacement:
- Visible fraying or unraveling at the handle or inside the housing
- Cord breaks mid-pull during normal starting attempts
- Handle won’t retract or retracts slowly after pulling
- Cord is knotted or tangled inside the housing (often unrecoverable)
- Handle feels loose or detached from the cord
A pull string that is simply dirty or slightly stiff can often be cleaned and reused. If the cord is structurally intact but hard to pull, try spraying the recoil housing with silicone lubricant before assuming replacement is necessary.
DIY replacement is almost always the right choice for homeowners. It costs $10–$30 in materials, takes minimal time, and requires no special training. Professional repair typically costs $50–$150 in labor alone. The only exception is if your mower’s recoil assembly is damaged (cracked housing, bent pulley, or broken spring), which may require professional service or replacement of the entire starter mechanism.
Key Differences by Mower Type
The general replacement process is similar across mower types, but housing design and access points vary significantly.
Push mowers (most common): The recoil starter is mounted on the engine shroud, typically on the top or side. Housing is secured with 2–4 bolts and is easily accessible without removing the deck or engine.
Riding mowers and zero-turn mowers: The starter may be mounted lower on the engine or on the underside of the frame. You may need to tilt the mower or remove the engine cover to access the housing. Some riding mowers have electric starters instead of recoil systems, eliminating this repair entirely.
Walk-behind mulching or commercial mowers: These often have reinforced housings with more fasteners. The pulley mechanism may be larger and require additional tools to hold it steady during rewinding.
How to identify your mower type: Check the mower’s manual or manufacturer label. If you can see a pull cord handle on top of the engine, you have a recoil starter. If the engine has a battery and ignition key, you likely have an electric starter and won’t need this repair.
Tools and Materials You’ll Need
Tools:
- Socket set or wrench (typically 8mm–13mm, depending on mower model)
- Screwdrivers (Phillips and flathead)
- Pliers or needle-nose pliers
- Work gloves (to protect hands from spring tension and frayed cord)
- A clean, flat work surface or vise to hold the housing
Materials:
- Starter cord (most common: 3.5–4mm diameter nylon) — Available at hardware stores, lawn mower dealers, or online. Pre-cut kits (25–50 feet) cost $8–$15. Buy the same diameter and length as the original cord if possible; check your mower’s manual or compare the old cord to the new one.
- Replacement pull handle (optional) — If the handle is cracked or the attachment point is damaged, purchase a new handle kit ($5–$10).
- Lubricant (silicone spray or light oil) — For testing the recoil mechanism after assembly.
Safety Precautions Before Starting
Disconnect the spark plug wire: This is the single most important safety step. Remove the wire from the spark plug terminal to prevent accidental engine ignition if the cord is pulled during disassembly. Engine ignition during repair can cause serious injury.
Allow the engine to cool: Wait at least 30 minutes after running the mower before touching the engine or housing. The metal components can cause severe burns.
Release spring tension carefully: The recoil spring is under significant tension and can snap back violently if released suddenly. Keep your hands and face clear of the pulley when removing or installing the housing.
Work in a well-lit, clean area: Small bolts and parts can be easily lost. Use a magnetic parts tray or small container to organize fasteners.
Wear work gloves: Protect your hands from sharp cord ends, metal edges, and spring tension.
Step 1: Remove the Recoil Starter Housing
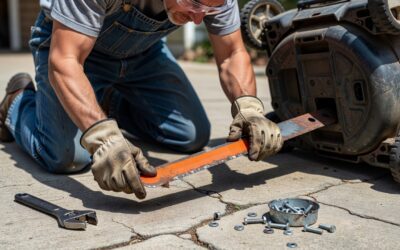
Locate the fasteners: The recoil starter housing is typically bolted to the engine shroud at 2–4 points. On most push mowers, these bolts are on the top or side of the engine and are easily visible. Consult your mower’s manual if you’re unsure.
Remove the bolts: Use the appropriate socket or wrench to remove all fasteners. Place them in a container to prevent loss. On some models, the housing may also be held by a single center bolt with a nut on the back side; check both sides before assuming the housing is fully released.
Gently separate the housing from the engine: The housing may have a gasket or seal between it and the engine. Pry gently with a flathead screwdriver if needed, but avoid damaging the gasket—you’ll need to reuse it during reassembly. If the gasket tears, you can replace it with a generic sheet gasket (available at hardware stores) or use a thin bead of high-temperature silicone sealant during reassembly.
Set the housing on your work surface: Place it with the pulley facing up. The pulley is the wheel-like component that the cord winds around.
Step 2: Remove the Old Cord and Pulley Assembly
Inspect the old cord: Note how it is threaded through the handle attachment point and how it is knotted or secured to the pulley. Take a photo with your phone for reference during installation.
Cut away the old cord: Use scissors or a utility knife to cut the old cord near the handle and pulley. This makes it easier to unwind from the pulley without disturbing the spring mechanism.
Unwind the cord from the pulley: Gently rotate the pulley by hand (counterclockwise, when viewed from the top) to unwrap the remaining cord. Do not apply force; if the pulley is stuck, the recoil spring may be over-tensioned, and you may need to consult the mower’s manual or seek professional guidance.
Remove the pulley (if necessary): On most mowers, the pulley is held by a single center bolt or clip. You may need to remove it to access the spring mechanism or to install the new cord more easily. If the pulley is riveted or permanently attached, you can leave it in place and thread the new cord around it.
Step 3: Thread and Secure the New Cord
Measure the cord length: Cut the new starter cord to the same length as the old one, or use a pre-cut kit. Most push mowers use 20–30 feet of cord; the unused length can be coiled inside the housing.
Melt the cord ends: To prevent fraying, carefully pass the cut ends of the nylon cord through a flame (a lighter or match works well) for 1–2 seconds. Do not hold it in the flame; the goal is to melt and seal the nylon fibers, not to burn the cord. Let it cool before touching.
Thread the cord through the handle: Pass one end of the new cord through the pull handle attachment point. If you’re using a new handle, consult the instructions for the specific threading method. Most handles have a hole or slot where the cord passes through and is secured with a knot or clip.
Tie a knot at the handle end: Create a figure-eight knot or double knot to prevent the cord from sliding back through the handle. The knot should be large enough to catch on the handle’s retaining pin or slot.
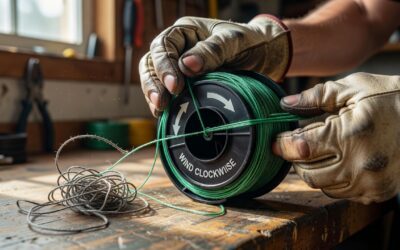
Secure the other end to the pulley: Wind the cord around the pulley in the same direction as the original (usually clockwise, when viewed from above). Tie the cord to the pulley using a secure knot, typically a double knot or a loop that fits into a notch on the pulley. Consult your mower’s manual for the exact attachment method, as designs vary.
Step 4: Rewind the Recoil Spring
This is the most critical step. Improper tension will cause the cord to retract poorly or not at all.
Rotate the pulley counterclockwise: Slowly turn the pulley counterclockwise (when viewed from above) by hand. You should feel resistance from the spring. Continue rotating until the pulley is fully wound and returns to its starting position when released. This pre-tensions the spring.
Apply 2–3 rotations of additional tension: After the pulley returns to its natural position, rotate it an additional 2–3 full turns counterclockwise. This provides the tension needed for smooth cord retraction. The exact number of rotations depends on the mower model; consult your manual if available, but 2–3 turns is the industry standard for most small engines.
Test the spring tension: Gently pull the cord to ensure it retracts smoothly. If it pulls hard or does not retract, you may have over-tensioned the spring. In this case, remove the housing, rotate the pulley one additional turn counterclockwise, and reassemble. If the cord does not retract at all, you may have under-tensioned the spring; add one more rotation and test again.
Do not over-tension: Excessive tension can damage the spring, snap a new cord prematurely, or make the mower difficult to start. If you are unsure, it’s better to err slightly on the side of under-tension and add one more rotation than to risk over-tensioning.
Step 5: Reassemble the Housing and Test
Position the housing on the engine: Align the bolt holes with the threaded holes on the engine shroud. If you removed the gasket, reposition it on the engine before installing the housing. If the gasket is damaged, apply a thin bead of high-temperature silicone sealant around the mounting surface.
Install the bolts: Hand-tighten all bolts first to ensure they are aligned. Then use the socket wrench to tighten them firmly, but do not over-tighten (which can crack the plastic housing or strip threads). Tighten in a cross pattern (like tightening wheel lugs) for even pressure.
Reconnect the spark plug wire: Slide the wire back onto the spark plug terminal until it clicks or sits snugly.
Perform a pull test: Before starting the engine, pull the cord handle slowly 5–10 times to ensure the cord extends and retracts smoothly. The handle should return fully into the housing after each pull. If the cord is stuck or the handle does not retract, stop and troubleshoot before starting the engine.
Start the engine: Once the manual test is complete, start the mower normally. The pull cord should engage smoothly, and the engine should start as usual. If the cord is difficult to pull or the engine does not start, turn off the mower and check for any issues (spring over-tension, cord tangling, misaligned pulley).
Troubleshooting Common Issues
The cord does not retract smoothly: The recoil spring may be under-tensioned. Disassemble the housing, add one additional rotation of tension to the pulley, and reassemble. Alternatively, the cord may be tangled inside the housing; check for knots or loops and straighten it.
The handle is very difficult to pull: The spring is likely over-tensioned. Disassemble the housing and reduce the tension by one rotation. Alternatively, lubricate the pulley bearing and cord path with silicone spray to reduce friction.
The spring will not stay wound or the cord does not retract at all: The recoil spring may be broken or permanently deformed. This is a component-level failure that requires professional repair or replacement of the entire starter assembly. Do not attempt to repair a broken spring yourself.
The cord handle is stuck or will not pull: Check that the cord is not tangled or kinked inside the housing. If the cord is straight but still stuck, the recoil spring may be seized (often due to lack of maintenance). Try applying silicone lubricant to the pulley bearing and allowing it to soak for 30 minutes before attempting to pull again.
The cord frays or breaks again shortly after replacement: You may have used the wrong cord diameter or type. Ensure you’re using a 3.5–4mm nylon starter cord designed for small engines. Thinner cord or incorrect materials will wear prematurely.
Frequently Asked Questions
How much does it cost to replace a lawn mower pull string?
The material cost is very low: $8–$15 for replacement cord and handle (if needed). If you hire a professional, expect to pay $50–$150 in labor. Most homeowners save significantly by doing the repair themselves.
Can I use any type of cord for the pull string?
No. Use a nylon starter cord specifically designed for small engines, typically 3.5–4mm in diameter. Other materials (cotton, polyester, or incorrect nylon thickness) will fray, break, or wear prematurely. Purchase cord from a lawn mower dealer, hardware store, or online retailer to ensure compatibility.
How often does a lawn mower pull string need replacement?
With normal use and maintenance, a pull string lasts 5–10 years or longer. Replacing it annually is unnecessary. Replace it only when you notice fraying, breakage, or poor retraction. Regular lubrication of the recoil housing can extend cord life.
Do I need to replace the handle when I replace the cord?
Not necessarily. If the handle is intact, crack-free, and securely attached to the old cord, you can reuse it with the new cord. If the handle is cracked, loose, or damaged, purchase a replacement handle kit ($5–$10) and install it with the new cord.