Understanding Your Weed Wacker Head Design
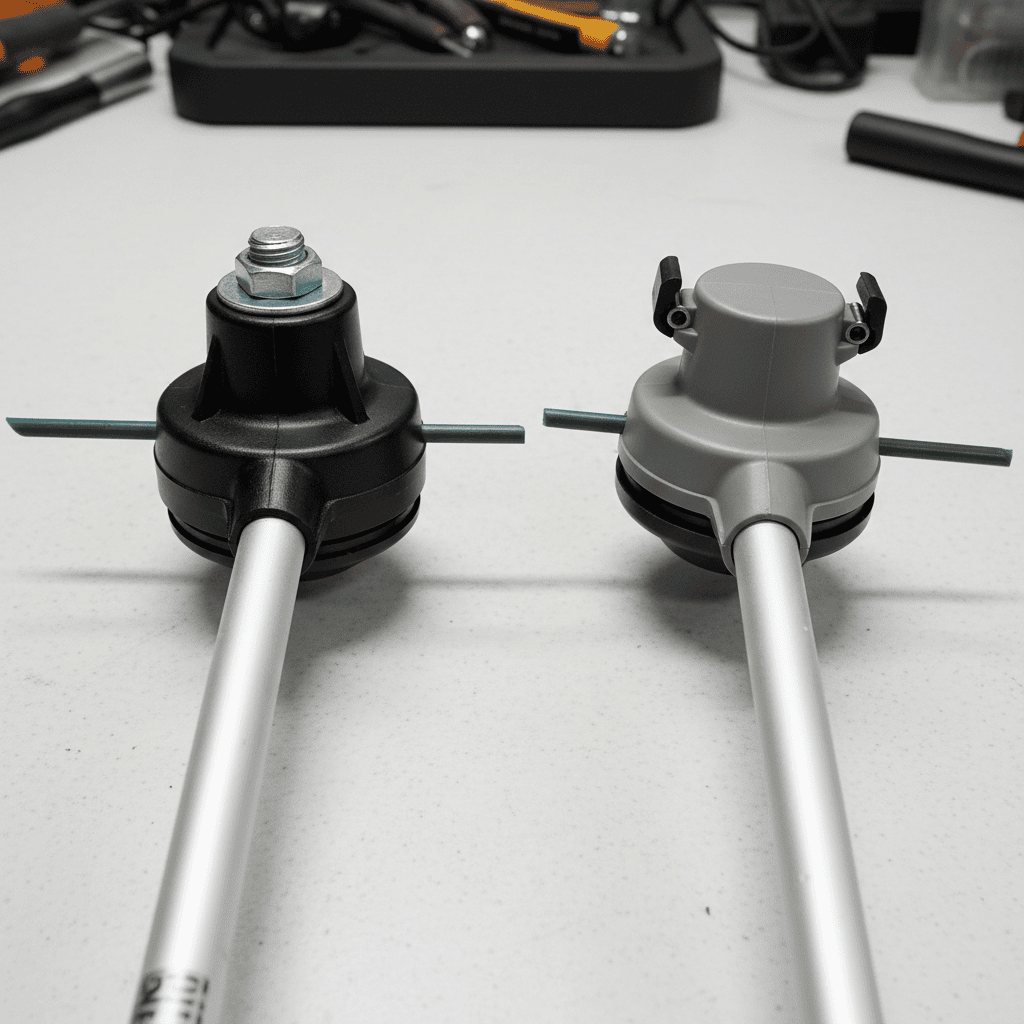
Before you attempt to remove your weed wacker head, it’s important to identify which type of head your tool has. The two most common designs are bolt-on heads and cartridge-style heads, and they require different removal approaches.
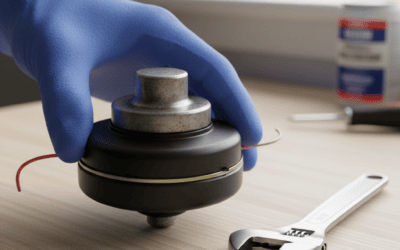
Bolt-on heads are secured with a single retaining bolt or nut that threads onto the drive shaft. These are the most straightforward to remove and are found on many popular gas and electric models. Cartridge-style heads use a push-fit or clip-based system where the entire head assembly slides onto the shaft and is locked in place with internal mechanisms or external clips. Understanding which type you have will determine which tools and techniques you’ll need.
To identify your head type, examine the base of the cutting head where it connects to the shaft. If you see a visible bolt or nut protruding from the center, you likely have a bolt-on design. If the connection appears smooth with no external fastener visible, check for release clips or tabs on the side of the head—this typically indicates a cartridge system.
Essential Safety Precautions Before Removal
Safety is the most critical step in this process. Neglecting proper precautions can result in serious injury.
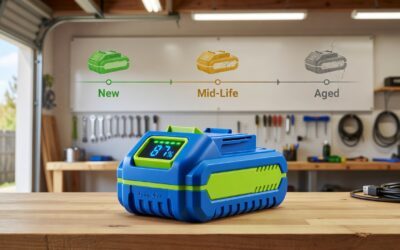
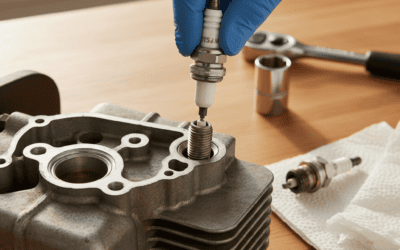
- Disconnect the power source: For gas-powered weed wackers, remove the spark plug wire to prevent accidental ignition. For electric models, unplug the device from the outlet. For cordless models, remove the battery completely.
- Allow adequate cool-down time: If the tool has been recently used, wait at least 10-15 minutes for the engine and components to cool. This prevents burns and allows you to handle parts safely.
- Wear appropriate protective equipment: Use work gloves to protect your hands from sharp cutting edges and unexpected contact. Safety glasses protect your eyes from dust or debris that may fall during removal.
- Work on a stable surface: Place the weed wacker on a flat, secure work table or vise to prevent it from rolling or shifting during the removal process.
- Ensure the head cannot rotate: Some removal procedures require you to hold the head stable while unscrewing the bolt. Use a second wrench or specialized head-lock tool to prevent unwanted rotation.
Tools and Materials You’ll Need
Having the right tools before you begin makes the job significantly easier and safer. Most weed wacker head removals require minimal tools.
| Tool | Purpose | Notes |
|---|---|---|
| Adjustable wrench or socket set | Turns the retaining bolt counterclockwise | Size typically ranges from 10mm to 16mm depending on model |
| Second wrench or head-lock tool | Holds the head stationary while you turn the bolt | Prevents the head from spinning; some manufacturers provide this tool |
| Work gloves | Protects hands from sharp edges | Leather or heavy-duty synthetic recommended |
| Safety glasses | Protects eyes during removal | Essential for any maintenance work |
| Penetrating oil (optional) | Loosens corroded or stuck bolts | Allow 15-30 minutes to work before applying force |
Check your weed wacker’s user manual for specific tool recommendations. Many manufacturers include the required wrench or head-lock tool with the original purchase.
Step-by-Step Removal Process for Bolt-On Heads
This is the most common head design and applies to most gas-powered and corded electric weed wackers.
- Position the tool securely: Place the weed wacker on a sturdy work surface. If possible, clamp the shaft in a vise using cloth padding to prevent damage to the metal shaft.
- Locate the retaining bolt: Look at the very base of the cutting head where it connects to the drive shaft. You should see a bolt or nut protruding from the center. This is your retaining fastener.
- Apply the two-wrench method: Place one wrench on the bolt itself and a second wrench on the head-lock nut or holding area below it. This prevents the head from rotating while you apply force.
- Turn counterclockwise: Rotate the wrench on the retaining bolt counterclockwise. You should feel resistance as the threads begin to release. Apply steady, even pressure rather than sudden jerking motions.
- Continue until the bolt is completely free: Keep turning counterclockwise until the bolt can be removed by hand. Remove and set it aside in a safe location where you won’t lose it.
- Separate the head from the shaft: Once the bolt is removed, the head should slide or pull away from the shaft. If it resists, gently rock it side-to-side or tap it lightly with a rubber mallet to break the connection.
- Inspect the connection point: Before reassembling, examine the shaft and internal threads for dirt, damage, or corrosion. Clean these areas if necessary.
Removing Cartridge-Style Weed Wacker Heads
Cartridge-style heads are common on many cordless and newer electric models. These systems use a different mechanism for attachment and removal.
Identifying cartridge-style heads: These heads typically have a smooth base with no visible external bolt. Look for small clips, tabs, or release buttons on the side or rear of the head assembly.
Removal procedure:
- Locate the release clip or button—usually marked with an arrow or icon indicating the release direction
- Press or slide the release mechanism firmly to unlock the head from the shaft
- Pull the entire head assembly straight away from the shaft with steady pressure
- If resistance occurs, do not force—check that the release mechanism is fully disengaged
- Set the removed head carefully on a clean surface to avoid damage
Some cartridge systems use a quarter-turn or partial-rotation release rather than a direct pull. Consult your model’s manual if you’re unsure about the specific release method.
Common Causes of Removal Difficulty
If the head isn’t coming off easily, several factors could be at play.
Corroded or seized bolts: Environmental exposure, moisture, and age can cause bolts to corrode and become difficult to turn. Apply a penetrating oil and allow 15-30 minutes for it to work before attempting removal again. Avoid using excessive force, which could strip the bolt or cause it to break.
Cross-threaded bolts: If the bolt was installed incorrectly, it may be stuck at an angle. Gently attempt to turn it both directions to find the correct threading path. If it doesn’t move, stop and consider professional assistance.
Internal corrosion: Debris or dried grass inside the connection can prevent smooth separation. Tap the head gently with a rubber mallet around the perimeter to break the seal, or carefully spray compressed air to dislodge debris.
Missing holding tool: Attempting to remove the bolt without a head-lock tool often results in the head spinning rather than the bolt loosening. Acquire the proper holding tool or create a temporary restraint using a second wrench.
Reassembly and Maintenance Considerations
Once the head is removed, this is an excellent opportunity to perform maintenance tasks that aren’t possible with the head attached.
Cleaning the shaft and connection: Use a dry cloth to wipe the drive shaft and remove any dirt, grass, or corrosion. For stubborn buildup, use a soft brush or old toothbrush. Do not use abrasive materials that could damage the shaft.
Inspecting for damage: Check the shaft threads for stripping or damage. If threads appear compromised, the bolt may not hold securely when reinstalled. Examine the head’s internal connection point for cracks or deformation.
Proper reinstallation: When ready to reattach the head, align it carefully with the shaft. Apply slight downward pressure while hand-tightening the bolt. Once hand-tight, use your wrench to tighten an additional quarter-turn. Do not over-tighten, which can strip threads or damage the head.
Checking for leaks: On gas-powered models, verify that the connection is secure and no fuel is leaking from the carburetor or fuel line area near the head.
Frequently Asked Questions
Q: Why do I turn the bolt counterclockwise to remove it?
A: Standard bolts use right-hand threading, meaning counterclockwise rotation loosens them. This is a universal standard in most tools and machinery. Some specialized equipment uses reverse-threaded bolts, but this is rare—your manual will specify if your model is different.
Q: Can I remove the head while the battery is installed on a cordless model?
A: No. Always remove the battery completely before performing any maintenance. Even with the tool switched off, a battery remaining in the device could potentially cause accidental activation. This is a safety critical step that should never be skipped.
Q: What should I do if the bolt head becomes stripped and I can’t turn it?
A: If the bolt head is stripped and your wrench cannot grip it, try using a rubber band between the wrench and bolt for improved grip, or use a slightly smaller wrench struck firmly onto the bolt with a hammer. If these methods fail, the bolt may need to be drilled out by a professional technician. Do not attempt to drill it yourself unless you have experience.
Q: How often should I remove the weed wacker head for maintenance?
A: Remove the head at least once per season for cleaning and inspection, or more frequently if you use the tool heavily in wet conditions or grassy areas. Regular removal allows you to clear debris from the shaft and connection area, which extends the life of the tool and prevents corrosion.