Direct Answer: How to Remove a Weed Eater Head
To remove a weed eater head, first disconnect the power source completely—unplug corded models, remove batteries from cordless units, or turn off and cool down gas-powered trimmers. Locate the head assembly at the end of the shaft and identify your removal mechanism: reverse-threaded heads turn counterclockwise, quick-release systems require pressing or sliding clips, and fixed-screw heads need a wrench to loosen the central bolt. Once loosened, unscrew or unclip the head completely and pull it away from the shaft. The exact procedure varies by brand and model, so consult your user manual for specific instructions.
Safety First: Preparing Your Weed Eater for Head Removal
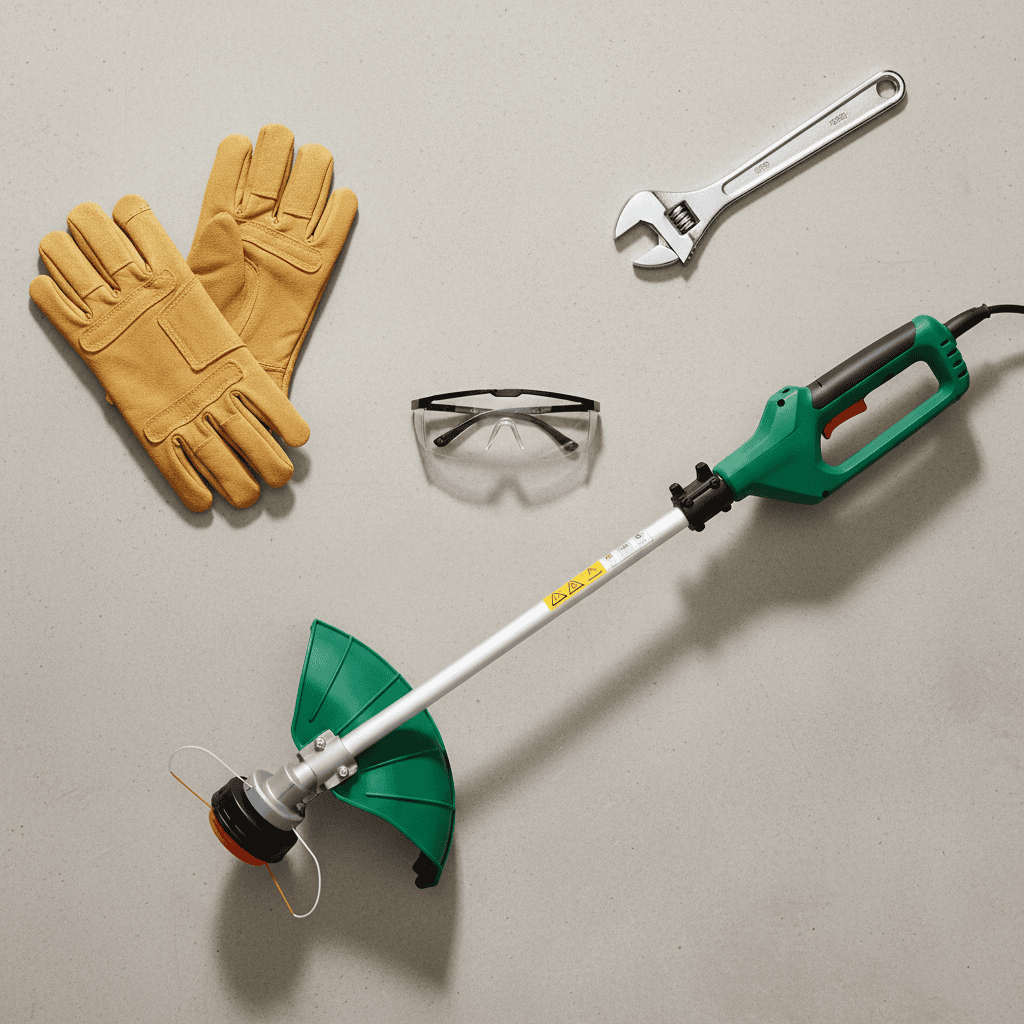
Before attempting any maintenance on your weed eater, safety must be your primary concern. The trimmer head contains spinning components that can cause serious injury if the tool is accidentally activated during removal.
Why Disconnecting Power Is Essential
Disconnecting your weed eater’s power source is non-negotiable before removing the head. Even if you believe the tool is off, residual energy or accidental activation can cause the head to spin unexpectedly. For corded electric models, unplug the power cord from the wall outlet. For battery-powered trimmers, remove the battery pack completely from the tool. For gas-powered units, turn off the engine, allow it to cool for several minutes, and disconnect the spark plug wire to prevent accidental ignition.
Required Safety Gear and Tools
- Safety glasses or face shield—protects eyes from debris or small parts
- Work gloves—provides grip and protects hands from sharp edges
- Appropriate wrenches or sockets—size depends on your specific model
- Clean workspace—prevents losing small fasteners or clips
- User manual—essential reference for your specific trimmer model
Identifying Your Weed Eater Head Type
Weed eaters use different head attachment systems, and identifying yours is crucial before attempting removal. The wrong approach can damage your trimmer or make removal unnecessarily difficult.
Main Types of Weed Eater Head Assemblies
Reverse-Threaded Heads: The most common type, these heads screw onto the shaft using reverse threading (counterclockwise to remove). This design prevents the head from loosening during normal operation when the shaft rotates clockwise.
Quick-Release Clip Systems: These heads attach via spring-loaded clips or tabs that must be pressed or slid to disengage. They’re designed for fast swaps between different head types without tools.
Fixed-Screw Assemblies: Less common, these heads are secured with a central bolt or screw that must be loosened with a wrench before the head can be removed.
Automatic Bump Heads: These heads automatically feed string as needed and may have slightly different removal mechanisms depending on the brand.
How to Identify Your Head Type
Examine the connection point between the head and shaft. If you see a large hexagonal or cylindrical nut at the center, you likely have a reverse-threaded head. If you notice clips or tabs on the sides of the head assembly, you have a quick-release system. Check your user manual if you’re unsure—it will clearly indicate your model’s attachment method with diagrams.
Removing Reverse-Threaded Weed Eater Heads
Reverse-threaded heads are the industry standard for most weed eaters. Understanding why this design exists helps you approach removal correctly.
Why Weed Eater Heads Use Reverse Threading
When the trimmer operates, the shaft rotates clockwise. A standard right-handed thread would gradually unscrew itself during use, causing the head to detach. Reverse threading solves this by making the head tighten during operation and loosen when turned counterclockwise—the opposite of normal fasteners.
Tools You’ll Need
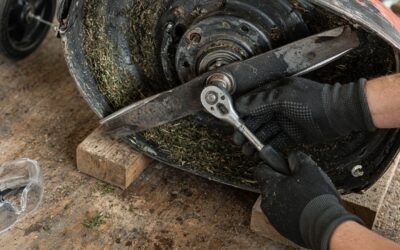
- Adjustable wrench or socket set (typically 1/2 inch or 5/8 inch, depending on your model)
- Penetrating oil (if the head is stuck)
- Clean cloth or rag
- Your trimmer’s user manual for the correct wrench size
Step-by-Step Removal Process
- Secure the shaft: Hold the shaft firmly with one hand to prevent it from rotating while you work on the head.
- Locate the central nut: At the center of the head assembly, you’ll find a large nut or bolt head.
- Select the correct wrench size: Use the wrench size specified in your manual. Using the wrong size can strip the nut.
- Turn counterclockwise: Apply steady, firm pressure turning the wrench counterclockwise. This is opposite to standard bolt removal, so remember: lefty-loosey applies here.
- Continue unscrewing: Once loosened, you may be able to unscrew the head by hand. Turn it counterclockwise until it separates completely from the shaft.
- Remove the head: Pull the head assembly away from the shaft. You may need to wiggle it slightly if it’s stuck.
- Inspect the shaft threads: Before reinstalling or replacing the head, check the threads for damage or debris.
Removing Quick-Release and Clip-Based Trimmer Heads
Quick-release systems offer convenience for users who frequently swap between different head types or need rapid maintenance access.
How Quick-Release Mechanisms Function
These systems use spring-loaded clips or tabs that grip the shaft. Pressing or sliding a release button or lever disengages the clips, allowing the head to slide off. This tool-free design is popular on mid-range and premium trimmer models.
Locating Release Clips
Release clips are typically positioned on the sides of the head assembly, near where it connects to the shaft. Some models feature a single release button on top or bottom of the head. Consult your manual to identify the exact location on your trimmer.
Removal Steps for Clip-Based Systems
- Locate the release mechanism: Find the clip, button, or lever designed to release the head.
- Apply firm pressure: Press or slide the release mechanism fully. You may hear or feel a click indicating disengagement.
- Pull the head away: While holding the release mechanism, gently pull the head assembly away from the shaft.
- Verify complete separation: Ensure the head is fully detached and no clips remain engaged.
Note: Quick-release heads require less force than reverse-threaded systems. If you’re meeting significant resistance, you may not have fully engaged the release mechanism.
Removing Fixed-Screw Weed Eater Heads
Fixed-screw assemblies are less common but appear on some professional-grade and specialty trimmers.
When Fixed-Screw Attachments Are Used
Certain commercial-grade trimmers and models designed for specific cutting heads use fixed-screw systems. These provide a more permanent connection than quick-release systems but require tools for removal.
Removal Process
- Identify the central fastener: Look for a bolt, screw, or nut at the center of the head assembly.
- Determine the tool needed: This may require an Allen wrench, Phillips head screwdriver, or standard wrench depending on your model.
- Secure the shaft: Hold the shaft steady to prevent rotation while loosening the fastener.
- Loosen gradually: Turn the fastener counterclockwise in small increments. Don’t force it if resistance is high.
- Remove the fastener: Once fully loosened, remove the bolt or screw and set it aside safely.
- Slide the head off: The head should now slide freely from the shaft. If it’s stuck, apply penetrating oil and wait 10-15 minutes before trying again.
Troubleshooting Common Removal Problems
Even with proper technique, you may encounter difficulties when removing a weed eater head. These solutions address the most common issues.
Stuck or Frozen Head Assemblies
Problem: The head won’t unscrew or unclip despite proper technique.
Solutions:
- Apply penetrating oil: Spray the connection point generously with penetrating oil (such as WD-40 or similar products). Allow 15-30 minutes for the oil to penetrate.
- Use a rubber grip pad: Wrap a rubber grip pad or old towel around the nut to improve grip and prevent slipping.
- Tap gently with a hammer: Sometimes a light tap on the wrench handle can break the corrosion bond. Use controlled, gentle taps rather than forceful strikes.
- Apply heat: For stubborn metal-to-metal connections, carefully apply heat with a heat gun (not a torch). Heat causes metal to expand slightly, potentially breaking corrosion bonds.
Stripped or Damaged Fasteners
Problem: The nut or bolt head is stripped and the wrench slips.
Solutions:
- Try a smaller wrench: Use a slightly smaller wrench size and tap it firmly onto the stripped fastener for better grip.
- Use locking pliers: Adjustable locking pliers can sometimes grip stripped fasteners when wrenches fail.
- Apply rubber between wrench and fastener: Place a rubber band or piece of rubber between the wrench and fastener to improve grip.
Shaft Damage or Corrosion
Problem: The shaft itself appears corroded or damaged, preventing clean head removal.
Solutions:
- Clean the connection point: Use a wire brush or steel wool to remove corrosion and debris from the shaft and head connection.
- Apply penetrating oil liberally: Allow extra time for oil to work on heavily corroded connections.
- Seek professional help: If the shaft is bent or severely damaged, professional repair may be necessary to prevent further damage.
What to Do After Removing the Weed Eater Head
Proper post-removal care ensures your trimmer remains in good working condition.
Cleaning the Head Assembly
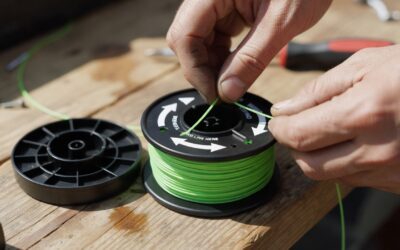
Once removed, clean the head thoroughly with a dry cloth or brush to remove grass clippings, dirt, and debris. For automatic bump heads, clear any tangled string or grass from the feed mechanism. If the head is heavily soiled, rinse it with water and allow it to dry completely before reinstalling.
Inspecting the Shaft
Examine the shaft where the head attaches. Look for:
- Stripped or damaged threads
- Corrosion or rust buildup
- Bending or warping
- Debris lodged in the connection point
Clean the shaft with a dry cloth and remove any visible debris. If you notice threading damage, the shaft may need professional repair.
Reinstalling the Head Correctly
When reinstalling:
- For reverse-threaded heads: Turn clockwise until snug. Don’t over-tighten, as this can damage threads.
- For quick-release heads: Slide the head onto the shaft and ensure clips engage fully with an audible click.
- For fixed-screw heads: Reinstall the fastener and tighten firmly but not excessively.
Always test the head connection before operating the trimmer. The head should not wobble or move when you gently try to twist it by hand.
Frequently Asked Questions
Can I remove a weed eater head without tools?
Quick-release and clip-based systems can be removed without tools by pressing or sliding the release mechanism. Reverse-threaded and fixed-screw heads require appropriate wrenches or screwdrivers. Check your user manual to determine if your model is tool-free.
What size wrench do I need for my weed eater head?
The wrench size varies by manufacturer and model, typically ranging from 1/2 inch to 5/8 inch. Your user manual will specify the exact size. Using an incorrect size can strip the fastener, so verify before attempting removal.
How often should I remove and clean my weed eater head?
Clean the head after each use by removing grass and debris with a dry cloth. A deeper cleaning and inspection every 5-10 uses is recommended, depending on how frequently you use the trimmer and the conditions in which you operate it.
Is it normal for the weed eater head to be tight?
Yes, reverse-threaded heads are intentionally tight to prevent loosening during operation. However, they should still be removable with the correct wrench and proper technique. If the head is extremely difficult to remove, penetrating oil and patience are usually effective solutions.