Direct Answer: How to Sharpen a Chainsaw
Sharpen a chainsaw by securing it in a vise, selecting the correct round file size for your chain pitch, and filing each tooth at a 25–35 degree angle with consistent strokes. After sharpening the cutting teeth, adjust the depth gauges to maintain proper cutting geometry. Hand-filing works well for routine maintenance every 5–10 hours of use, but severely damaged chains or inexperienced users should seek professional sharpening to avoid safety issues and ineffective work.
Signs Your Chainsaw Needs Sharpening
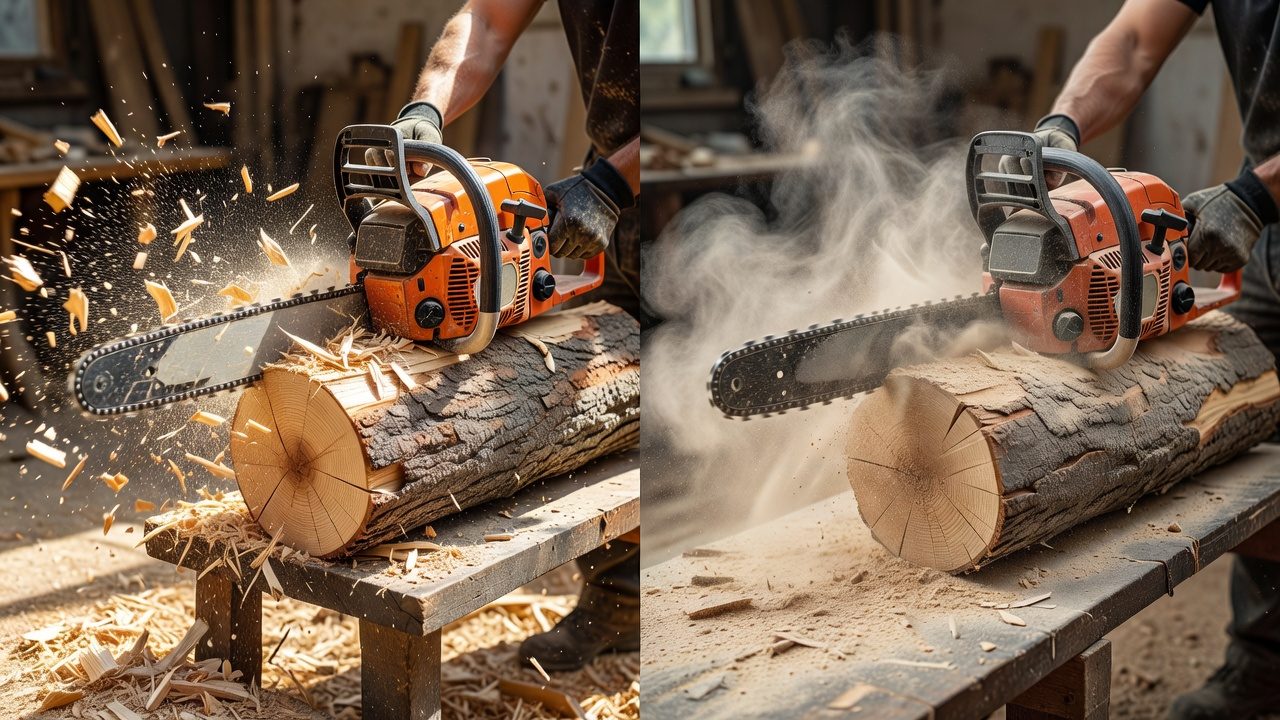
Recognizing when your chainsaw chain has dulled is the first step in proper maintenance. A dull chain compromises both safety and efficiency.
- Pulls to one side: The chainsaw drifts left or right during cutting, indicating uneven tooth sharpness.
- Produces fine sawdust instead of chips: A sharp chain throws coarse wood chips; a dull one creates powder-like dust.
- Requires excessive pressure: You find yourself pushing harder to cut through wood, which tires you and increases accident risk.
- Bounces or chatters: The chain jumps erratically rather than cutting smoothly.
- Cuts at an angle: Even when held straight, the blade veers, indicating uneven sharpness across teeth.
Most chainsaws need sharpening every 5–10 hours of cutting, though this varies based on wood type, cutting conditions, and chain quality. Hardwoods and dirty wood (with sand or soil) dull chains faster than softwoods.
Tools and Materials You’ll Need
Proper equipment is essential for safe, effective sharpening. Attempting to sharpen with incorrect tools damages the chain and wastes time.
| Tool | Purpose | How to Choose |
|---|---|---|
| Round file | Files the cutting tooth edge | Match the file diameter to your chain pitch. Common sizes: 4.8mm (3/16″), 5.5mm (7/32″), 6.35mm (1/4″). Check your chainsaw manual or the chain packaging. |
| Flat file or depth gauge tool | Levels and adjusts depth gauges | Often included with file sets; shapes the ramp between cutting tooth and depth gauge. |
| File handle or holder | Guides the round file at correct angle | Wooden or plastic handles reduce hand fatigue and help maintain consistent angle. Some are adjustable. |
| Depth gauge tool | Measures depth gauge height | Typically a flat metal tool with notches for different chain gauges, included in filing kits. |
| Chainsaw vise or clamp | Secures the chainsaw during filing | A sturdy bench vise or dedicated chainsaw filing vise prevents movement and injury risk. |
| Marker or paint pen | Marks teeth you’ve already sharpened | Prevents filing the same tooth twice or missing teeth. |
File kits specifically designed for your chainsaw model are available from equipment dealers and often include the correct file size, holder, and depth gauge tool. These kits cost $15–$40 and ensure you have matched components.
Step-by-Step Hand-Filing Technique
Hand-filing is the most common DIY sharpening method and works well for routine maintenance. Follow this process carefully to sharpen efficiently without damaging the chain.
Step 1: Secure the Chainsaw
Place the chainsaw in a vise, bench clamp, or dedicated filing stand with the chain fully exposed and unable to rotate. The engine must be off and cool. Never attempt to sharpen a running chainsaw. Position the bar horizontally at a comfortable working height so you can access each tooth easily. Ensure the chain cannot move—a slipping chain during filing causes missed strokes and uneven sharpening.
Step 2: Mark Your Starting Point
Use a marker or paint pen to mark the first tooth you’ll sharpen. This prevents confusion about which teeth you’ve completed and ensures you don’t skip any.
Step 3: Position the File at the Correct Angle
Insert the round file into the tooth groove with the file handle guiding it at 25–35 degrees from perpendicular to the bar. Different chainsaw manufacturers recommend angles within this range; consult your manual for the exact specification. The angle is critical: too shallow reduces cutting efficiency, too steep risks breaking teeth.
If using a file handle, it typically has alignment marks or guides to help position the angle correctly. Position the file so it contacts both the tooth’s top surface and front edge.
Step 4: File Each Tooth
Using firm, smooth strokes, file from the inside of the tooth (toward the bar center) outward. Use about 3–5 strokes per tooth; the exact number depends on how dull the chain is. Apply consistent pressure—don’t press harder on later strokes. Listen for a steady scraping sound; if the file chatter or skips, reposition it.
File only in one direction (outward). Pushing the file backward dulls it quickly and wastes effort.
Step 5: Move to the Next Tooth
After completing one tooth, rotate the file slightly and move to the next tooth on the same side of the chain. Continue this pattern around one side of the chain until you reach your marked starting tooth. Then repeat the process for teeth on the opposite side of the chain.
Step 6: Check Tooth Height
All cutting teeth should be the same height. If some teeth are obviously shorter, give them additional file strokes until they match their neighbors. Uneven tooth height is the primary cause of poor cutting performance and chain pulling.
Understanding and Adjusting Depth Gauges
Depth gauges (also called rakers or spacers) are the small metal bumps positioned in front of each cutting tooth. They control how deeply each tooth cuts into the wood. Incorrectly set depth gauges prevent effective cutting and can cause safety issues.
Why Depth Gauges Matter
As you sharpen teeth by filing away metal, the tooth’s height doesn’t change, but its sharpness improves. However, if the depth gauge is too high relative to the tooth, the tooth can’t engage the wood effectively and the chain won’t cut. If the depth gauge is too low, the tooth digs in too aggressively, causing the chainsaw to buck or pull.
How to Adjust Depth Gauges
Use a depth gauge tool (a flat metal gauge with notches for different chain sizes) placed over the tooth and depth gauge. The depth gauge should be just barely under the tool when laid flat. If it’s higher than the tool, it needs filing.
File the depth gauge with a flat file or the flat side of your depth gauge tool, using light strokes. File only the top of the depth gauge, not the ramp leading to it. Typical depth gauge height is 0.025–0.040 inches below the tooth tip, depending on chain type and manufacturer specifications.
After filing each tooth’s cutting edge, check and adjust the corresponding depth gauge before moving to the next tooth. This ensures consistency throughout the chain.
Safety Considerations for Chain Sharpening
Chainsaw maintenance carries inherent risks. Follow these safety practices to protect yourself.
- Engine off and cool: Never file a running chainsaw. Ensure the engine is completely cool and the spark plug wire is disconnected to prevent accidental starting.
- Secure the chainsaw: A slipping chainsaw or chain during filing causes the file or chain to strike your hands or face. Use a sturdy vise and double-check that the chain cannot move.
- Wear protective equipment: Wear safety glasses to protect against file fragments and metal shavings. Cut-resistant gloves reduce risk if your hand contacts the sharp chain teeth.
- Use proper technique: File with smooth, controlled strokes. Jerky, forced motions increase the risk of slipping and losing control.
- Keep hands behind the chain: Position your hands so that if the file slips, it moves away from your body, not toward it.
- Inspect before use: After sharpening, inspect the entire chain for cracks, bent links, or damaged teeth. A weakened chain can break under load.
If you’re unfamiliar with chainsaws or uncomfortable handling sharp tools, professional sharpening is a safe alternative that ensures quality work.
Hand-Filing vs. Professional Sharpening vs. Electric Grinders
Hand-filing is affordable, requires no electricity, and works well for routine maintenance. It’s ideal if you sharpen every 5–10 hours. The main drawback is that it requires practice to achieve consistent results and can be time-consuming for multiple chains.
Professional sharpening is recommended when:
- The chain is severely damaged, bent, or has missing teeth
- You lack experience or confidence with hand-filing
- You want guaranteed consistent results
- You sharpen infrequently and want to avoid purchasing tools
Professional services typically cost $10–$25 per chain and take 1–2 days depending on the shop’s workload.
Electric grinders are faster than hand-filing but require more experience to avoid over-grinding or overheating teeth. They’re best suited for frequent users or professionals who sharpen multiple chains regularly. Bench grinders designed for chainsaw sharpening cost $100–$400 and automate angle consistency.
Common Sharpening Mistakes to Avoid
- Filing at the wrong angle: Even a few degrees off causes uneven cutting and poor performance. Use a file holder guide to maintain consistency.
- Uneven file pressure: Applying more pressure to some strokes than others creates teeth of different heights. Use steady, moderate pressure throughout.
- Over-filing: Filing teeth excessively removes too much metal and shortens chain life. Typically 3–5 firm strokes per tooth is sufficient.
- Ignoring depth gauges: Sharpening only cutting teeth while neglecting depth gauges results in poor cutting performance because teeth can’t engage properly.
- Filing a rotating chain: Some users attempt to sharpen without securing the chain, causing inconsistent results and safety hazards.
- Using an incorrectly sized file: A file that’s too small or too large doesn’t fit the tooth groove properly and damages the chain shape.
- Not marking starting position: Without tracking which teeth you’ve sharpened, you may miss some or file others twice, creating uneven results.
Frequently Asked Questions
How often should you sharpen a chainsaw?
Most chainsaw users need sharpening every 5–10 hours of active cutting. However, frequency depends on wood type (hardwoods dull chains faster), cutting conditions (sandy or dirty wood accelerates dulling), and chain quality. If you notice any of the signs of dullness—pulling to one side, producing fine dust, or requiring excessive pressure—sharpen immediately rather than waiting for a set schedule.
Can you sharpen a chainsaw chain that’s too dull to cut?
Yes, but there’s a limit. Chains dulled from normal use respond well to hand-filing. However, chains damaged by hitting rocks, metal, or the ground may have bent or broken teeth that can’t be restored by filing. Severely damaged chains are safer and more cost-effective to replace than to attempt repair.
Do you need to remove the chain to sharpen it?
No, you don’t need to remove the chain. Most people sharpen it while mounted on the bar because this makes it easier to work on (the bar and chain weight help stabilize it) and faster to transition between teeth. However, removing the chain and clamping it in a dedicated filing vise allows more precise angle control and is sometimes preferred by professionals.
What’s the difference between hand-filing and electric grinder sharpening?
Hand-filing is slower but gives you direct control over angle and pressure, making it forgiving for beginners if they work carefully. Electric grinders are faster and deliver consistent results but require skill to avoid overheating teeth or grinding them too short. For DIY users sharpening occasionally, hand-filing is adequate and less costly. Professional sharpening services often use specialized electric grinders designed for chainsaw chains.